Getting Started with Fixably
Follow our step-by-step walkthrough to configure all the essential settings for getting your Fixably environment ready to use.
- Release Notes
- Newly Released Features
- Getting Started
- Roles & Permissions
- Manifests
- Order Management
- Automations
- Employee Management
- Customer Management
- Customer Portal
- Stock Management
- Part Requests
- Price Lists
- Invoicing
- Reporting
- Custom Fields
- Integrations
- GSX
- Shipments
- Service Contracts
- Configuring Your Environment
- Incoming Part Allocation
- Appointment Booking
Table of Contents
Configure System Settings
Before beginning to use Fixably, we recommend that you take time to review the default settings and configure any settings that your organisation may need.
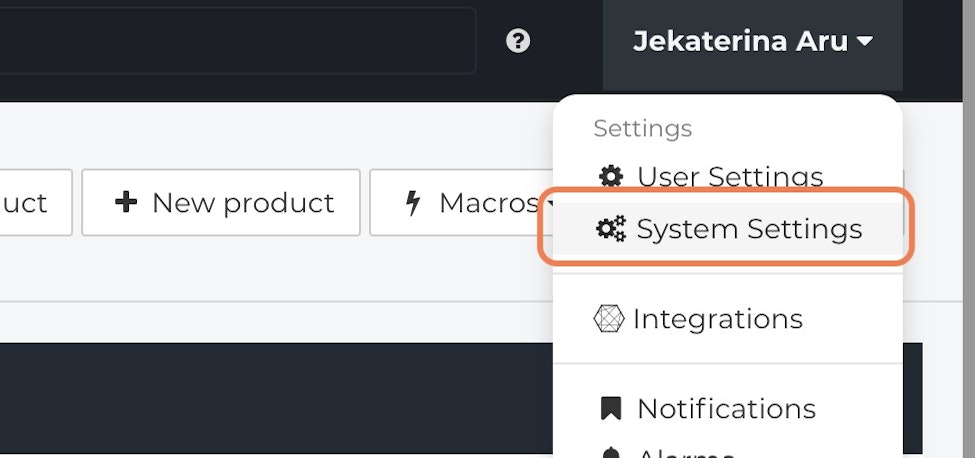
From the Fixably Home Screen, click on your User Menu and then System Settings:
System Settings is separated into categories based upon the type of settings:
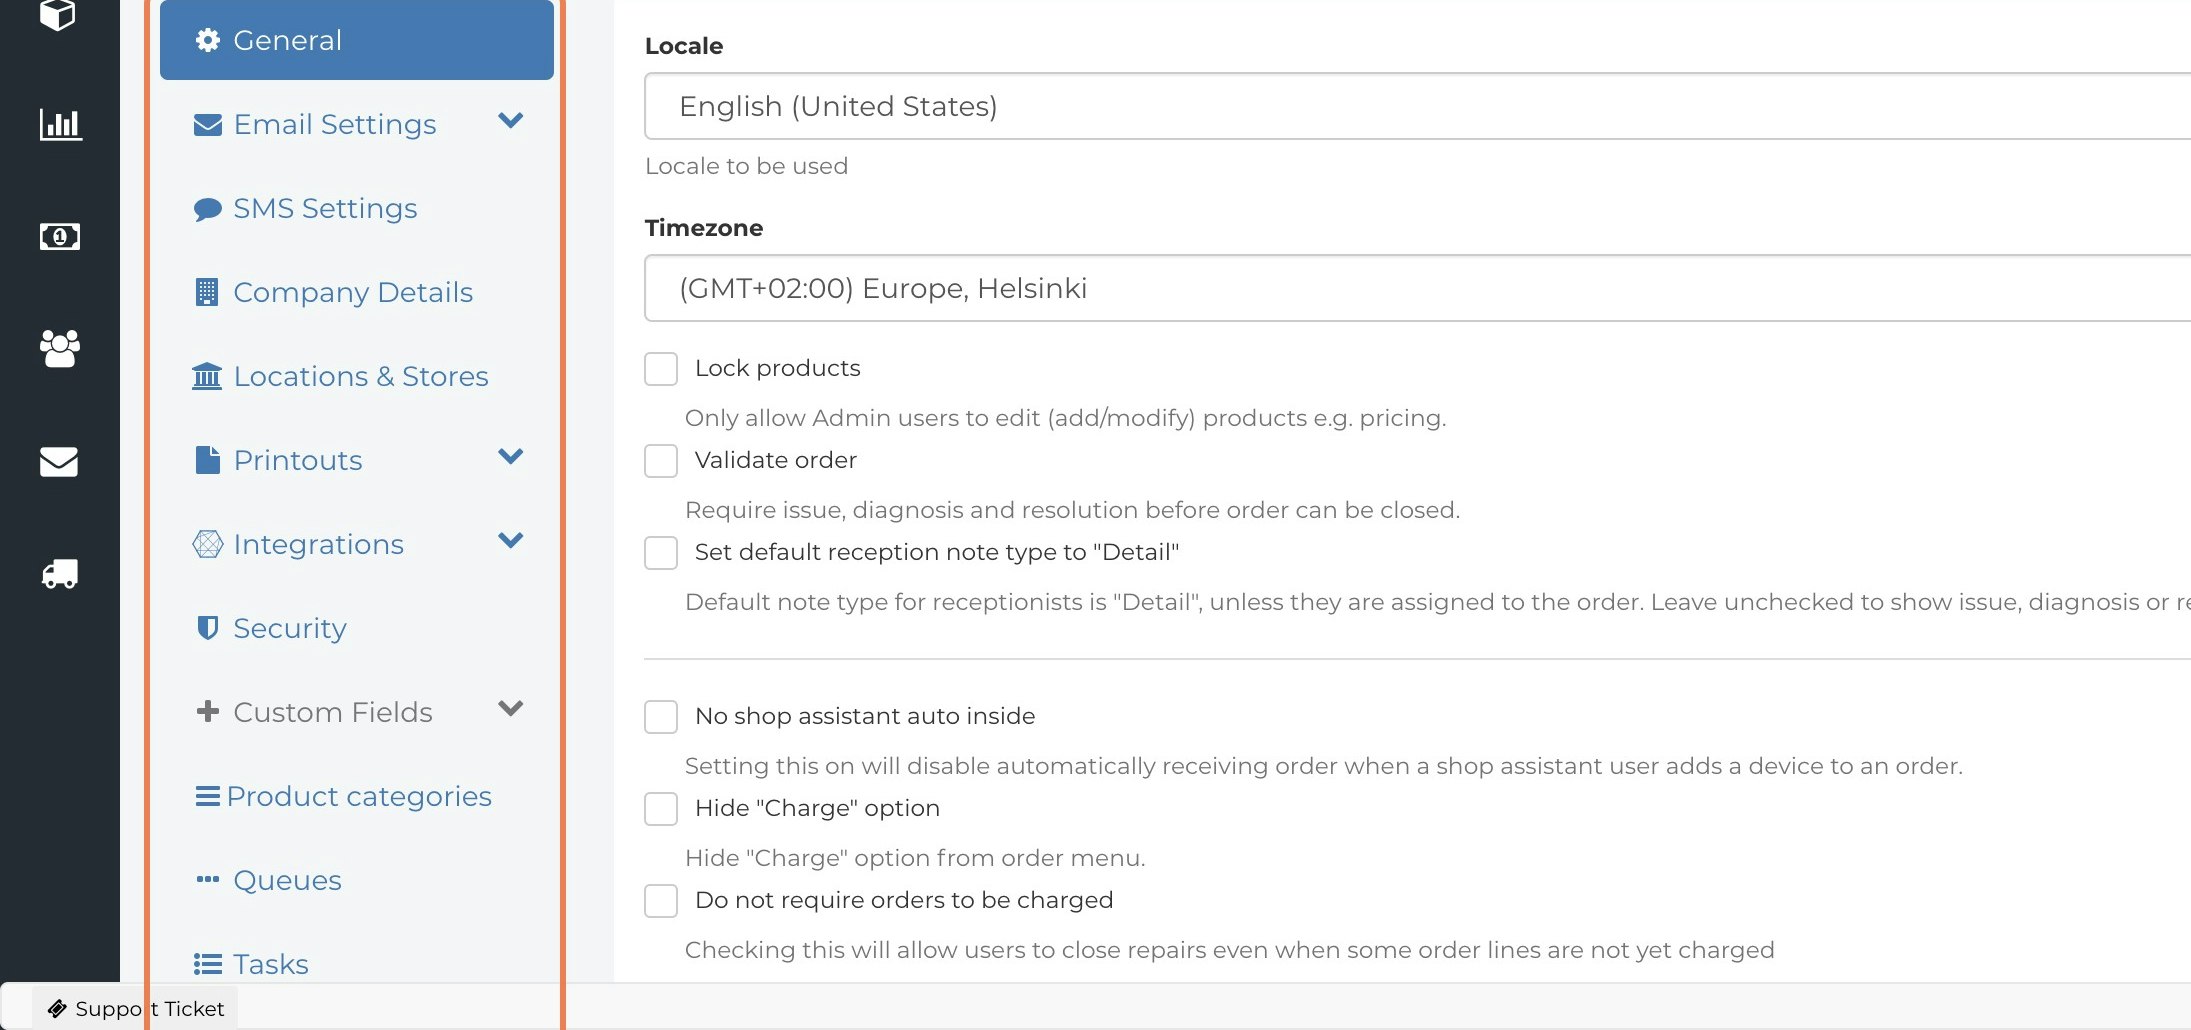
- General
- Email Settings
- SMS Settings
- Company Details
- Locations & Stores
- Printouts
- Integrations
- Security
- Queues
- Tasks
- Snippets
- Portal
- Stocks
- Tax Rates
- Repair Providers
- Service Partner
- Payment Types
- Translations
- Delivery Methods
- Triggers
- Macros
- Order Statuses
- General Ledger Codes
- Webhooks
Entering Your Company Information and Communication Settings
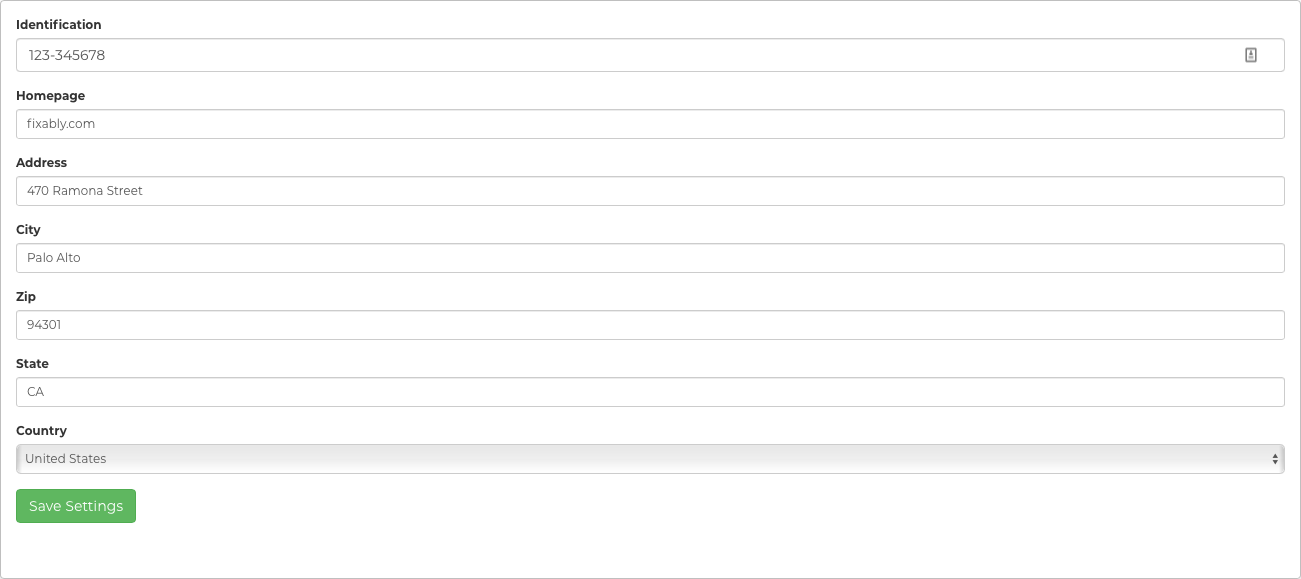
Your company details are used in printouts and displayed in the Customer Portal. Navigate to System Settings then Company Details and fill in the desired fields. After updating these fields, navigate the Email Settings tab and SMS Settings tab to configure the default outgoing email and SMS settings.
Set Up Taxes
Fixably provides support for multiple tax rates. Navigate to System Settings and then Taxes Rates to set up your tax rates.
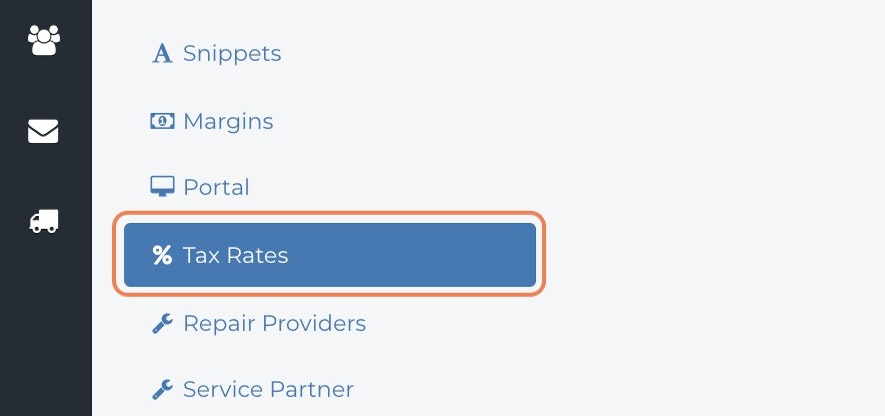
All available tax rates are visible on this page. If you have multiple tax rates in one country, you can mark one of them as the default option. Tax rate options are shown based on the user's default service location.
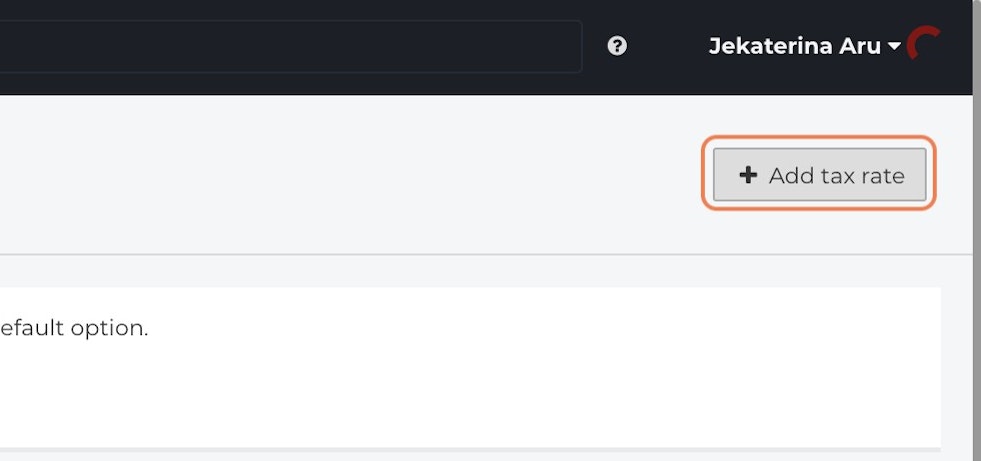
Click Add tax rate to open the Tax Rate panel.
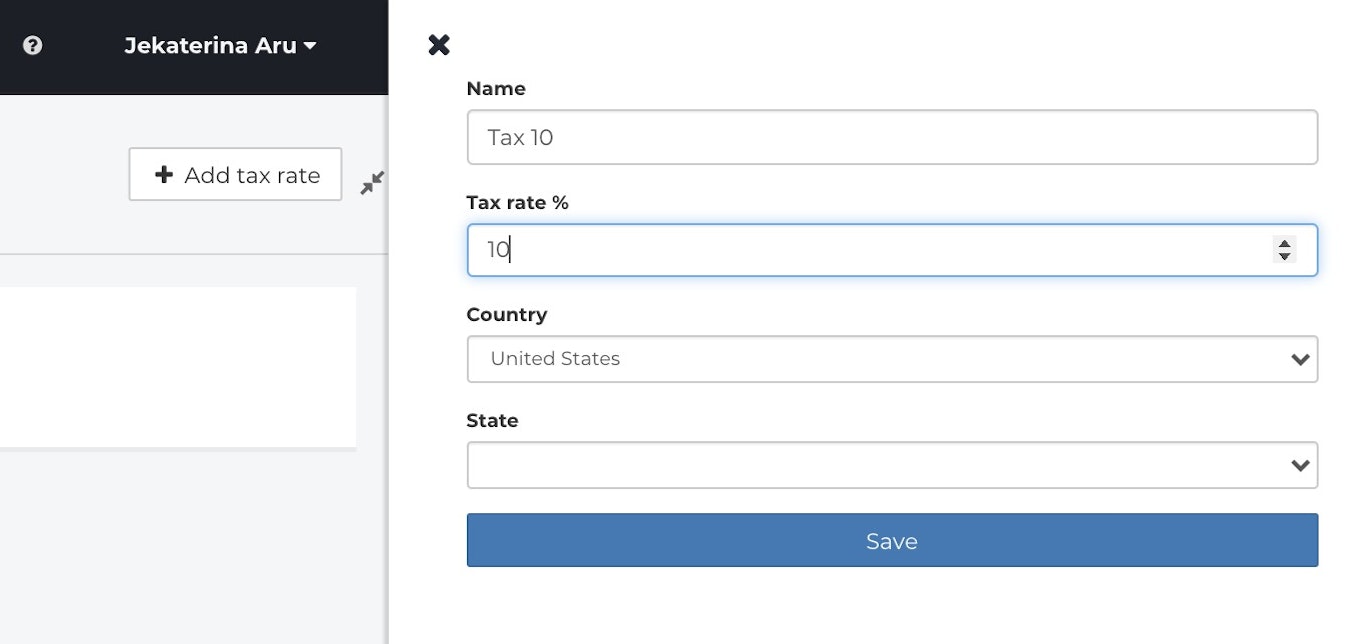
Enter a descriptive name for the tax rate and the percentage rate. Select the appropriate country and state (if applicable), then click Save.
Creating Your Service Locations
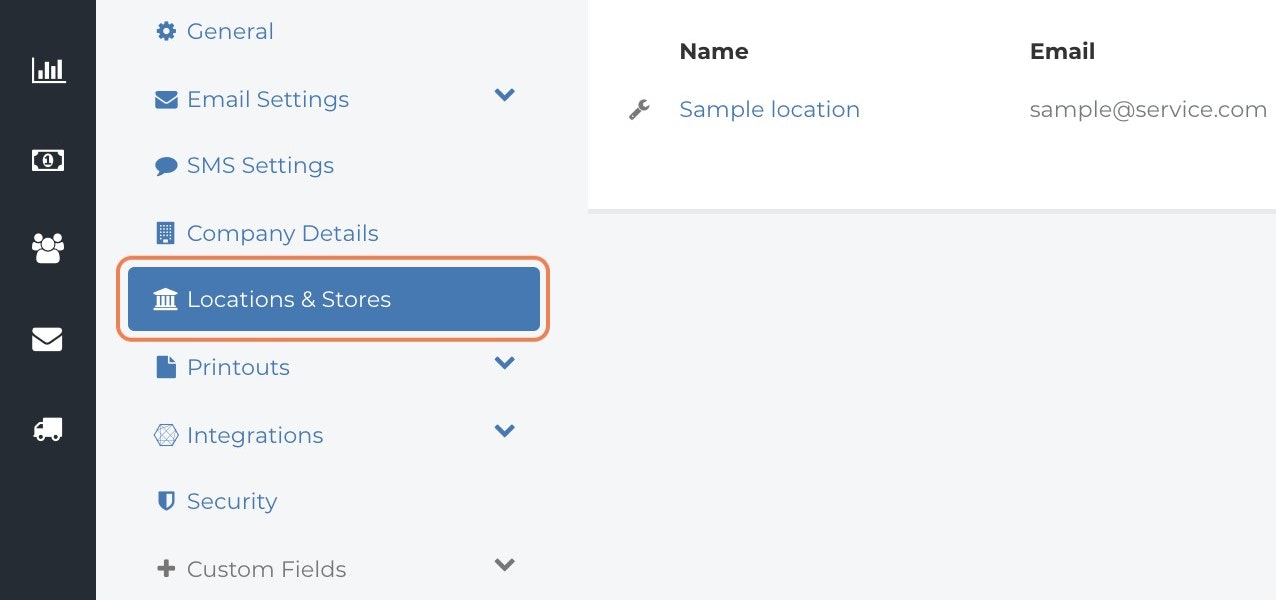
Fixably allows you to manage all of your repairs and inventory by location, whether you have a single or multiple locations. To create a new location, navigate to System Settings and then Locations.
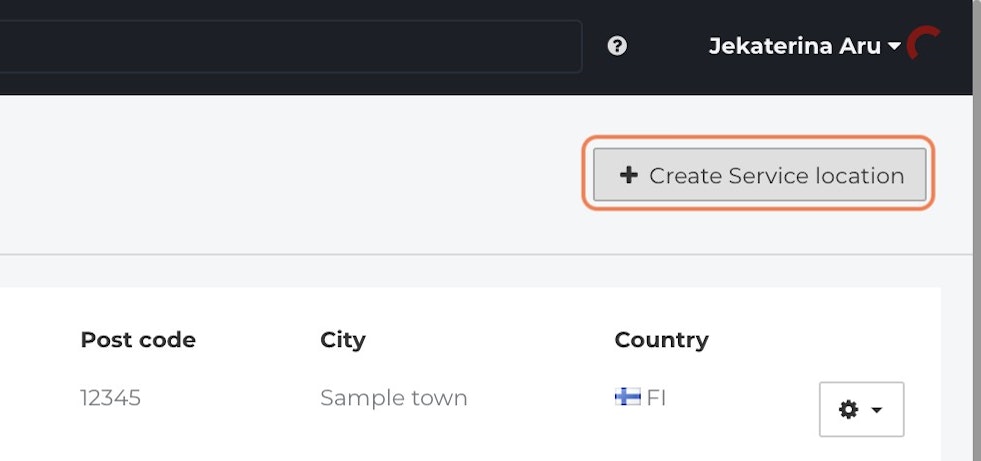
Click on Create Service location.
Customers using the Apple GSX Integration, Fixably Paperless, or a payment processor integration will find additional location configuration options specific to their integrations in this panel.
Set Up Payment Types
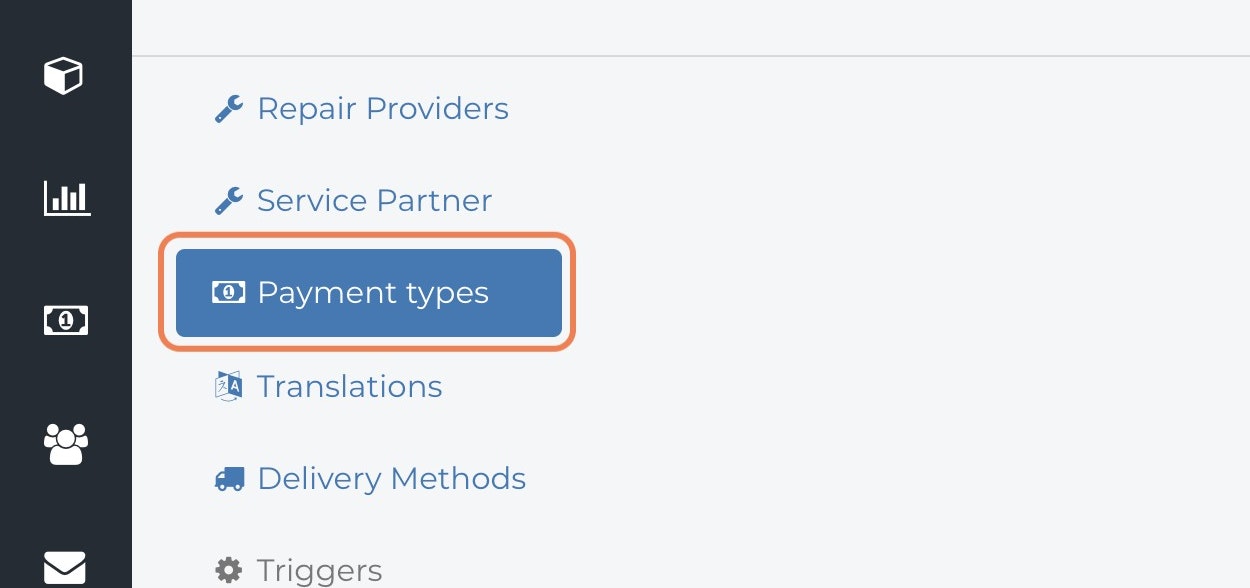
Navigate to System Settings and then click Payment types.
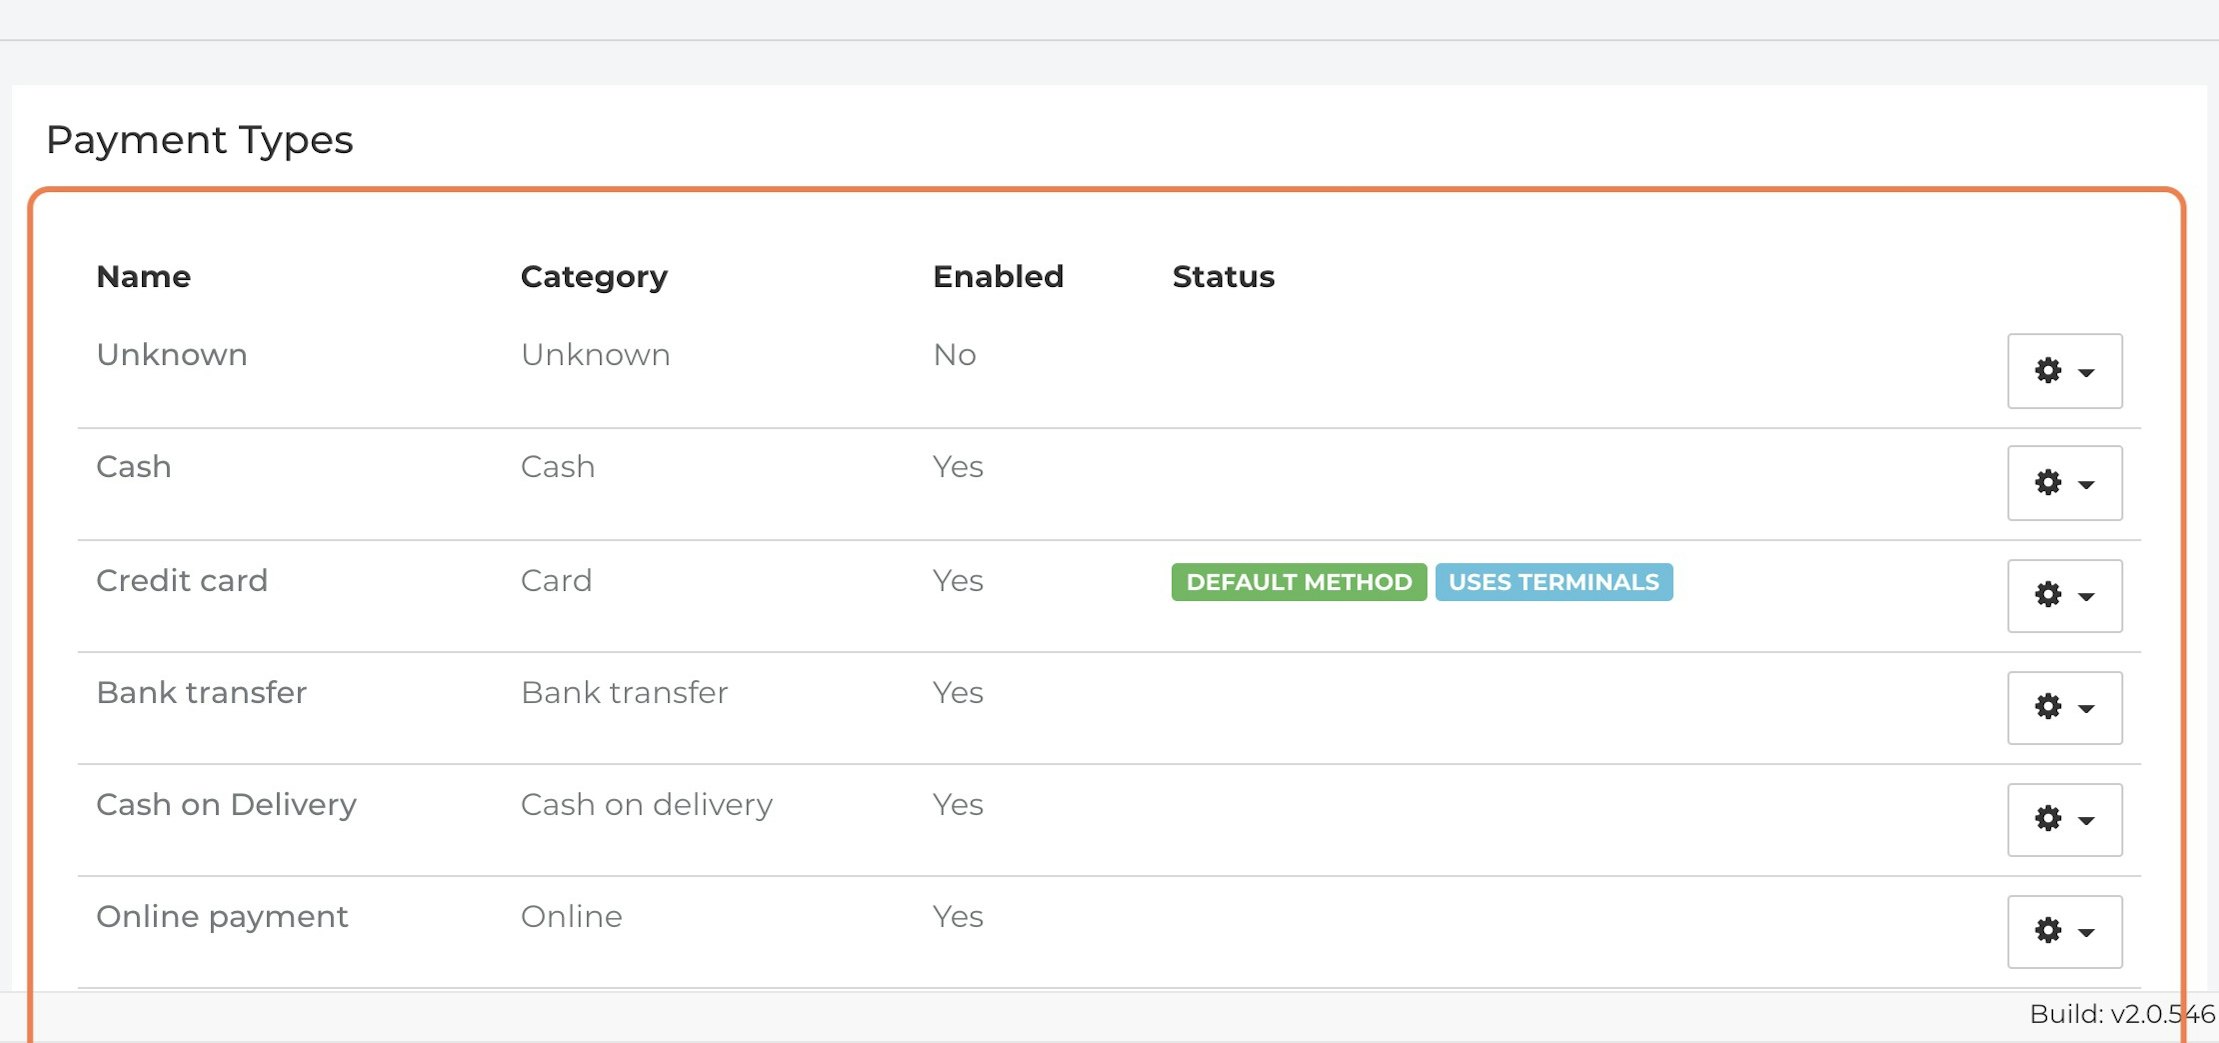
Fixably is preconfigured with several payment types enabled for the POS feature.
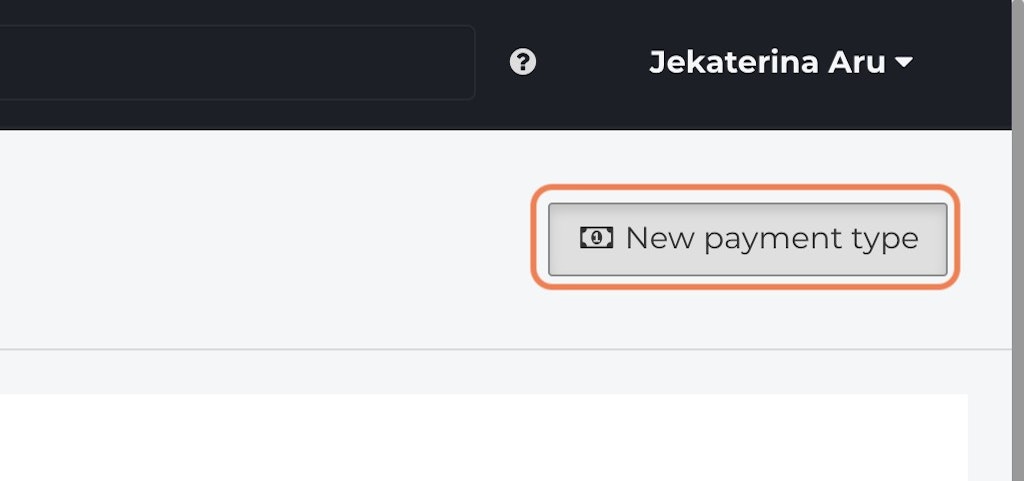
To add additional payment types, click New payment type.
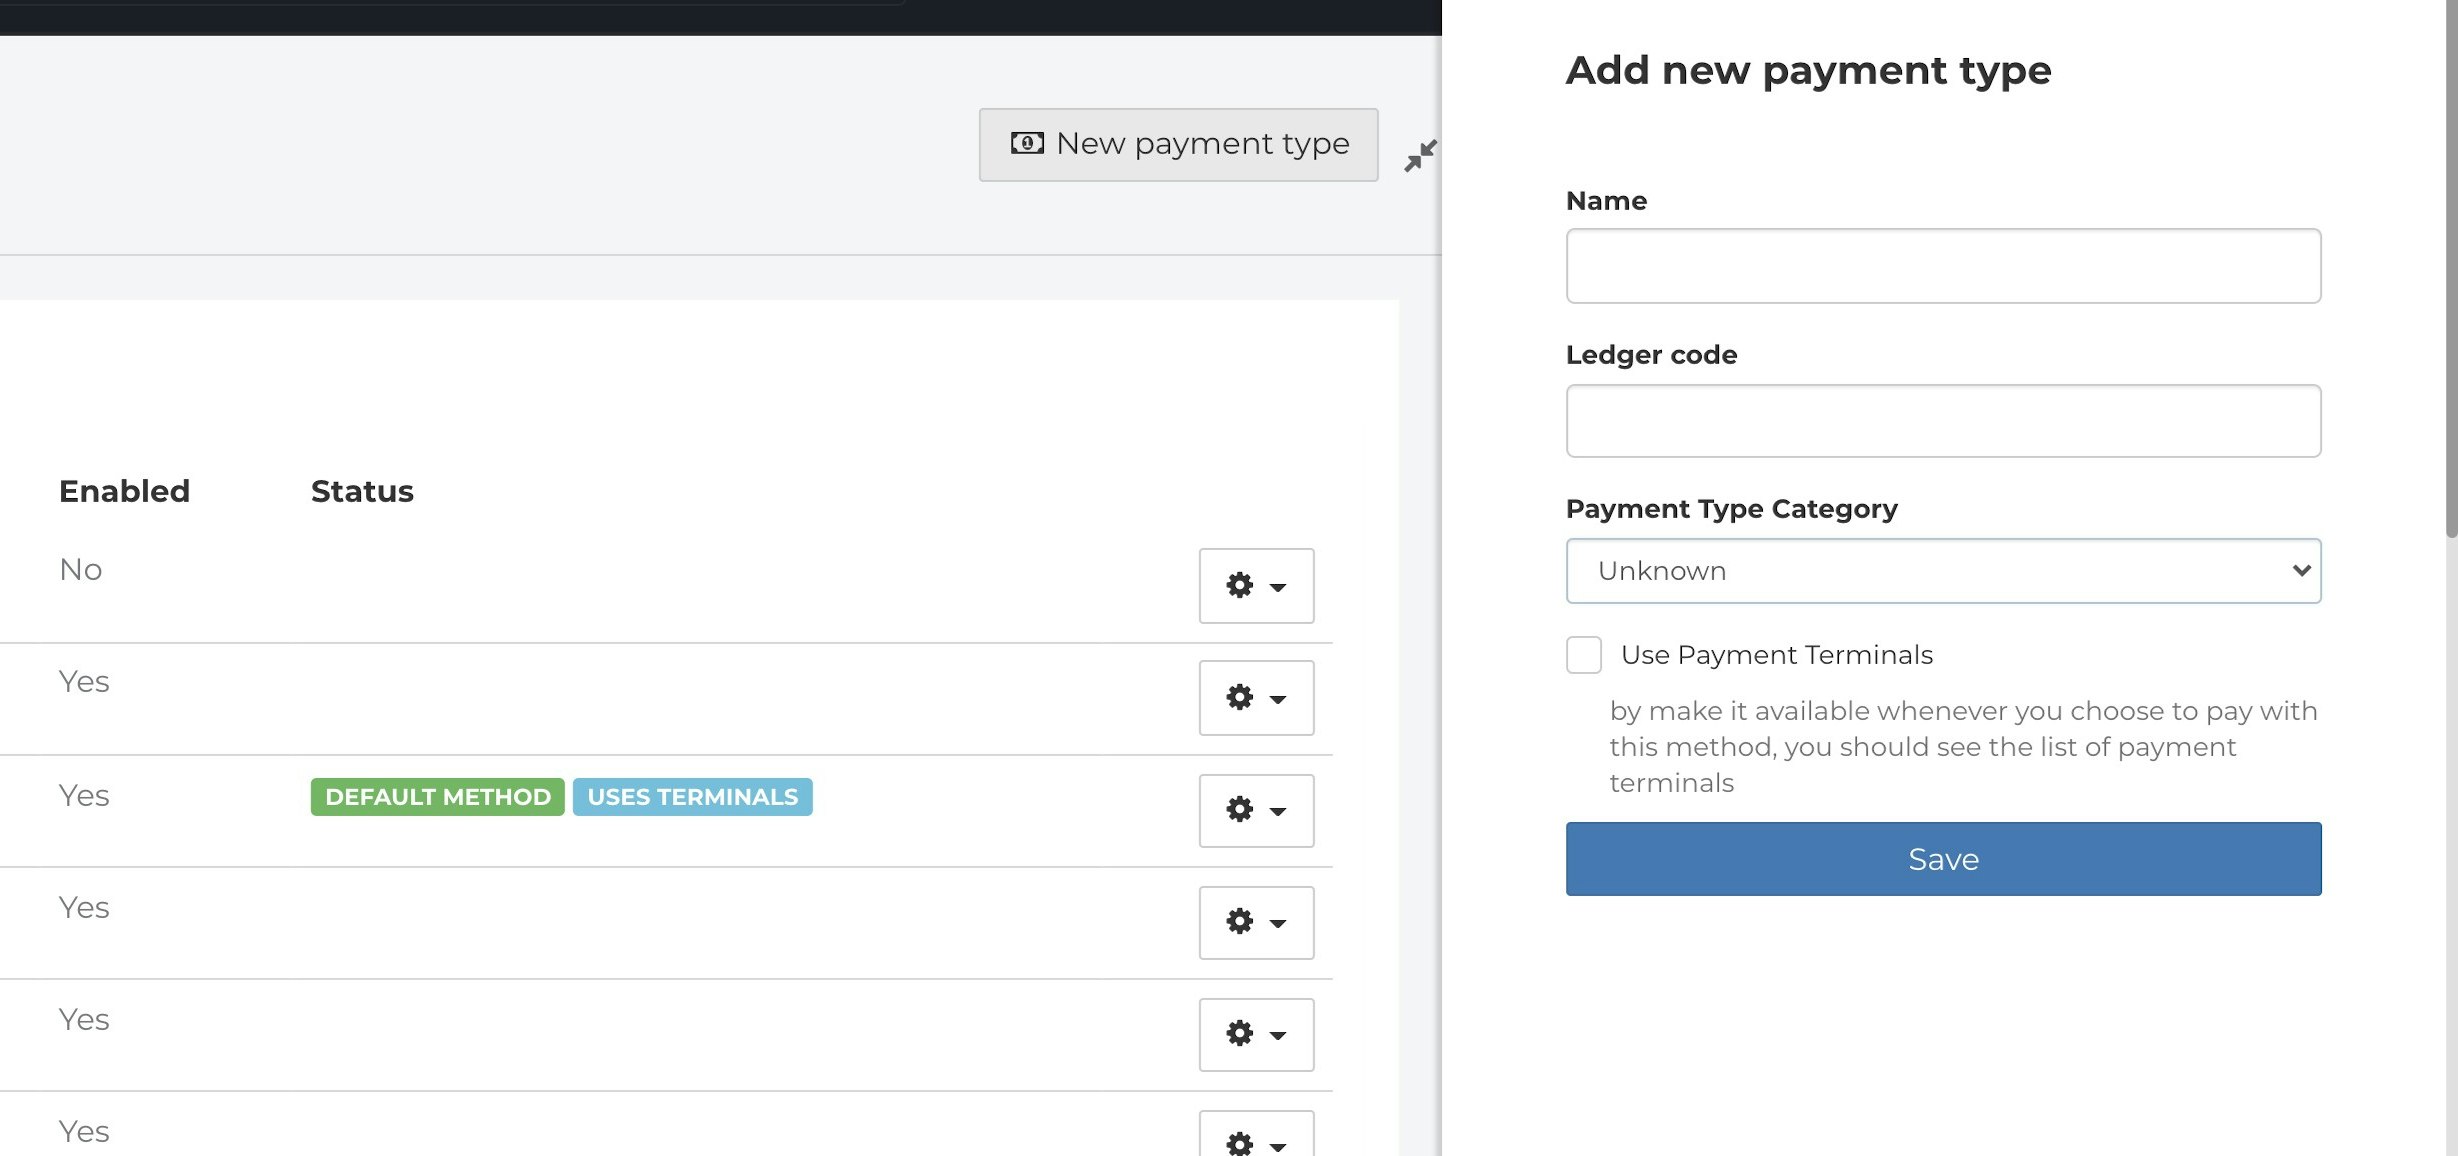
Enter the Name of the payment type. Enter a Ledger code or select one from the dropdown list. Next, select the appropriate Payment Type Category. If the payment type needs to activate a payment terminal, check the box next to Use Payment Terminals. Click Save to create the payment type.
After adding any new payment types, disable any unneeded options by clicking the gear icon next to the payment type and selecting Edit. Then click Disable to remove the payment type from the Charge feature.
Understanding and Creating Tasks
Tasks in Fixably are flexible user-created fields that are attached to an order. To create a new task, navigate to System Settings / Tasks, click New Task, and scroll down to the new task in the window. Enter a Public name for the task. This name will be used when displaying the task in a macro or the Customer Portal. Next, enter an Internal name. This name is used in the order view and on printouts. The Info-text field provides an additional description used in the Customer Portal.
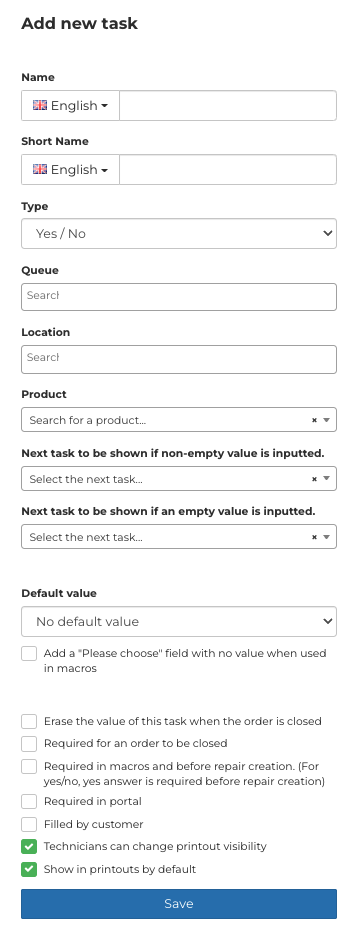
You can create four types of tasks, each with a different use:
- Yes/No - displays a dropdown menu with 'Yes' and 'No' options.
- Text - displays a free-form text field to capture data.
- Multi-selection - displays a dropdown menu with answers defined in the task.
- Password - displays a free-form text field. However, unlike a text-type task, the value in this field is encrypted.
Once a task has been created, it can be automatically added to the Service Order creation form in the Customer Portal by enabling Filled by customer. Tasks must be associated with a queue to appear in the order view. To assign a task to a queue, contact Fixably Support.
Creating Snippets
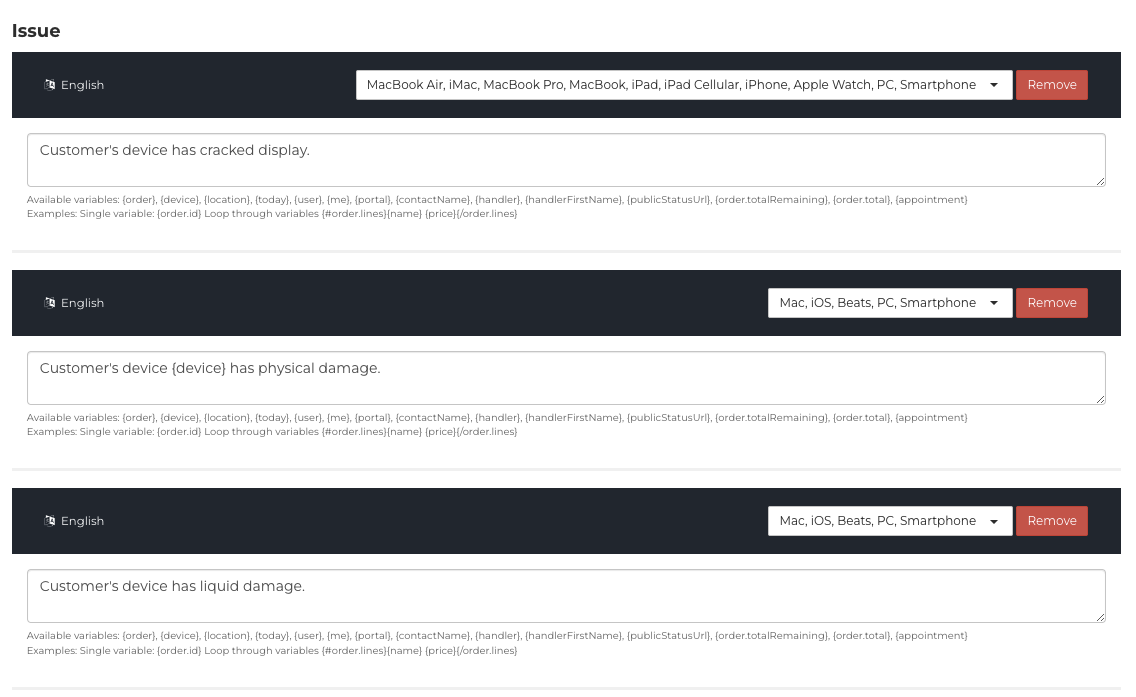
Navigate to System Settings / Snippets, then click Add snippet. Snippets are pre-defined text entries that can be selected when entering order notes or creating SMS or email messages.
Snippets are separated into issue, diagnosis, resolution, detail, email, and SMS sections. Snippets defined in a specific section will only appear when creating the respective note or message type. Additionally, you can configure snippets to appear only in a particular queue by selecting the queue(s) from the dropdown list. A list of variables that snippets support can be found below the field.
Configure Integrations
Fixably provides several integrations into common platforms such as Apple GSX and Stripe. Navigate to System Settings / Integrations and locate the integration you wish to use to configure any integrations. Please see the Integrations section of our Knowledge Base.
Create and Import Customers
The next step in preparing your Fixably environment is to create your first customer. Administrators can manage customers by clicking on the left navigation menu and selecting Users / Customers.

Click New customer to open the customer panel. New customer profiles must contain a First and Last Name or Company Name and an Email Address or Phone Number. Additional details can be entered, such as shipping and billing address details, preferred contact method, invoice payment terms, custom margins, and other information.

Remember to select the correct tax status for the customer.
Note: All tax statuses except for Taxable will configure the customer as tax-exempt.
Assign any Tasks that will apply only to this customer. Click Save to create the customer.
If there are many customer records to enter, the Customer Import feature can quickly allow a Fixably Administrator to import those records. To import these records, click Customer Import to open the Import panel.
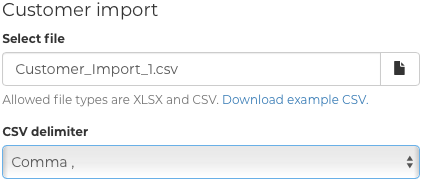
Click the document icon and select your import file. Import files must be formatted correctly in a single Microsoft Excel or CSV file sheet. If your import file is a CSV file, select the appropriate delimiter. An example CSV file can be downloaded that includes all of the fields available for import. Click Submit to begin the import.
Note: Large imports can take several minutes to complete. All import files must be less than 4000 lines to import successfully.
Create New Vendors
The next step in preparing your Fixably environment is to create your first Vendor. Vendors can be managed by clicking on the left navigation menu and selecting Users / Vendors.

Click New Vendor to open the vendor panel. New vendors must contain either a First and Last Name or Company Name and an Email Address or Phone Number. Additional details can be entered, such as shipping and billing address details, invoice payment terms, and other information. Click Save to create the Vendor.

Create New Products
Fixably provides two primary methods to create new products based on your current Fixably subscription plan. This guide will cover how to create new products. For information on managing your inventory, see the articles here. From the Home Screen, select New product.

In the New product panel, enter the Product code and Name. Enter a Selling price and determine the appropriate Sales tax rate. If the product is also sold at an Exchange price, enter it in the correct field. Next, select the proper setting to enable or disable Serial number tracking. Enable Fixed price if the product is being synchronized via an OEM integration, and the selling price shouldn't be updated automatically. Lastly, select the appropriate product Type and define any custom Tags to be used. Click Save to create the product.
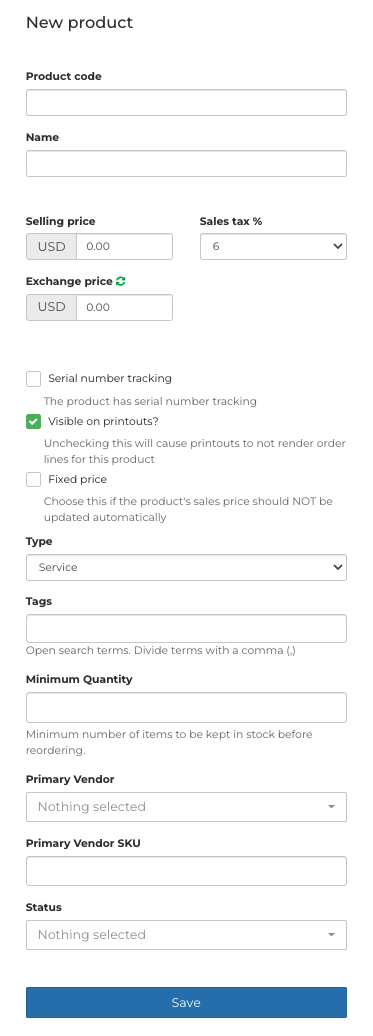
Once the product has been saved, additional settings can be edited. Click the Prices tab and update the desired fields to set different pricing and costs.
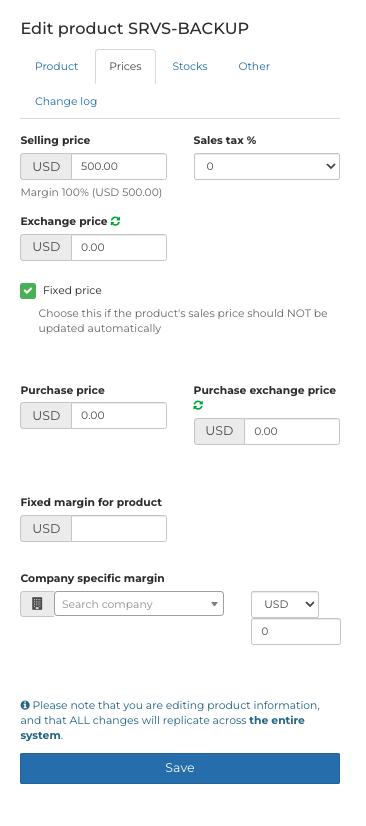
Click Save when done to update the product record.
Create and Import Employees
In the left navigation menu, select Users / Employees. Click New Employee to open the Create user panel. Enter the First name and Last name of the Employee and either a Phone number or Email address. Click Save to create the Employee.
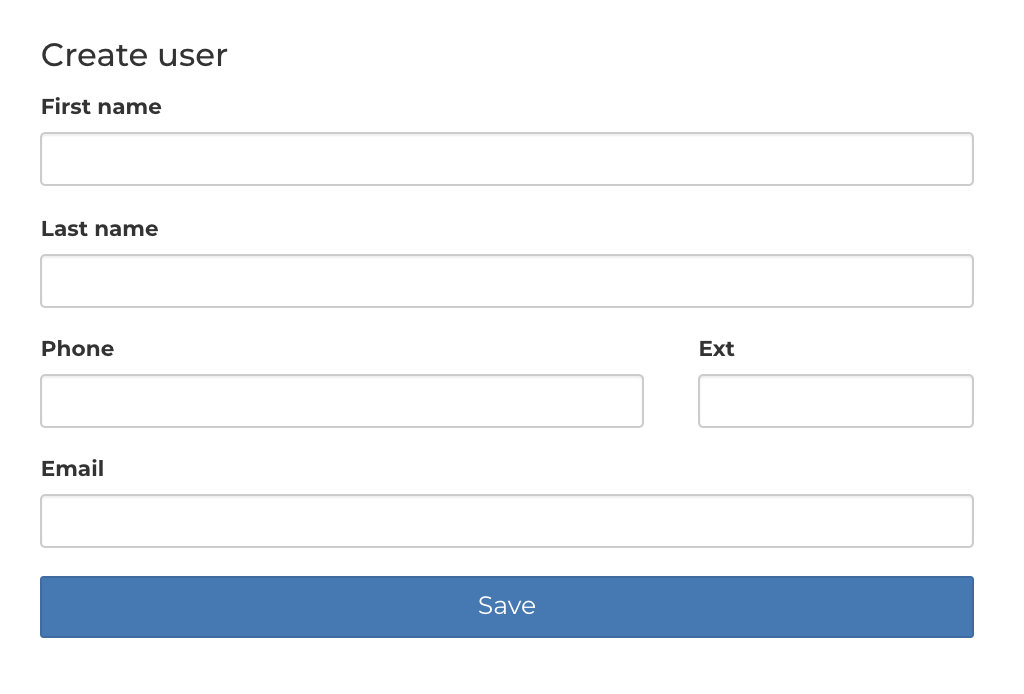
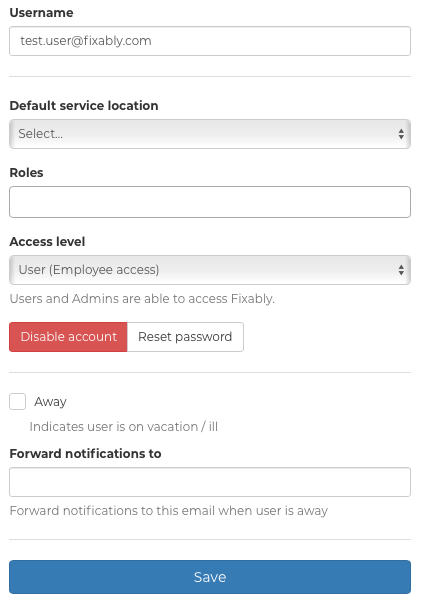
Once the Employee has been saved, additional settings can be edited.
Note: If no email is specified, a username must be manually created for the Employee.
Enter or change the default Username as required. Select the Default service location and Access level for the Employee. When any required information has been entered, click Save.
To disable the account, click Disable account. To generate a password reset email, click Reset password and Save.
Review Your Fixably Settings
Once these settings have been configured, you are ready to begin using Fixably to create your first Order. Please visit our knowledge base for additional articles on creating orders, managing inventory, and other great Fixably features.