Contact Us

If you still have questions or prefer to get help directly from an agent, please submit a request.
We’ll get back to you as soon as possible.

Please fill out the contact form below and we will reply as soon as possible.

    English (US)
    US English (US)
    DE German
    ES Spanish
    PL Polish
    MX Spanish (Mexico)
    HR Croatian
    • Home
    • Order Management
    • Orders How-To Guides

    How can I use Loaner devices in Fixably?

    Loaner products can be added to Stock, used on Orders, and managed within the Fixably application.

    Written by Annukka Matilainen

    Updated at September 24th, 2024

    Contact Us

    If you still have questions or prefer to get help directly from an agent, please submit a request.
    We’ll get back to you as soon as possible.

    Please fill out the contact form below and we will reply as soon as possible.

    • Release Notes
      2025 Releases 2024 Releases
    • Newly Released Features
      Blackbelt360 New Features
    • Getting Started
      Overview How To
    • Roles & Permissions
    • Manifests
    • Order Management
      Orders How-To Guides Batch Edit Order Lists Using Files Cost Estimates
    • Automations
    • Employee Management
    • Customer Management
      Adding & Removing Customers Communicating with Customers Data Privacy
    • Customer Portal
    • Stock Management
      Adding and Receiving Products Inventory Management Resolving Stock Errors
    • Part Requests
    • Price Lists
    • Invoicing
    • Reporting
      Standard Reports Built-in and Custom Reports Advanced Reports
    • Custom Fields
    • Integrations
      Shipping and Transportation Finance Single Sign-on (SSO) Payment Integrations Fixably Developer API Blackbelt360 Xero Accounting
    • GSX
      GSX Integration Creating Repairs Managing Repairs Resolving Errors Frequently Asked Questions
    • Shipments
    • Service Contracts
    • Configuring Your Environment
      System Settings Email and SMS Setup Importing Data Security
    • Incoming Part Allocation
    • Appointment Booking
    + More

    Table of Contents

    Creating a Loaner Product Creating a Loaner Stock Receiving Loaners to Stock Adding a Loaner to an Order

    Creating a Loaner Product

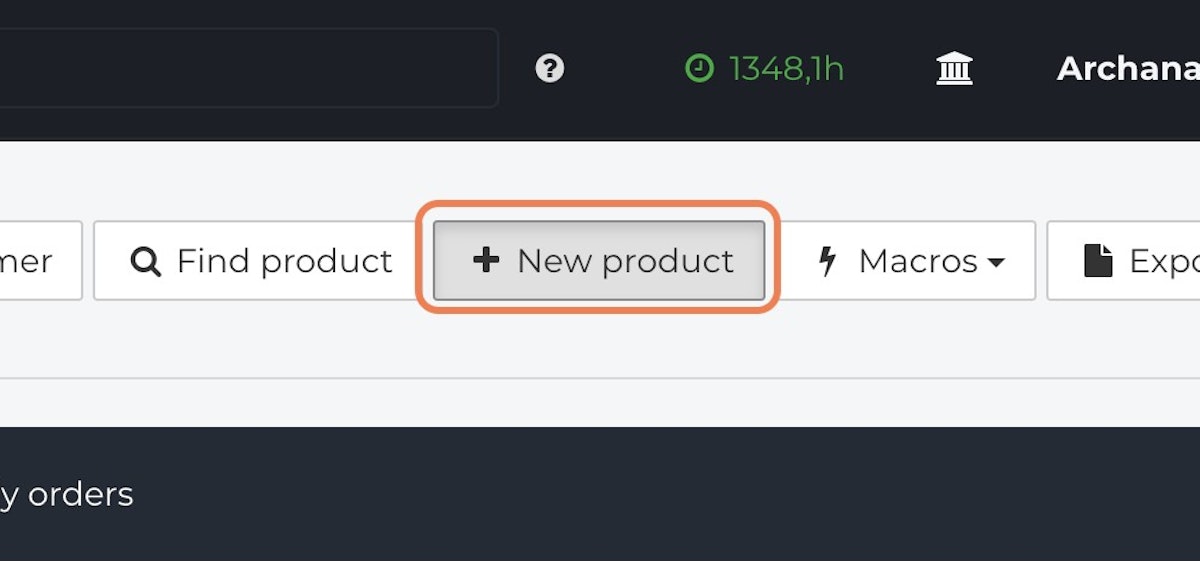
    1. From the Fixably Home Screen, click New Product.


    2. Specify the Product Code for the new Loaner.


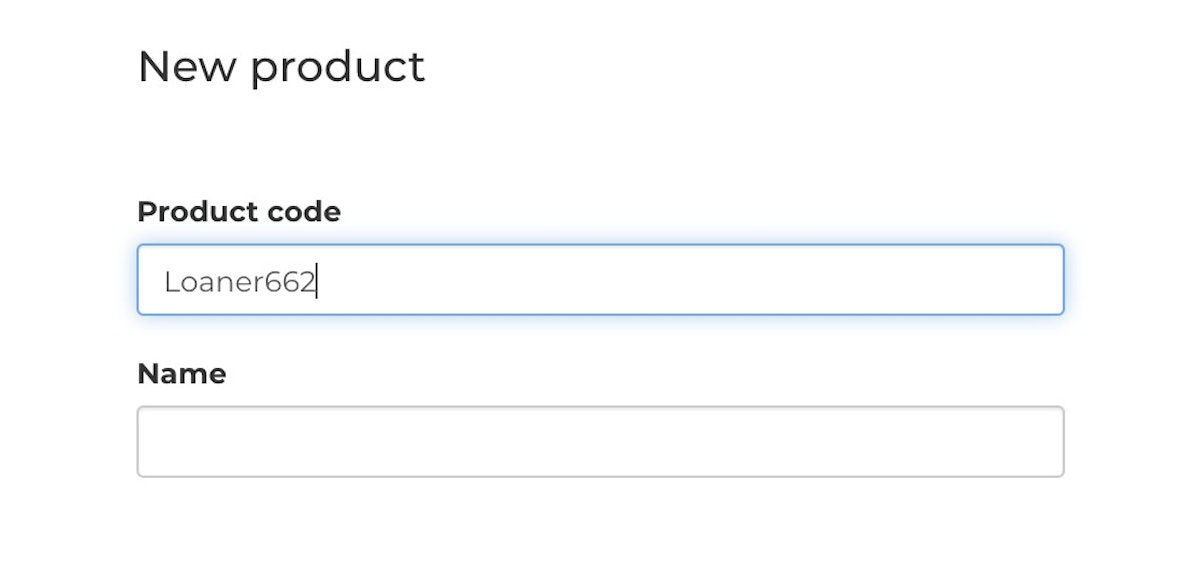
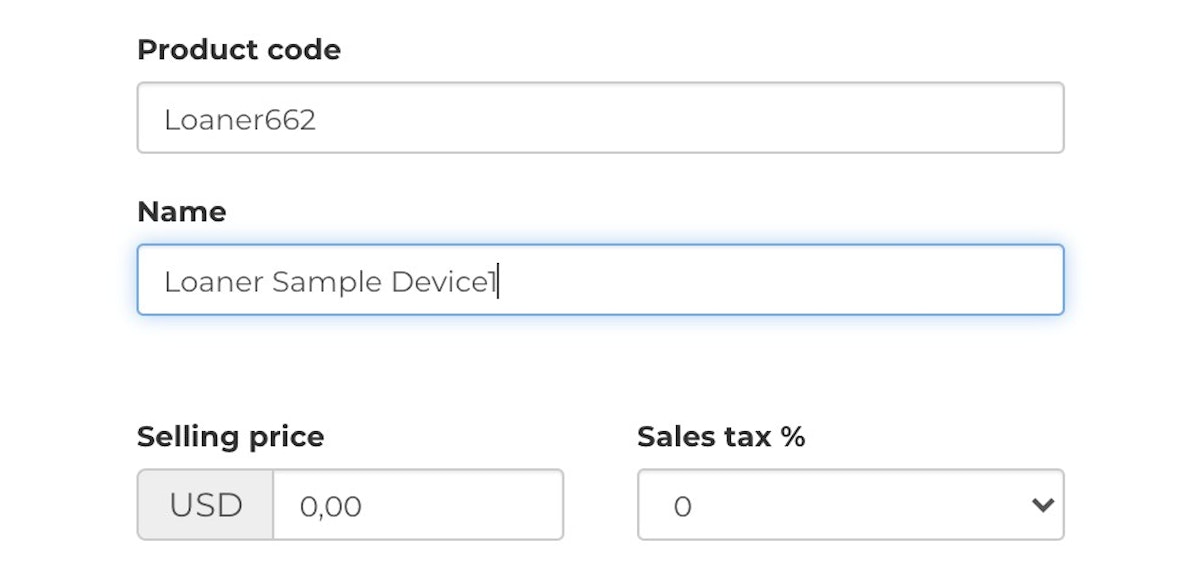
    3. Enter the Loaner Product's Name.


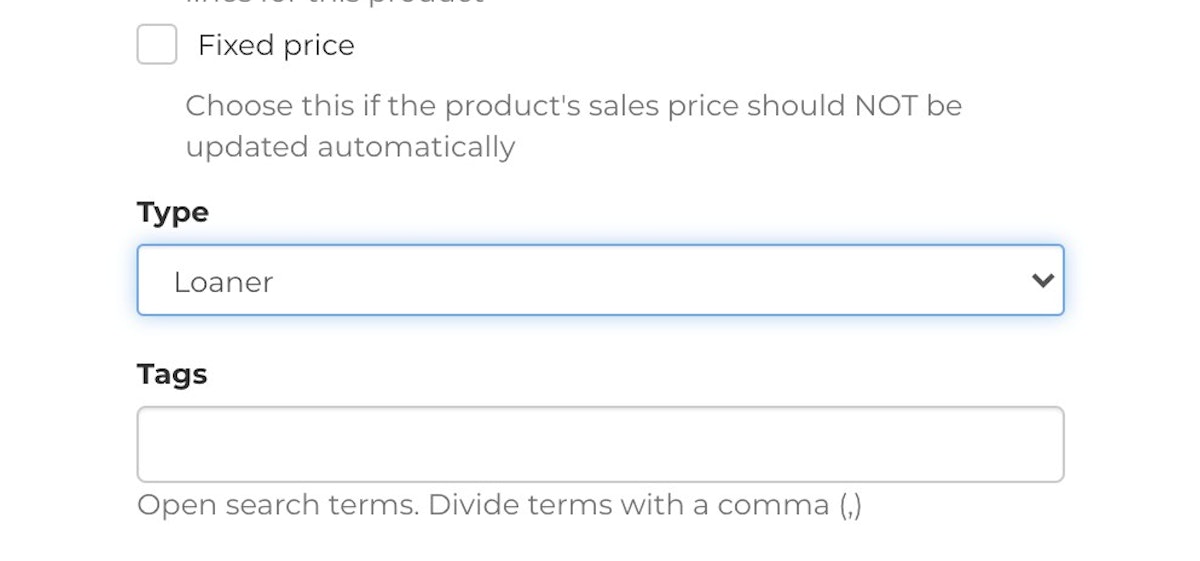
    4. From the Type menu, select Loaner.


    5. When you have completed setting up your Loaner Product, click Save


    Creating a Loaner Stock

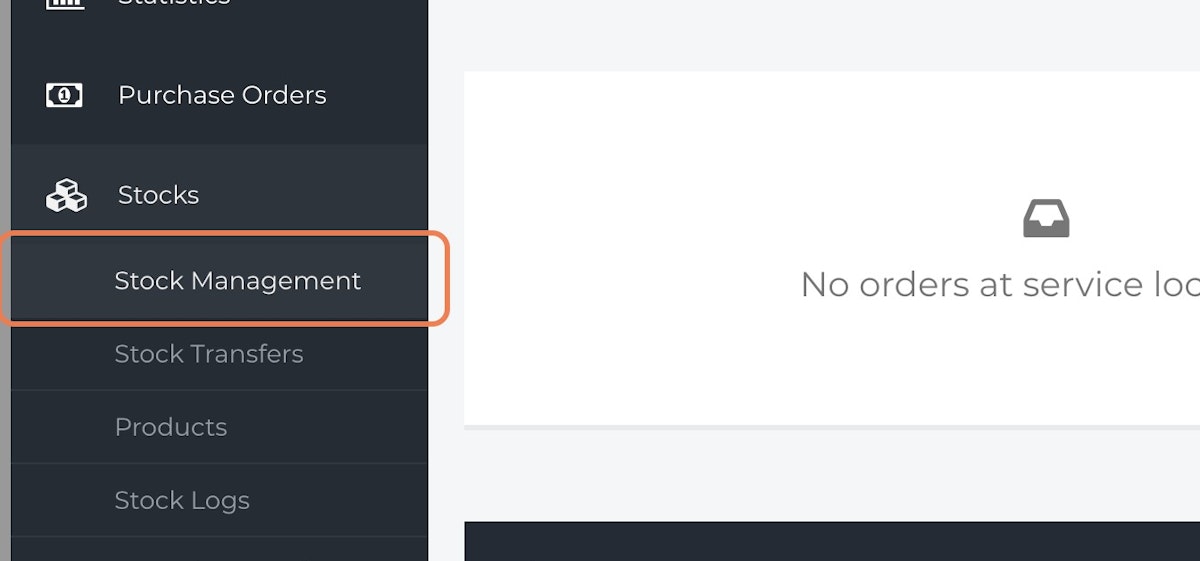
    1. From the Navigation Sidebar, select Stocks.


    2. Click on Stock Management.
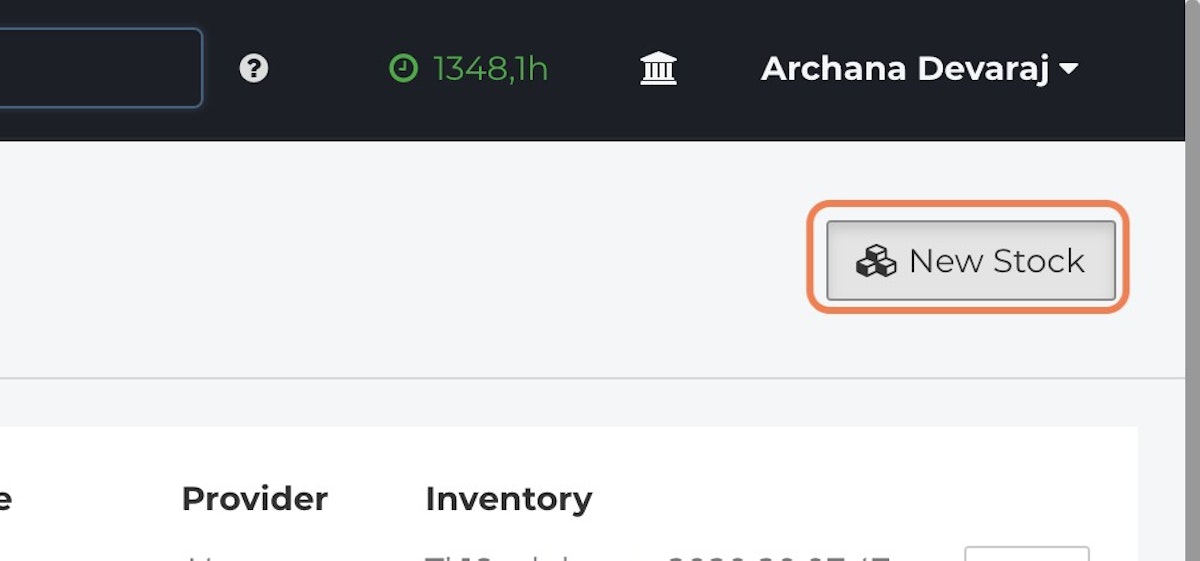

       
    3. Click on New Stock.


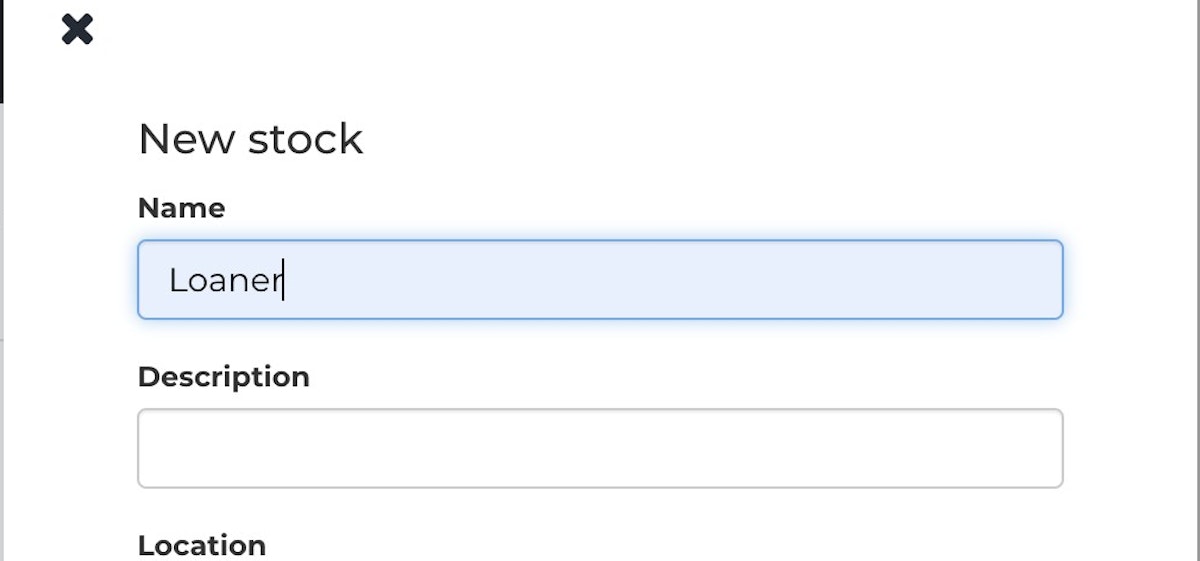
    4. Enter the Name, Description, Location and other required information. When complete, click Save.


    Receiving Loaners to Stock

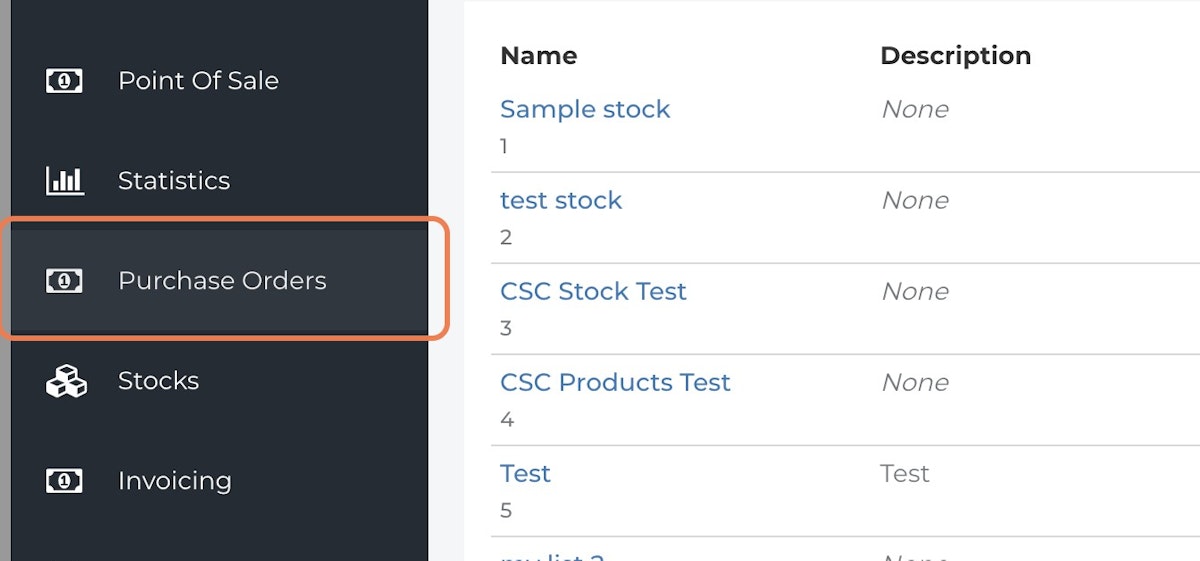
    1. From the Navigation Sidebar, click on Purchase Orders


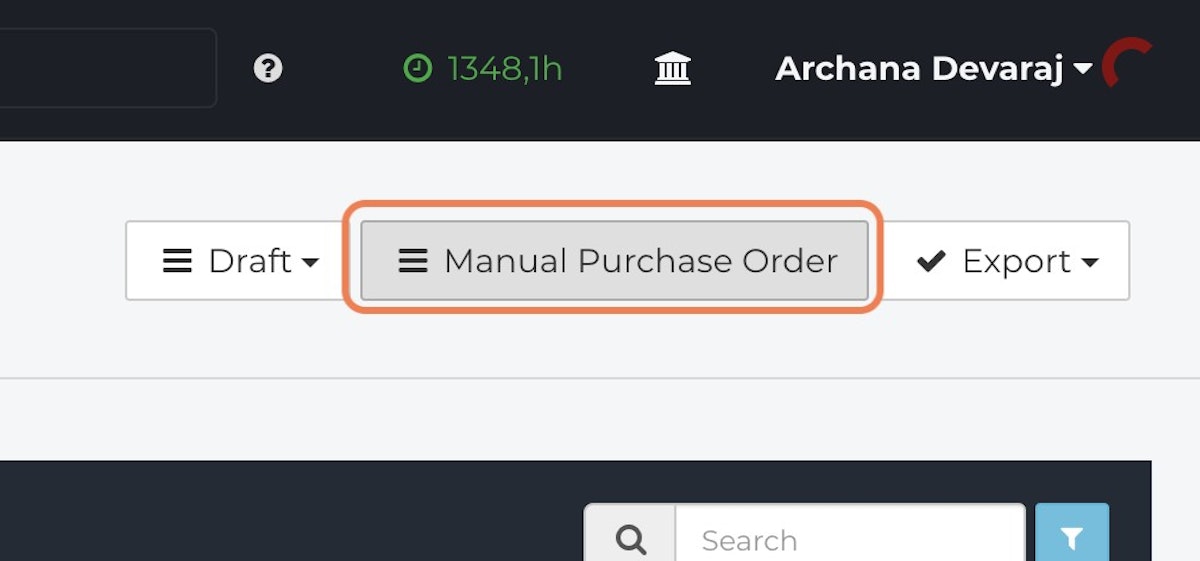
    2. Click Manual Purchase Order


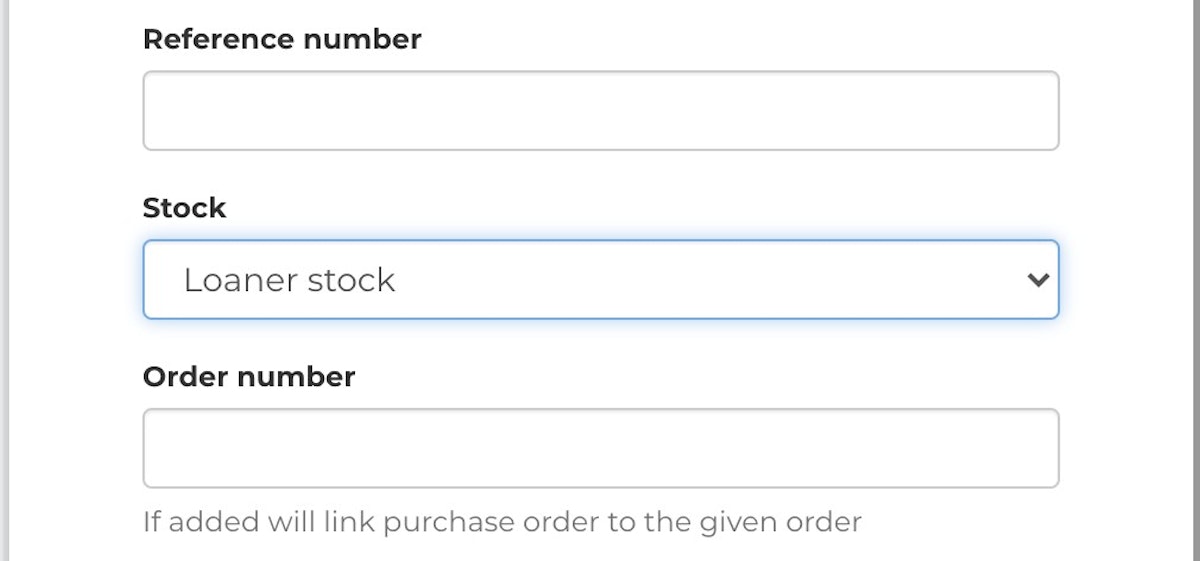
    3. Select the appropriate Stock.


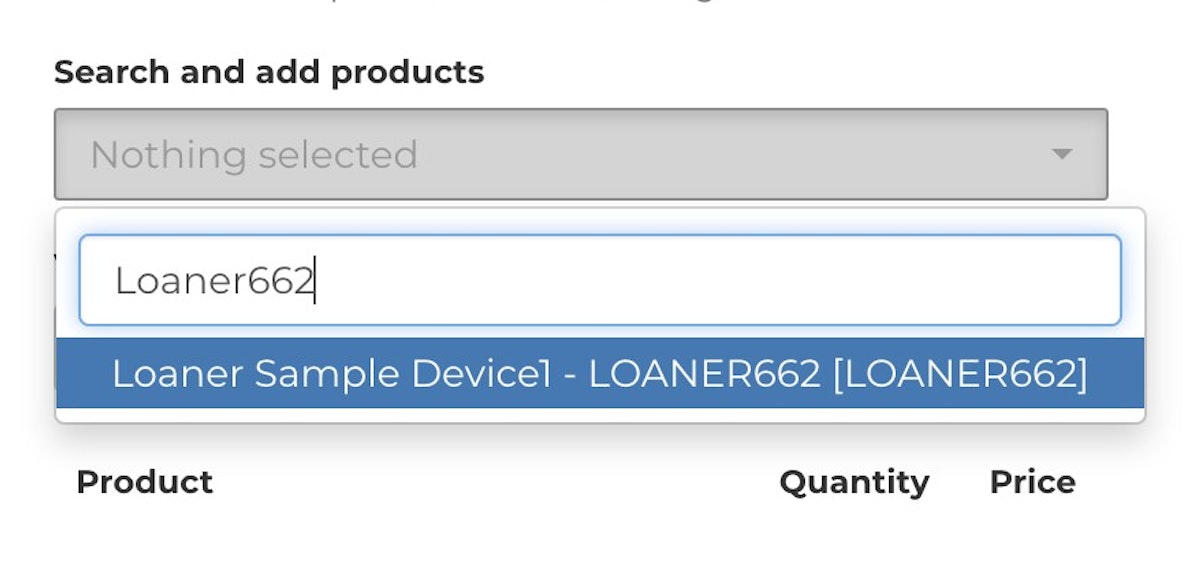
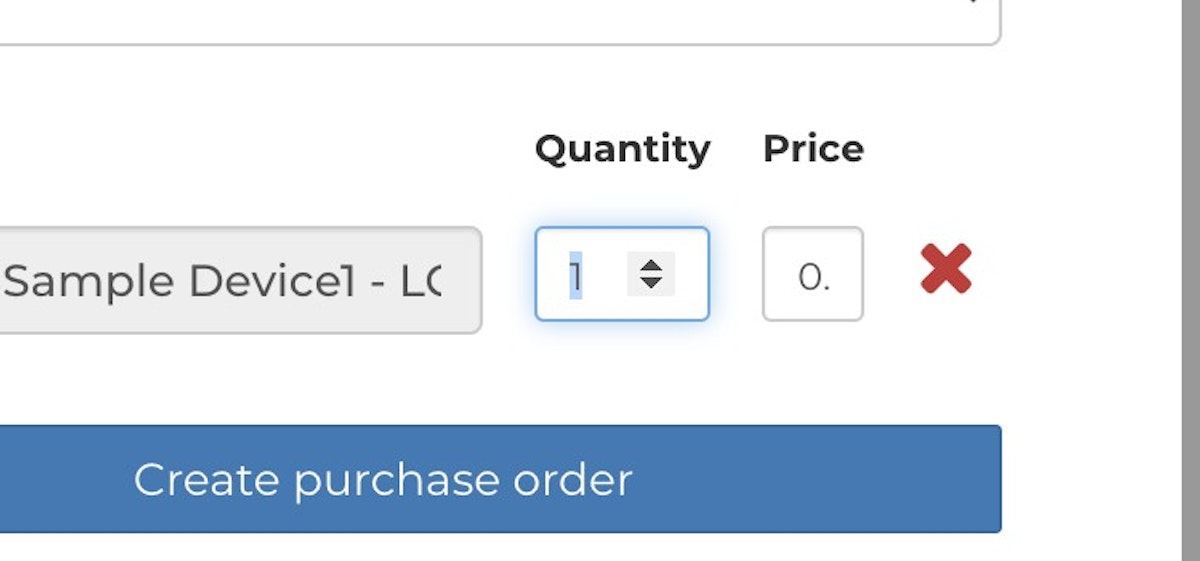
    4. Add the Loaner Product to the Purchase Order. Repeat this step for any additional products you need to receive.


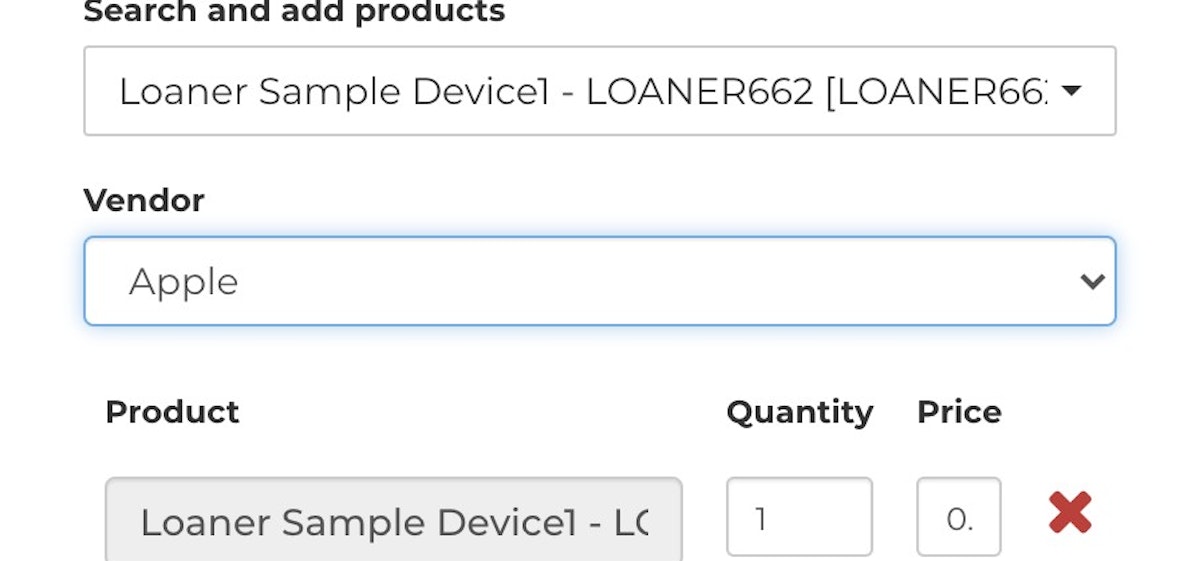
    5. Select the appropriate Vendor from the dropdown.


    6. When complete, click Create Purchase Order.


    7. To receive the Loaner devices, click on the Navigation Sidebar and Stock.


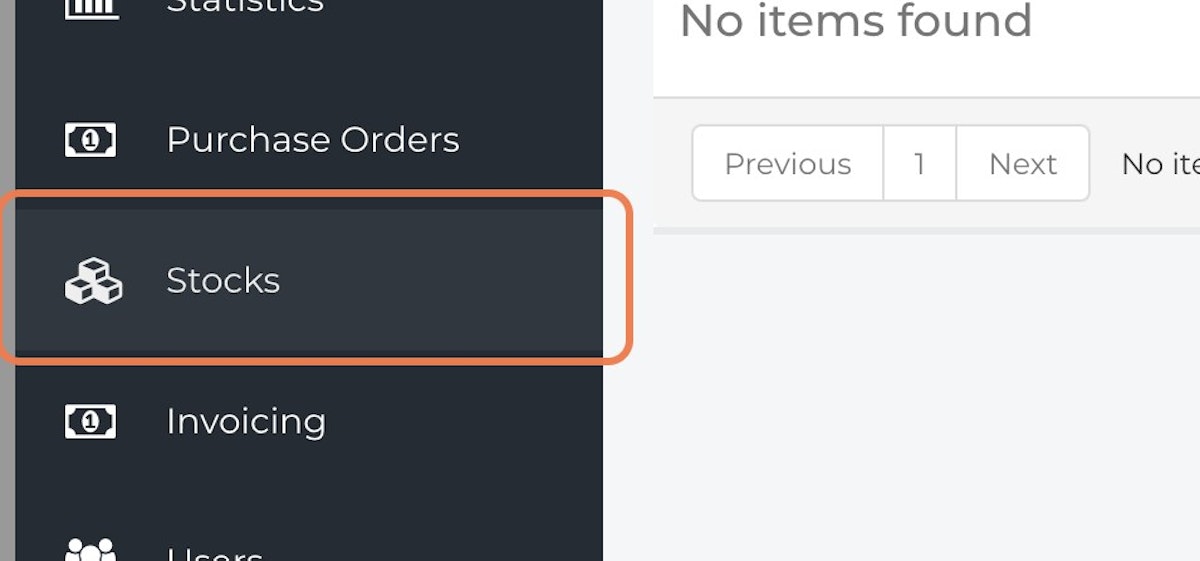
    8. Click on Incoming Goods.


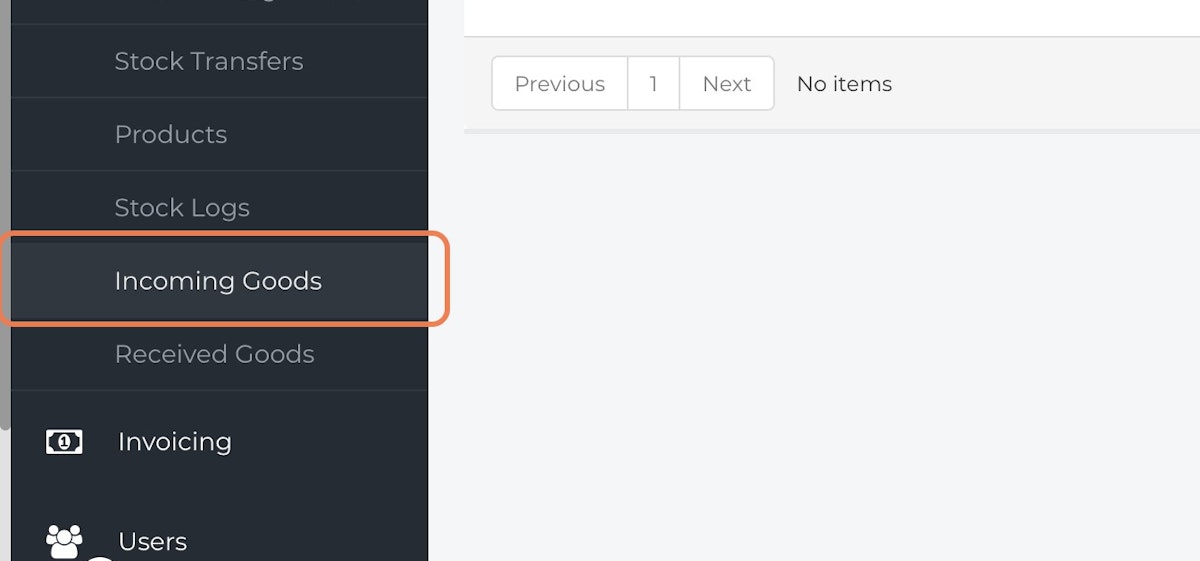
    9. Locate the appropriate Purchase Order from the list. Click on the checkbox to indicate that you are receiving the Purchase Order. If the Product is Serialized, enter the Serial Number or IMEI in the fields. Repeat this process for any additional Products you need to receive. 


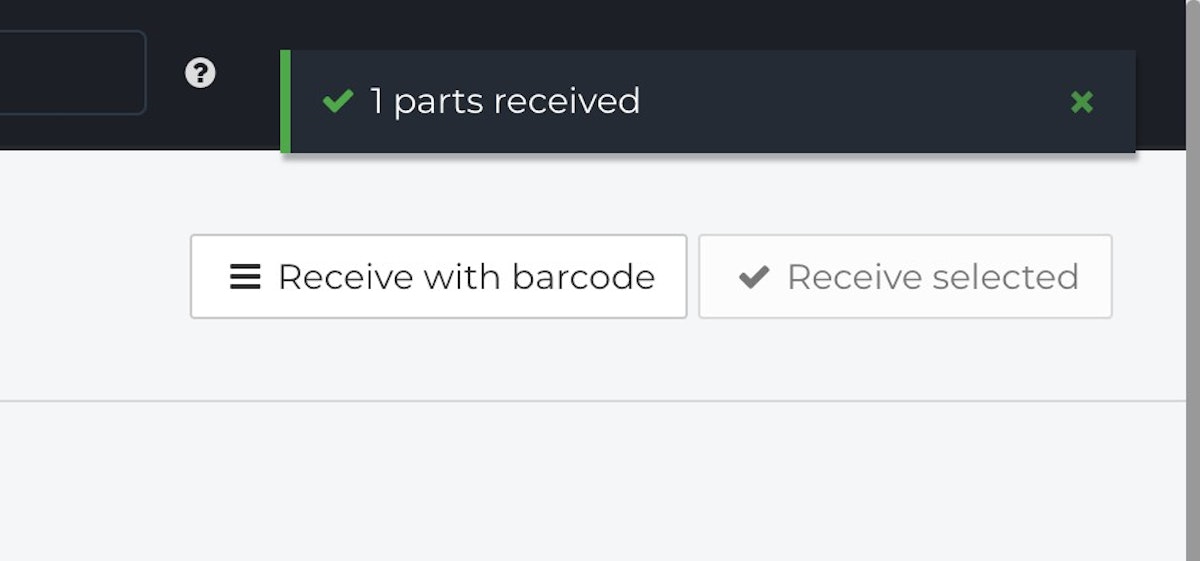
    10. When complete, click Receive selected.


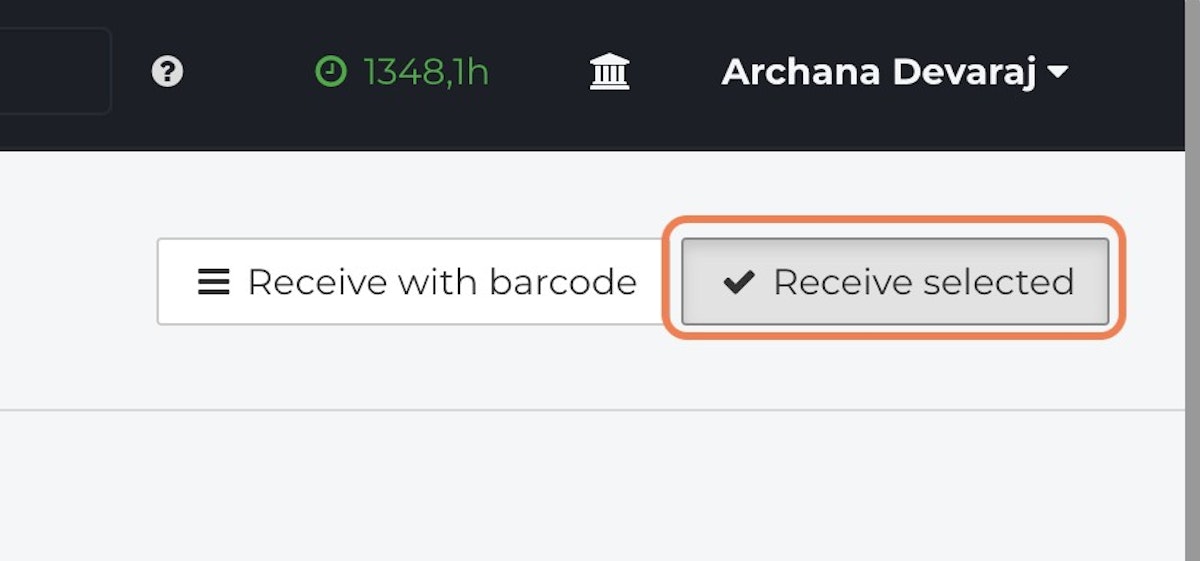
    11. A notification will appear indicating that the Product has been received and can now be used. 


    Adding a Loaner to an Order

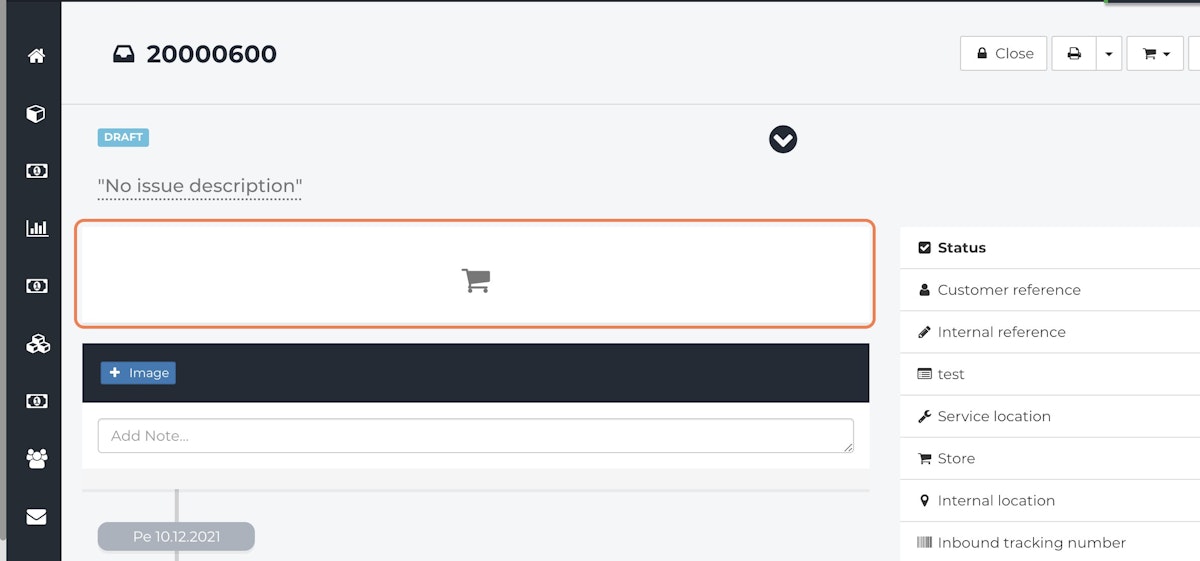
    1. Click the Shopping Cart icon or the Add Product button from an Order.


    2. Search for the Loaner.


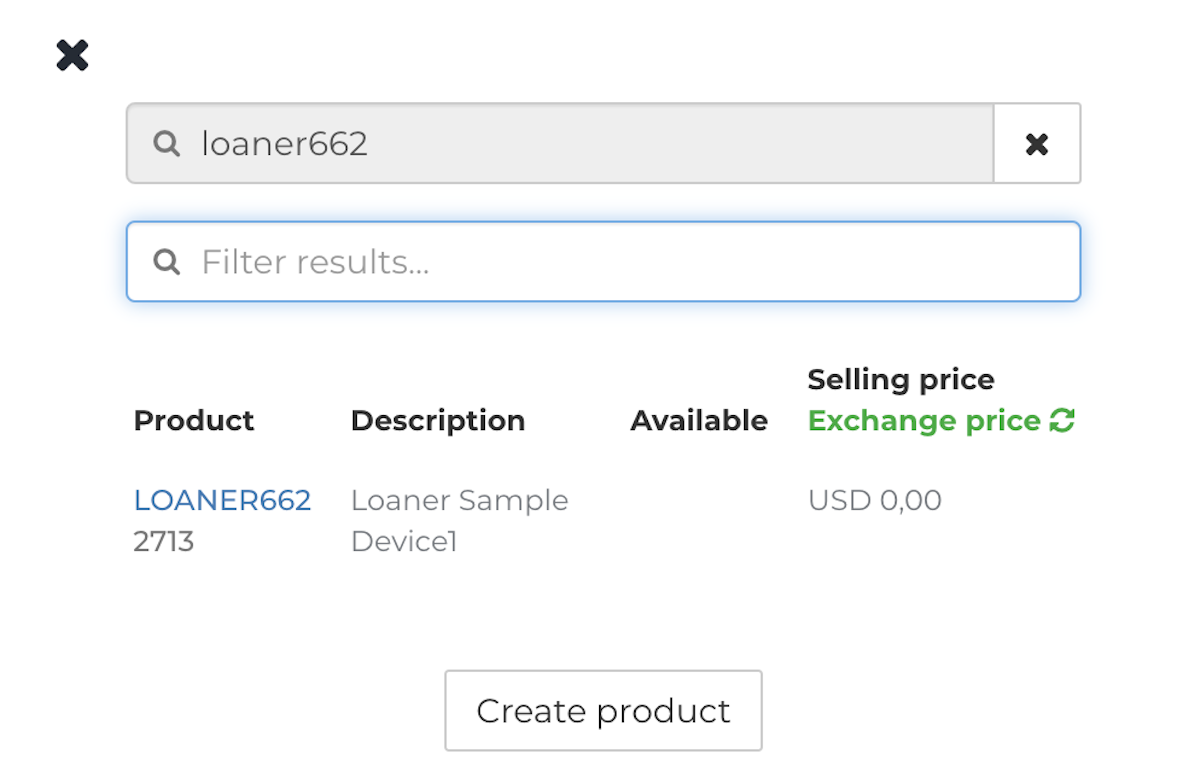
    3. Select the appropriate Loaner and click Bring to order.


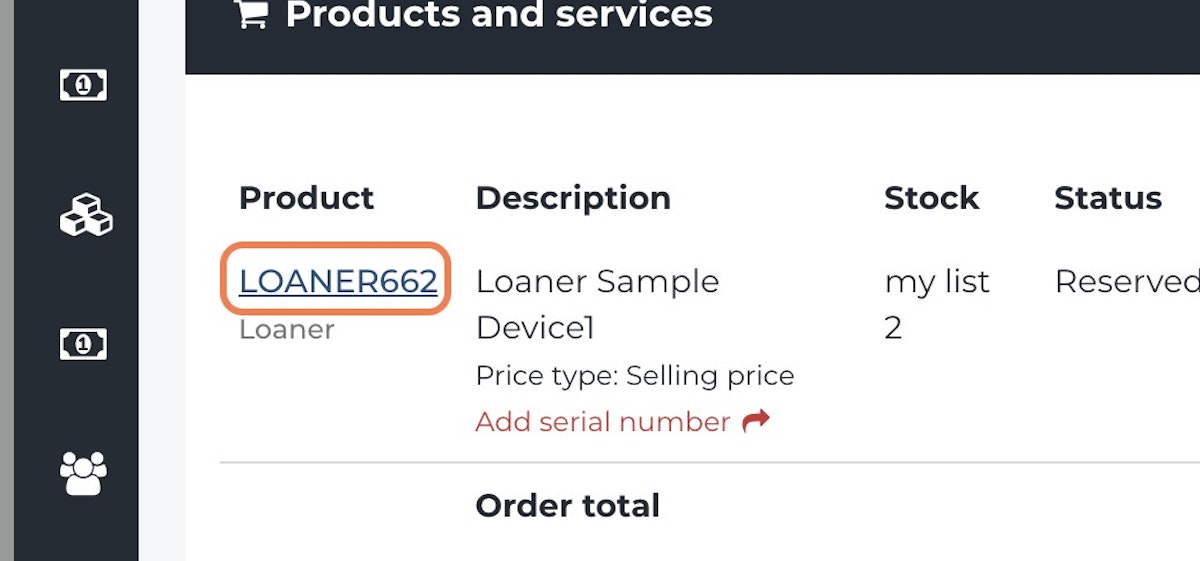
    4. When the customer is ready to accept the Loaner, click on the Product code from the Products and Services section and then Check-out.


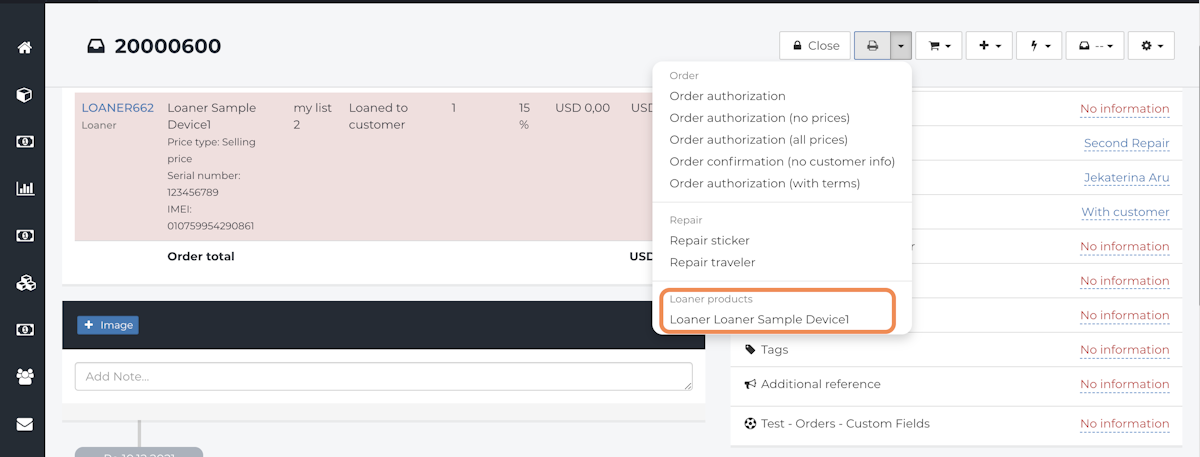
    5. The Loaner device printout will be available for the customer to sign.


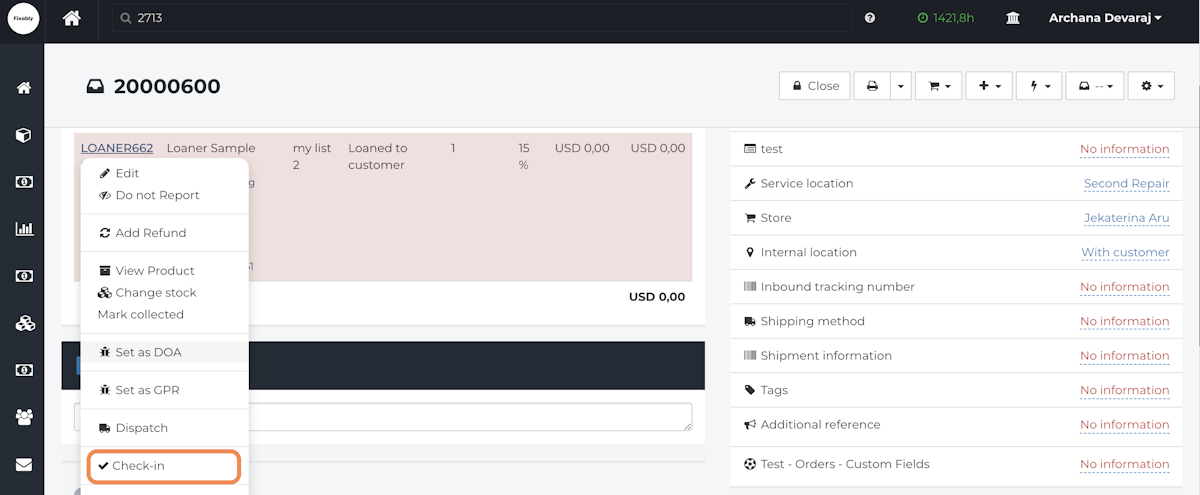
    6. When the customer arrives after the repair, click on Check-in from the Product dropdown to check in the loaner device.


    7. Check in the device by confirming the Serial Number, IMEI and any issues the client may have noticed during use.


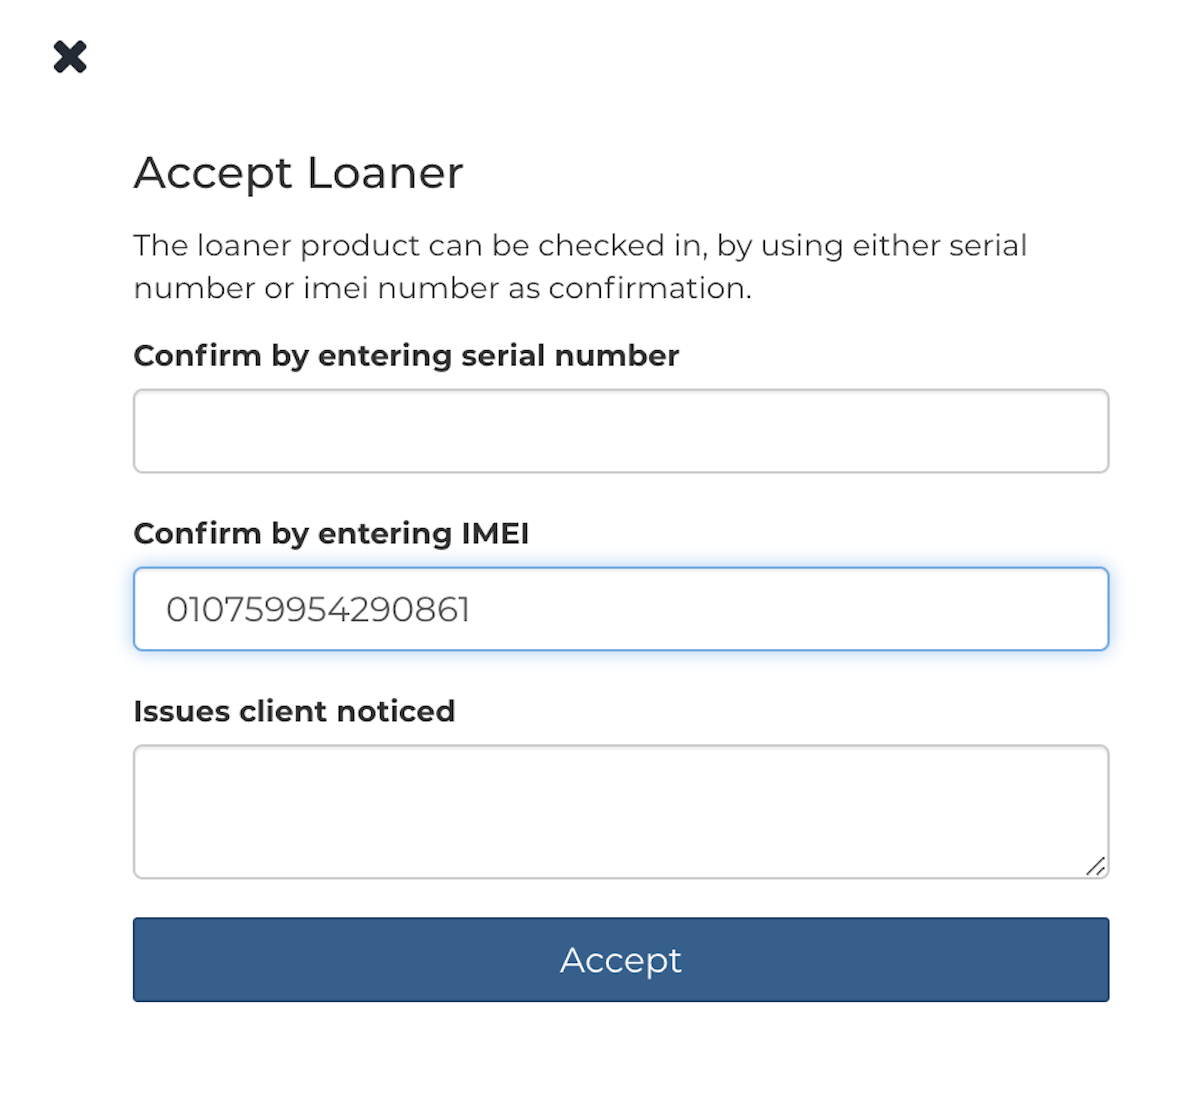
    8. The Loaner is now checked in.


    borrowed devices utilize devices loaner check-in check-out receive receiving rental

    Was this article helpful?

    Yes
    No
    Give feedback about this article

    Related Articles

    • How can I import CSV / XLSX files into Fixably?
    • How do I view previous Order history associated with a Device?
    • How can I use Alarms to receive notifications about Customers?
    • How can I filter the timeline in an Order?
    Get started today and start fixing hardware with software
    Thank you! We will contact you shortly.
    Oops! Something went wrong while submitting the form.
    ProductsFixably RepairFixably Depot
    SolutionsAASPsEnterprise ServiceRefurbishersMulti-Brand Repairs
    ResourcesAll ResourcesCustomer StoriesBlog
    CompanyAbout UsCareers
    Follow UsFacebookInstagramTwitterLinkedIn

    Contact Us

    sales@fixably.comsupport@fixably.com
    Fixably RepairRepair ManagementGSX IntegrationInventory & StockCustomer ExperienceReporting & DataPoint of SaleFixably Paperless

    North America  Sales

    +1 888 3600 63920289 Stevens Creek Blvd #1070
    Cupertino, CA 95014
    United States

    Europe  Sales

    +358 45 4900 549Kansakoulukatu 3
    00100 Helsinki
    Finland

    Contact Us

    sales@fixably.comsupport@fixably.com
    Copyright © Fixably Ltd.Privacy PolicyTerms of ServiceData Processing Agreement

    Copyright 2025 – Fixably.

    Knowledge Base Software powered by Helpjuice

    Expand