How to create custom fields?
Custom fields in Fixably are flexible, user-created fields that allow multiple data types to be captured from User.

Written by Annukka Matilainen
Updated at September 25th, 2024
- Release Notes
- Newly Released Features
- Getting Started
- Roles & Permissions
- Manifests
- Order Management
- Automations
- Employee Management
- Customer Management
- Customer Portal
- Stock Management
- Part Requests
- Price Lists
- Invoicing
- Reporting
- Custom Fields
- Integrations
- GSX
- Shipments
- Service Contracts
- Configuring Your Environment
- Incoming Part Allocation
Table of Contents
Understanding and Creating Custom Fields
Administrators can create new or modify existing Custom Fields. Custom fields are available for devices, orders, order lines, products, service contracts and users.
Creating custom fields:
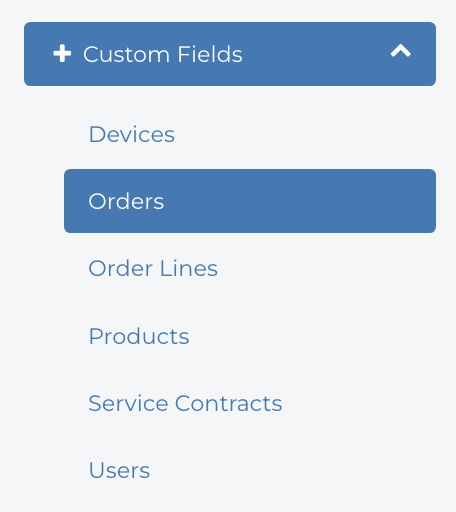
1. System Settings > Custom Fields > Specific field (order, devices).
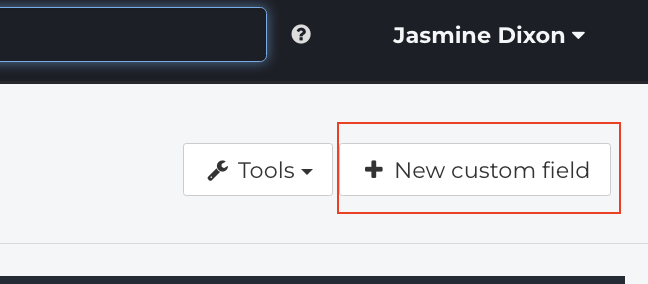
2. Click "New custom field".
3. Fill in any required fields. When complete, click Save.
Properties Tab:
-
Name - The name of the custom field that will be seen by users.

-
Description - What information this custom field is meant to provide.

-
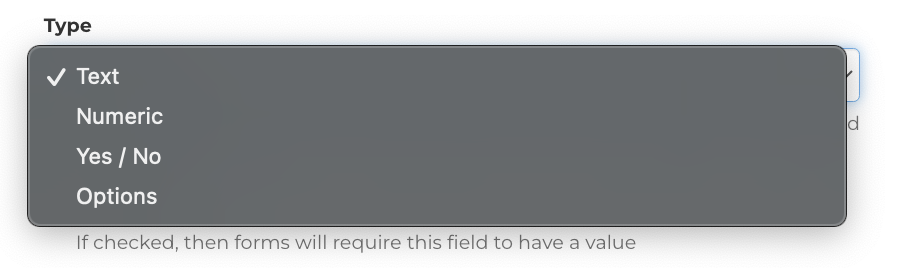
Type - The different types of data that can be used which include: Text, Numeric, Yes/No and Options (multiple choice).
-
Required - If checked this requires the custom field to be filled in for the form to be saved.

-
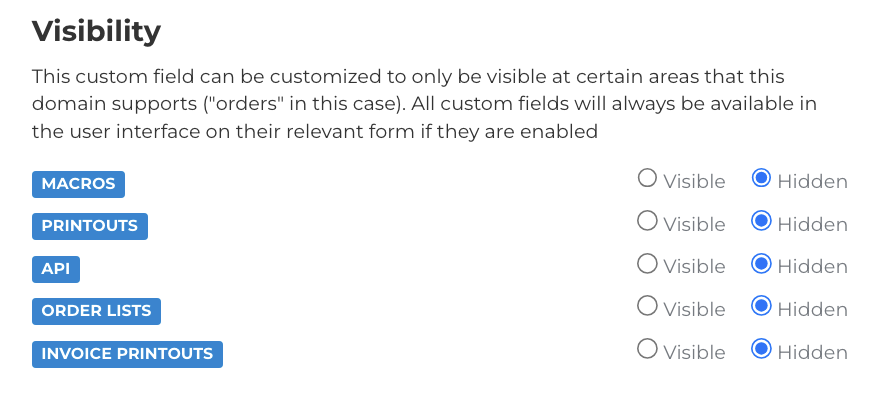
Visibility - This determines where the custom field can be seen within the system.
Permissions Tab:
- In this tab you are able to determine the permissions for each custom field for both customers and employees.
- View - This allows the user the ability to see the custom field.
- Create - This allows the user to be able to complete the initial answer for the specific custom field.
- Edit - This allows the user to edit a custom field after it has already been set.
Advanced Tab:
-
Searchable - This allows you to search for the custom field response in the global search. To search custom fields you would need to format your search as Specific field-name:option
Ex. device-color:Black
-
Order Events - This determines if the custom field will trigger order events.

-
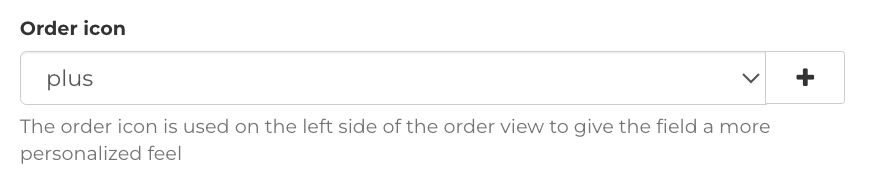
Order icon - This is only for Order custom fields but it allows you to choose the icon you would like the custom field to display in the order view. This is not available for all types of custom fields.
-
Batch Edit - This will allow the custom field to be available in the Batch Edit section.
