How do I configure Fixably to receive Incoming Emails?
The following article will assist Fixably Administrators and your internal IT team in setting up Fixably to receive Incoming Emails.

Written by Annukka Matilainen
Updated at January 29th, 2025
- Release Notes
- Newly Released Features
- Getting Started
- Roles & Permissions
- Manifests
- Order Management
- Employee Management
- Customer Management
- Customer Portal
- Stock Management
- Invoicing
- Reporting
- Custom Fields
- Integrations
- GSX
- Shipments
- Service Contracts
- Configuring Your Environment
- Part Requests
- Incoming Part Allocation
Table of Contents
How does Incoming Email work?
- Fixably can receive Incoming Emails with some basic configuration on your company email server.
- When a Customer responds to an important email from your team, Fixably will automatically receive the response and add a Note to the timeline on the associated Order.
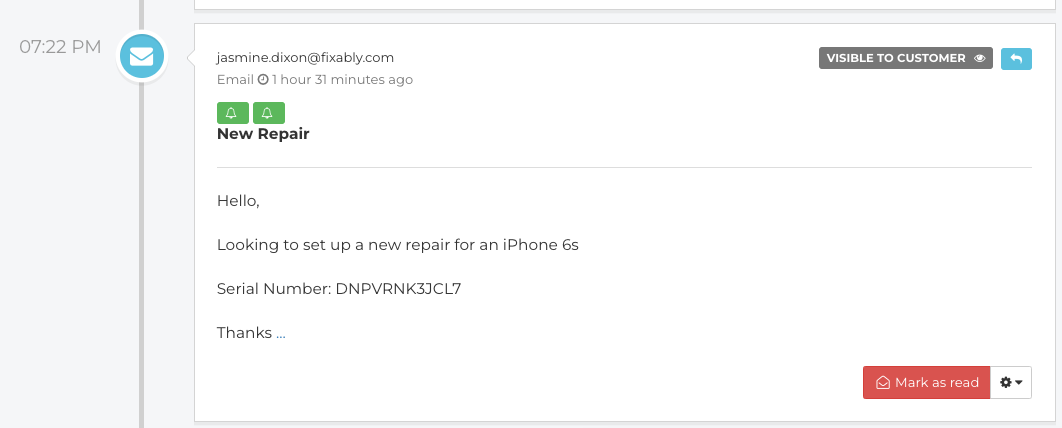
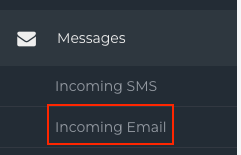
- Incoming emails are also viewable from the Navigation Sidebar, clicking Messages and then Incoming Email.
Configuring Incoming Emails
Before completing the steps below, please ensure that your DMARC records have been configured correctly.
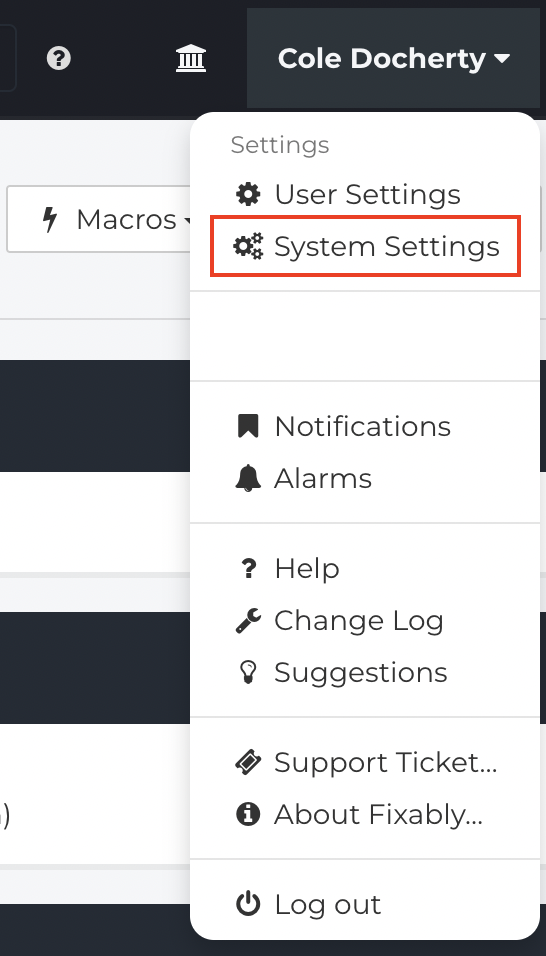
- From the Fixably Home Screen, click on your User Name menu, then System Settings.

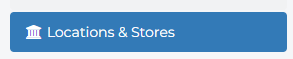
- From the Settings Menu, click Locations & Stores.
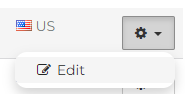
- Click on the Gear Menu of the location you want to set up and click Edit.
- Set up your Location email address. This address is what your customers would see as the sender when sending Order related messages.

- Set up your Reply-to email address.

For Incoming Emails to be received in Fixably, the Reply-To email address can either be:
- The address displayed at the bottom of the Basic Email Settings menu.
- The email will look like domain@fixably.domain.com or domain@mail.sirwise.com but may be different for your environment.

or
- Any email address, as long as it's not the same as the location email address, forwarding rule will need to be configured on your email server to send all emails to the address shown at the bottom of the Basic Email Settings menu.
- After configuring this, customer replies are automatically shown in Incoming Emails and the Order timeline.
Orphaned Emails
If required, Fixably also has an option to forward "orphaned" messages to a separate email address. Please ensure you don't accidentally forward emails to an address already delivering to Fixably, as this can create an infinite forward loop.
-
From the Fixably Home Screen, click on your User Name menu, then System Settings.
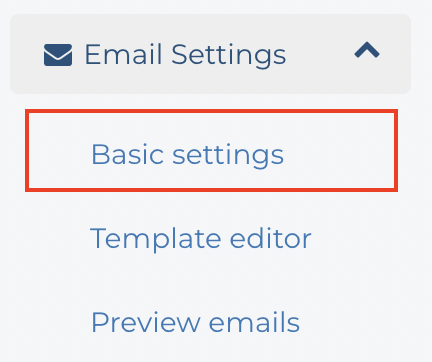
- From the Settings Menu, click Email Settings.

- Click Basic Settings.
- Add the appropriate email to the Forward Address box.

Using Incoming Emails
More details on using Incoming Emails with Fixably are available here.