How can I use Incoming Emails?
This article is a step-by-step walk-through to help Users efficiently use Incoming Emails in Fixably

Written by Annukka Matilainen
Updated at September 24th, 2024
- Release Notes
- Newly Released Features
- Getting Started
- Roles & Permissions
- Manifests
- Order Management
- Automations
- Employee Management
- Customer Management
- Customer Portal
- Stock Management
- Part Requests
- Price Lists
- Invoicing
- Reporting
- Custom Fields
- Integrations
- GSX
- Shipments
- Service Contracts
- Configuring Your Environment
- Incoming Part Allocation
- Appointment Booking
Table of Contents
Incoming Emails With No Order Associated
Viewing Incoming Emails
- From the Navigation Sidebar, click Messages and then Incoming Email.
how-can-i-use-incoming-emails
- Fixably will take you to a list of recently received emails.
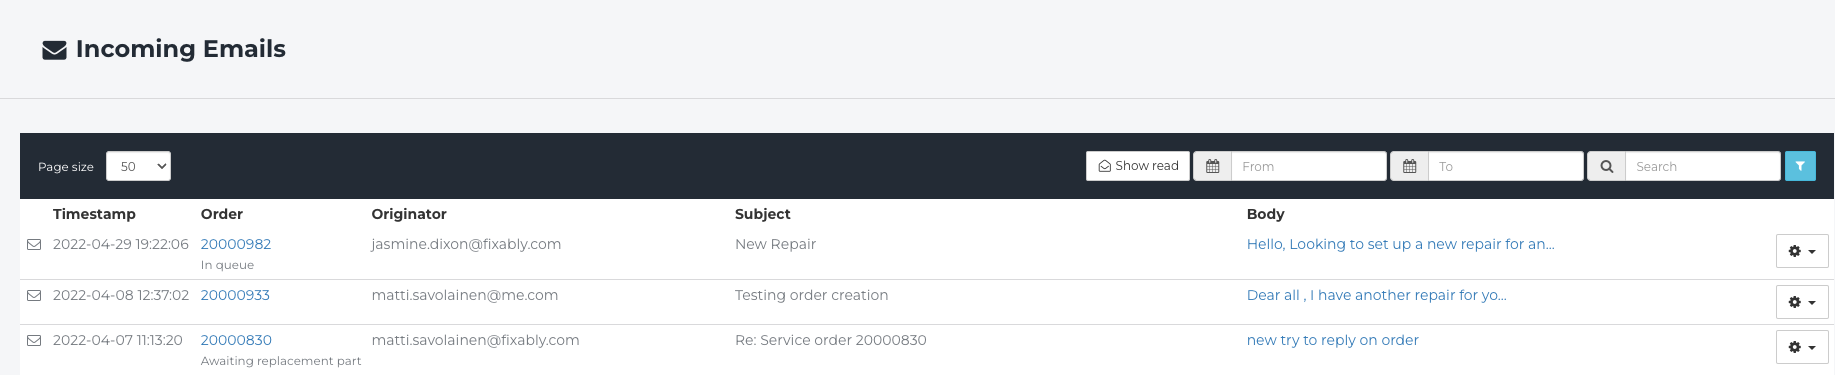
- Filter emails by Date Rate.

- Emails are also available in the Notes section of the Order.
The incoming Email page is a view to see all emails sent to the Fixably system email address (which is unique for each Fixably customer).
When an email is sent to the Fixably system email address, Fixably automatically connects the email to an order if the email contains the Fixably Order ID.
In the Incoming Email view, the user can see all emails received by the Fixably system and to which Order each email was connected to.
If an Order ID is not found in the email message, the user can create one or multiple Orders from the email in the Incoming Email view.
If one Order is created from the email, Fixably checks if the sender is found from Fixably and creates an Order for this customer with the message body as the issue description.
If user selects to create multiple Orders from the email, it is possible to use keyword-based automation to auto-populate the serial number and the issue description for each created Order from the email body.
Replying to an Email
- From the Navigation Sidebar, click Messages and then Incoming Email.

- Fixably will take you to a list of recently received emails.

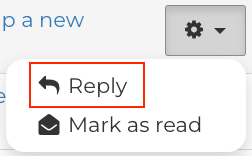
- Find the appropriate email and click the Gear menu.

- Click Reply.
- Under the Message tab, compose your email.
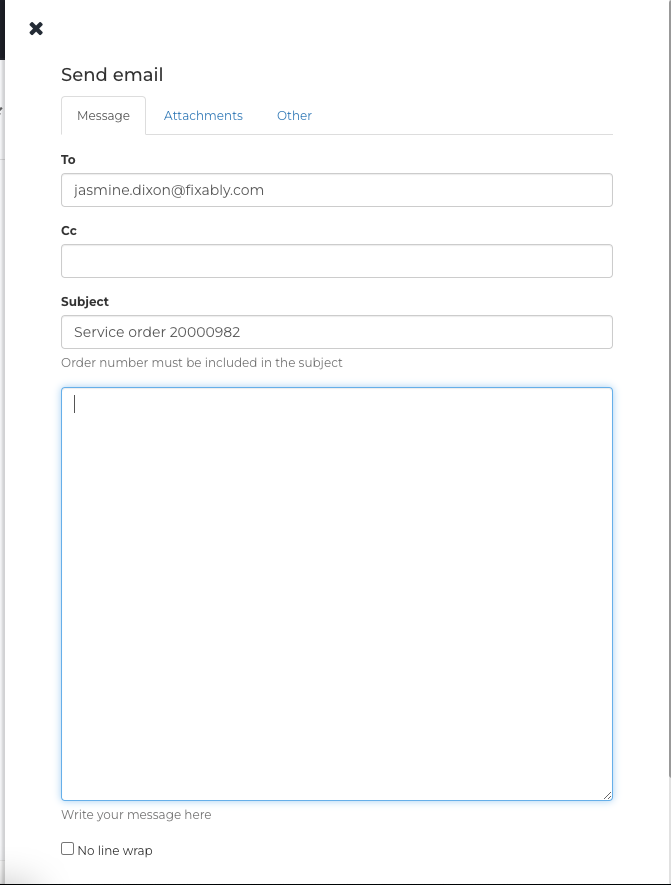
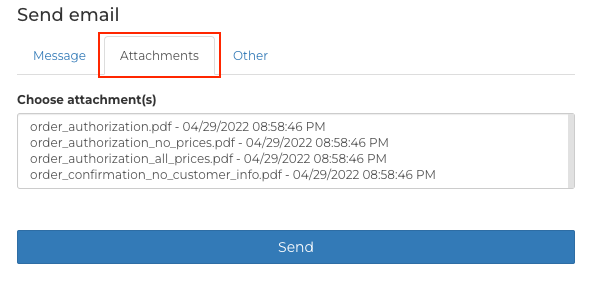
- If required, add Attachments, such as a Cost Estimate to the email.
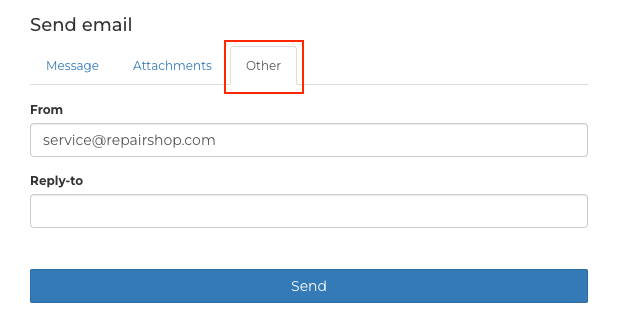
- Under the Other tab, you can change the From email or Reply-to email if required. The Reply-to email is the email that will receive any replies from the customer.
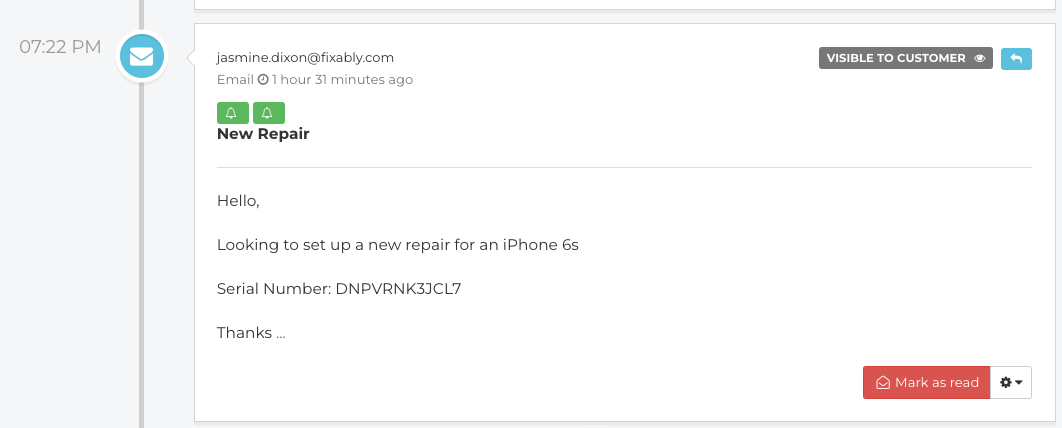
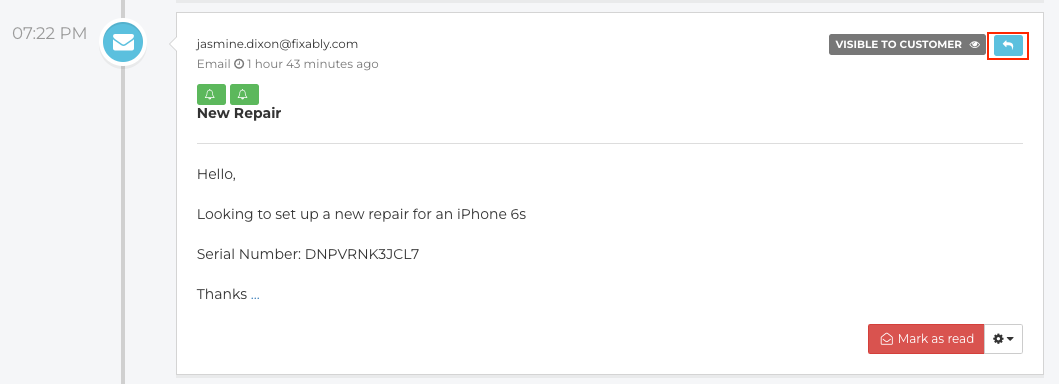
- You can also reply to the email directly from the Order by clicking the blue Arrow button.
Incoming Emails With No Order Associated
- Emails not associated with an Order will be visible without an Order number listed. This may occur if a Customer changes or removes the subject line or sends a new email directly to the incoming email address you have configured in System Settings.

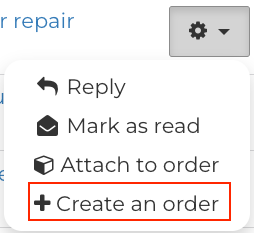
- Associate an email with an Order by clicking the Gear menu and then Attach to Order.
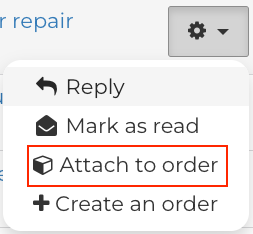
- From the same menu, you can also create a new Order.