How do I manage my User Settings?
This article will guide you through configuring all the essential settings for getting your Fixably user account ready to use.

Written by Annukka Matilainen
Updated at September 24th, 2024
- Release Notes
- Newly Released Features
- Getting Started
- Roles & Permissions
- Manifests
- Order Management
- Automations
- Employee Management
- Customer Management
- Customer Portal
- Stock Management
- Part Requests
- Price Lists
- Invoicing
- Reporting
- Custom Fields
- Integrations
- GSX
- Shipments
- Service Contracts
- Configuring Your Environment
- Incoming Part Allocation
- Appointment Booking
Table of Contents
User settings
Your User Settings help you customize Fixably to your needs. You can easily change appearance themes, manage personal account settings for any OEM integrations, and create custom Order Lists with the various settings.
There are three tabs in User Settings:
-
General
- General - Choose your Role, Shop, and Store locations. Add your Signature.
- Appearance - Choose your Fixably theme.
- Password - Change your password.
- Printouts - Choose how your name is displayed on Printouts.
- Order Lists
- Integrations
General
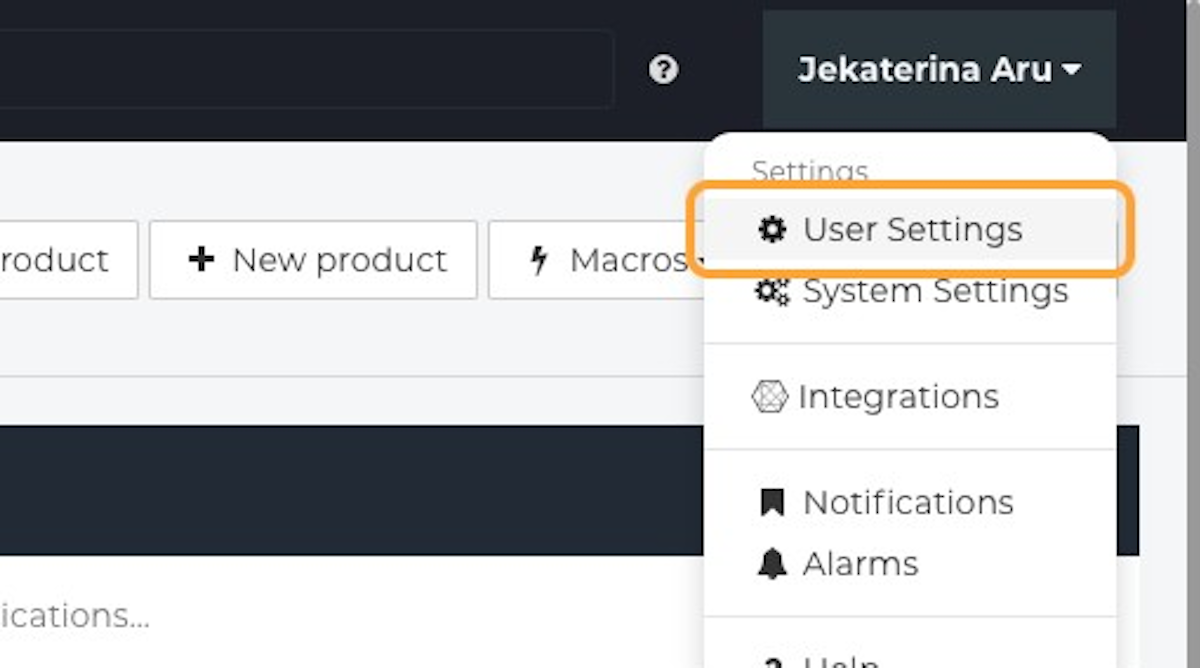
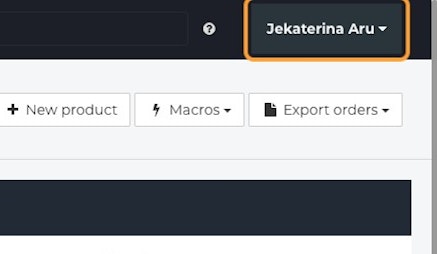
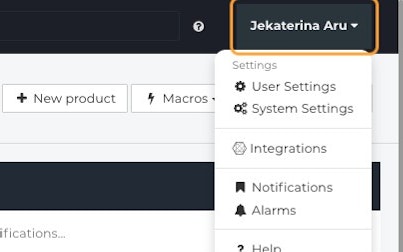
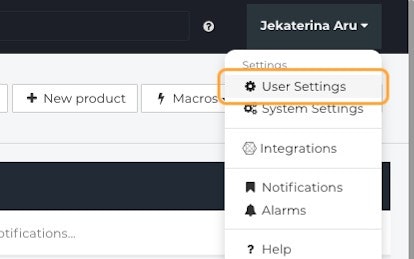
- From the Fixably Home Screen, click on your User Menu.
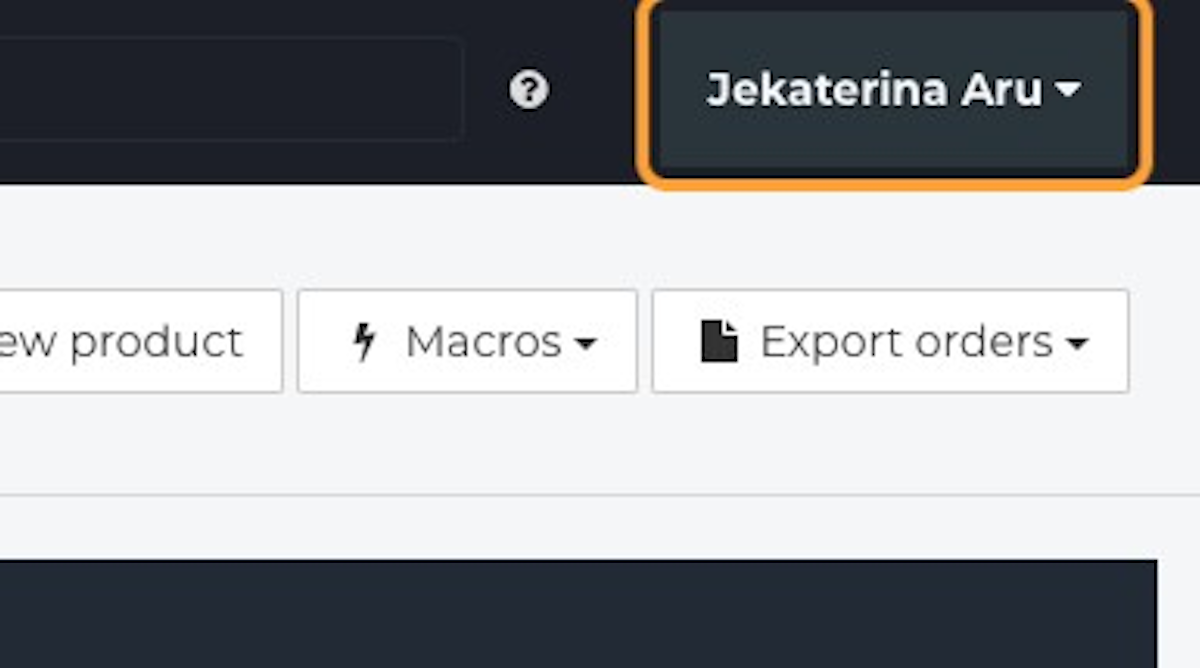
- Click User Settings.
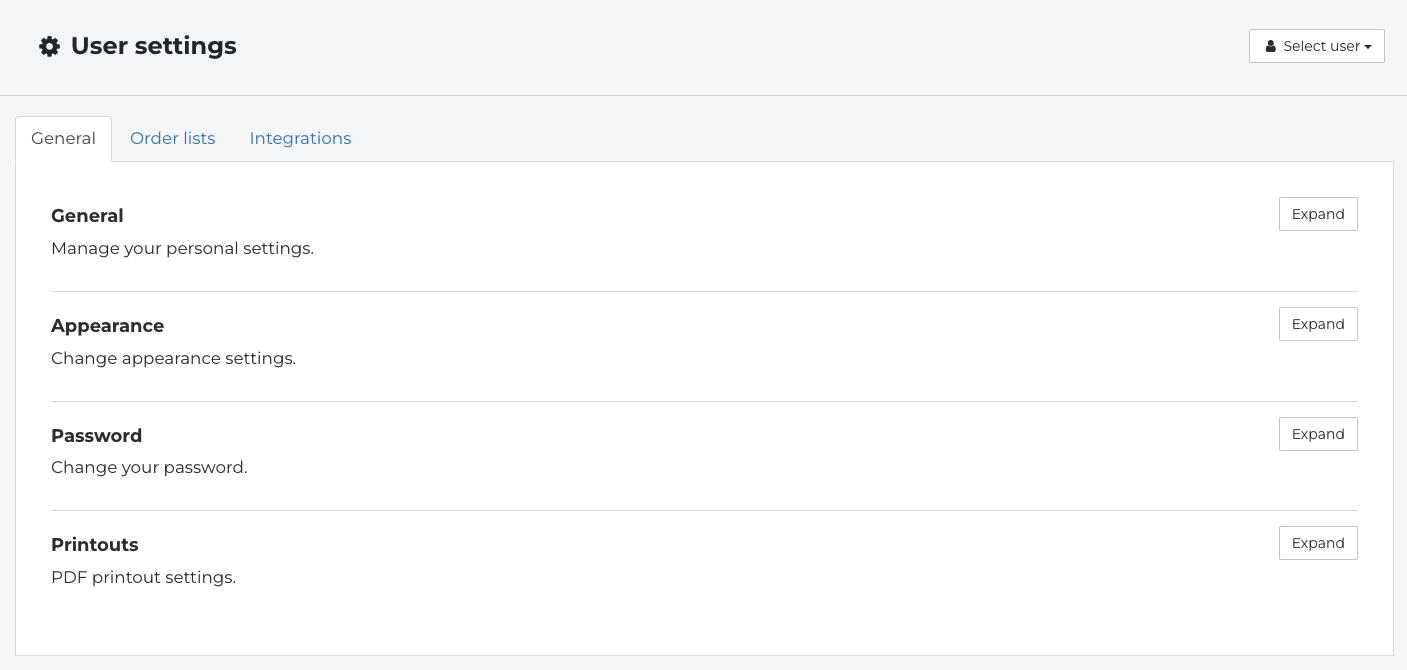
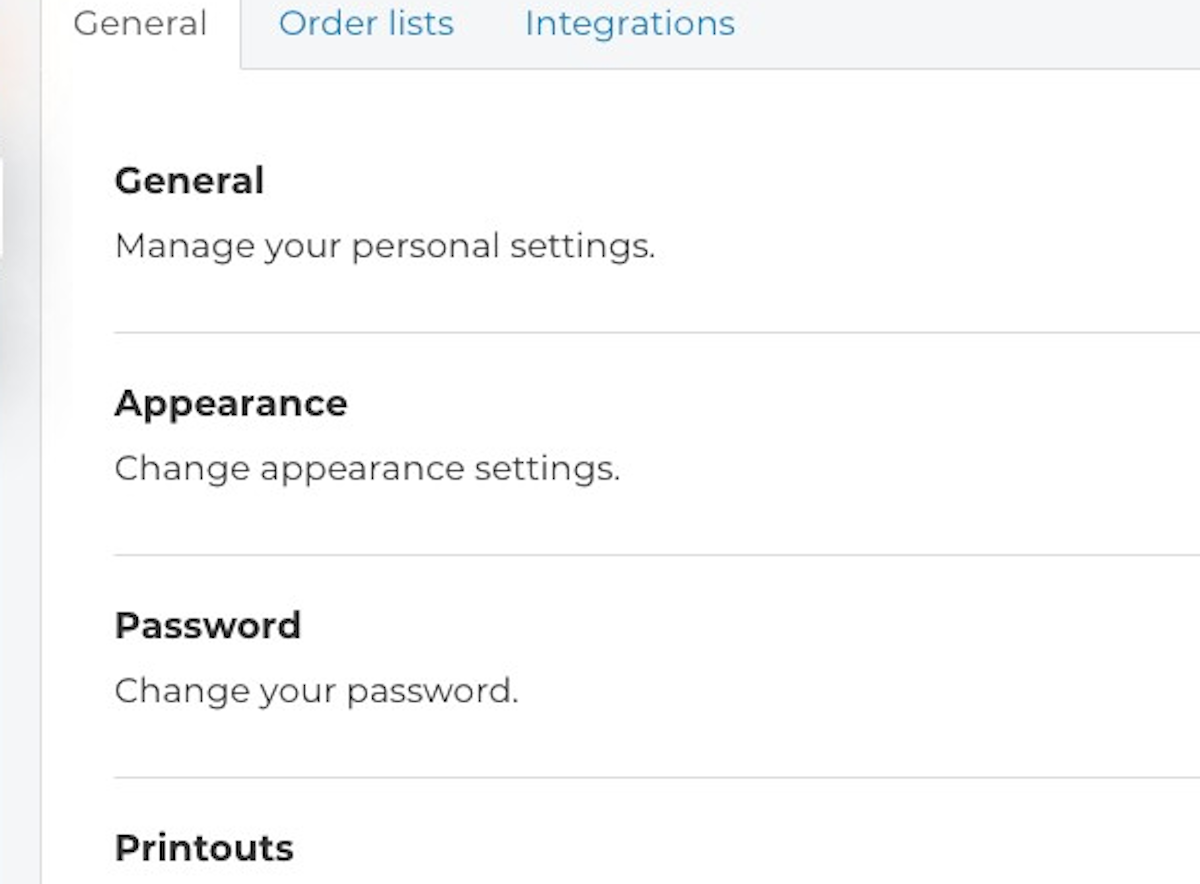
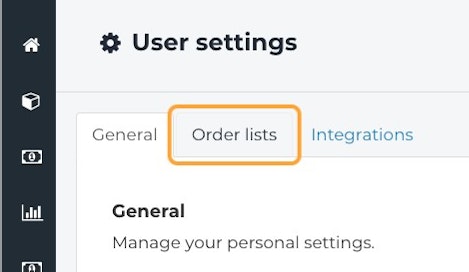
- Under the General tab, there are four options to choose from General, Appearance, Password, and Printouts.
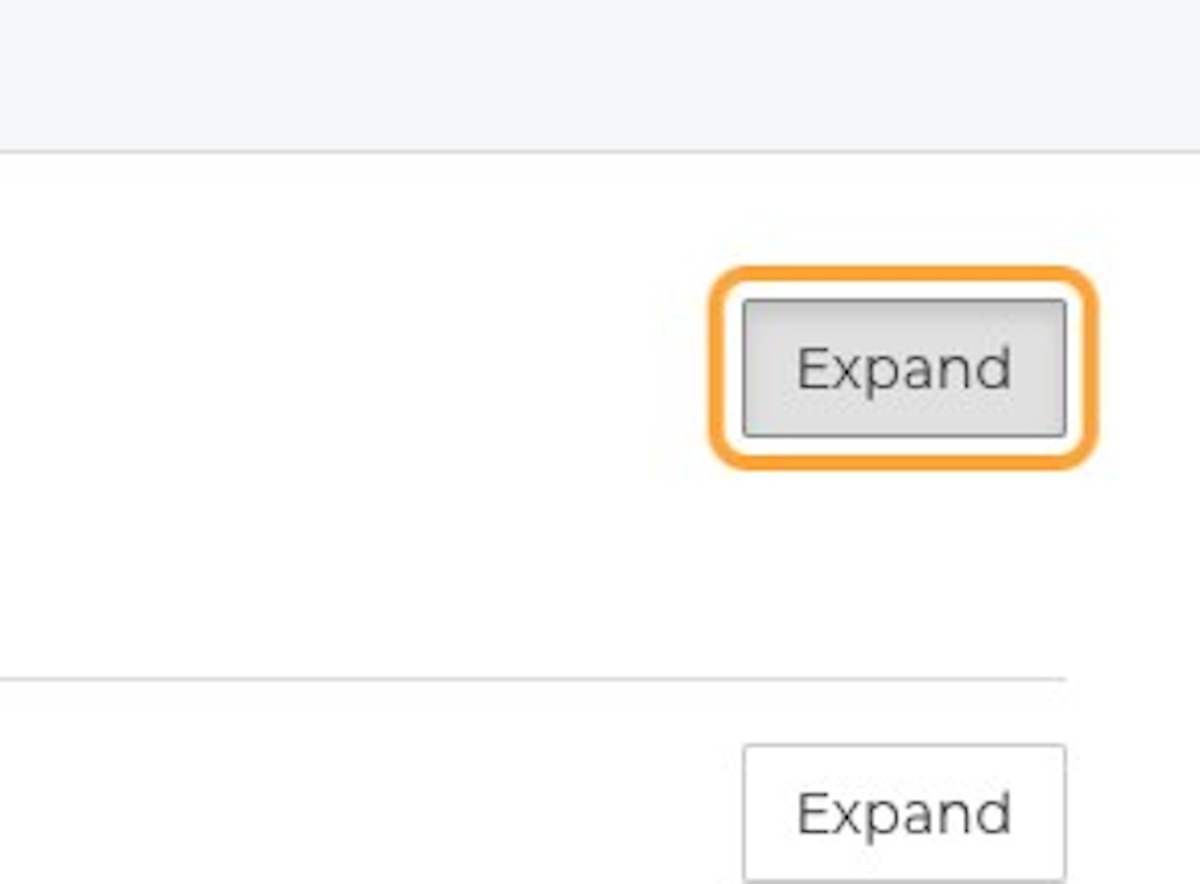
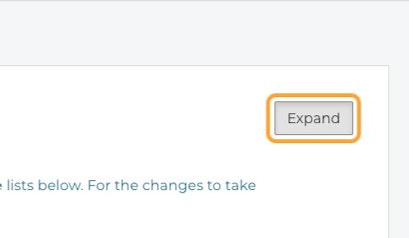
- Under the General tab, click on Expand to open your settings.
- Select your Role from the drop-down menu: Technician, Shop assistant, or Logistics.
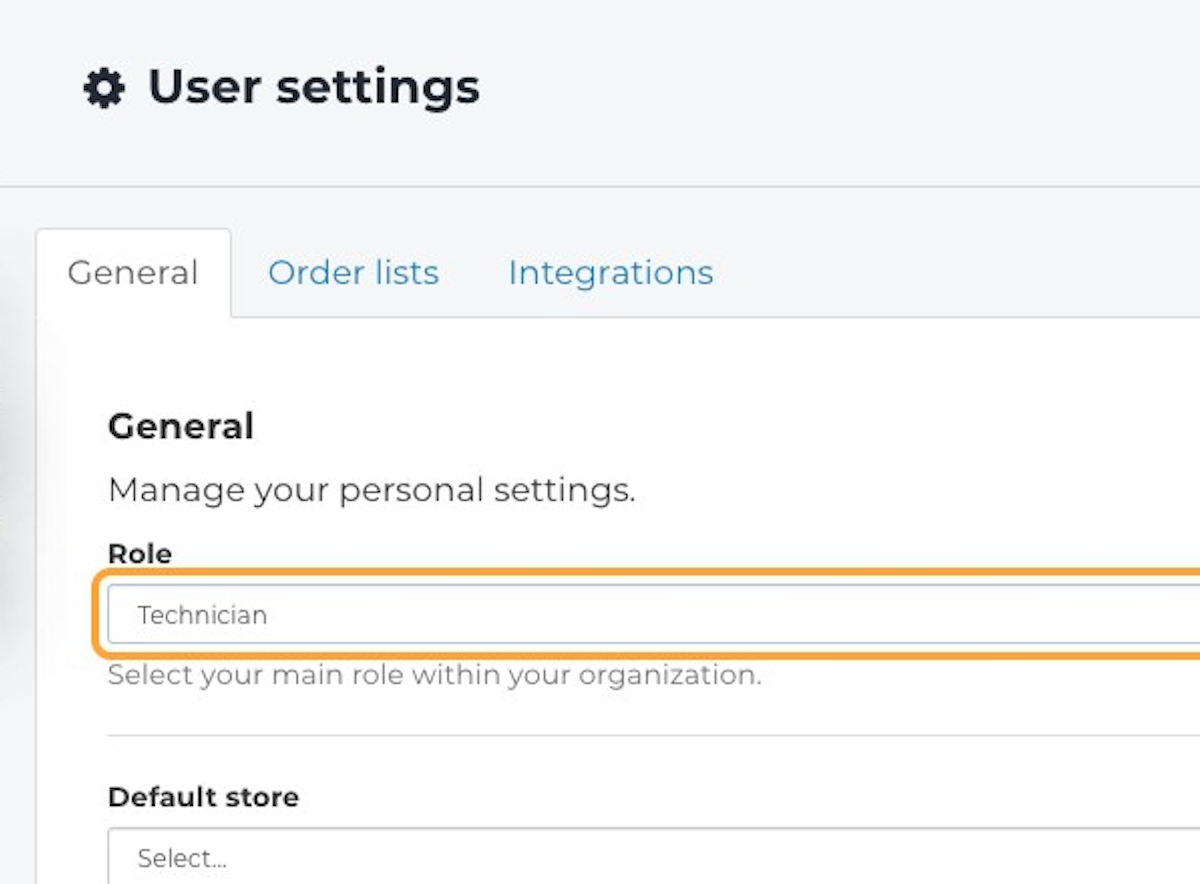
Technician - shows the technician's name in the dropdown for the handler and also in the technician's efficiency list.
Shop assistant - has an idle mode, where the system will log out automatically and show the name of who was logged in after 10 minutes of being idle. There is also an option that stores data only on cookies.
- If your company has more than one store configured, you can select the Default Store from the drop-down list.
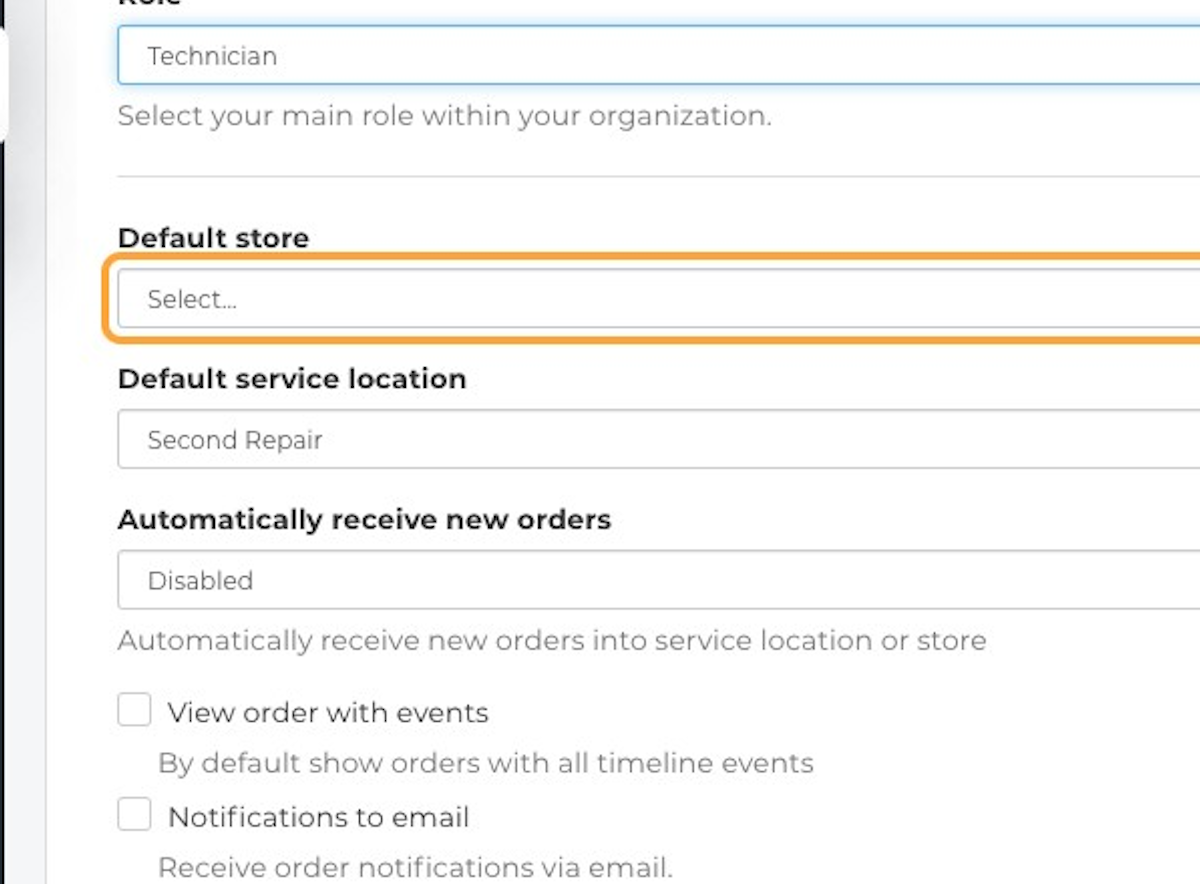
- If your Company has more than one location configured, you can select the Default service location from the drop-down menu. A default location is required for Fixably to function correctly (for example, viewing the next available Order or sending emails).

- Choose if new orders are automatically received into your service location: Disabled, Receive into service location, Receive into Store.
- Check-boxes provide additional control over how Notifications are handled: View order with events, Notifications to email, Notifications to store or location, and Reception computer.
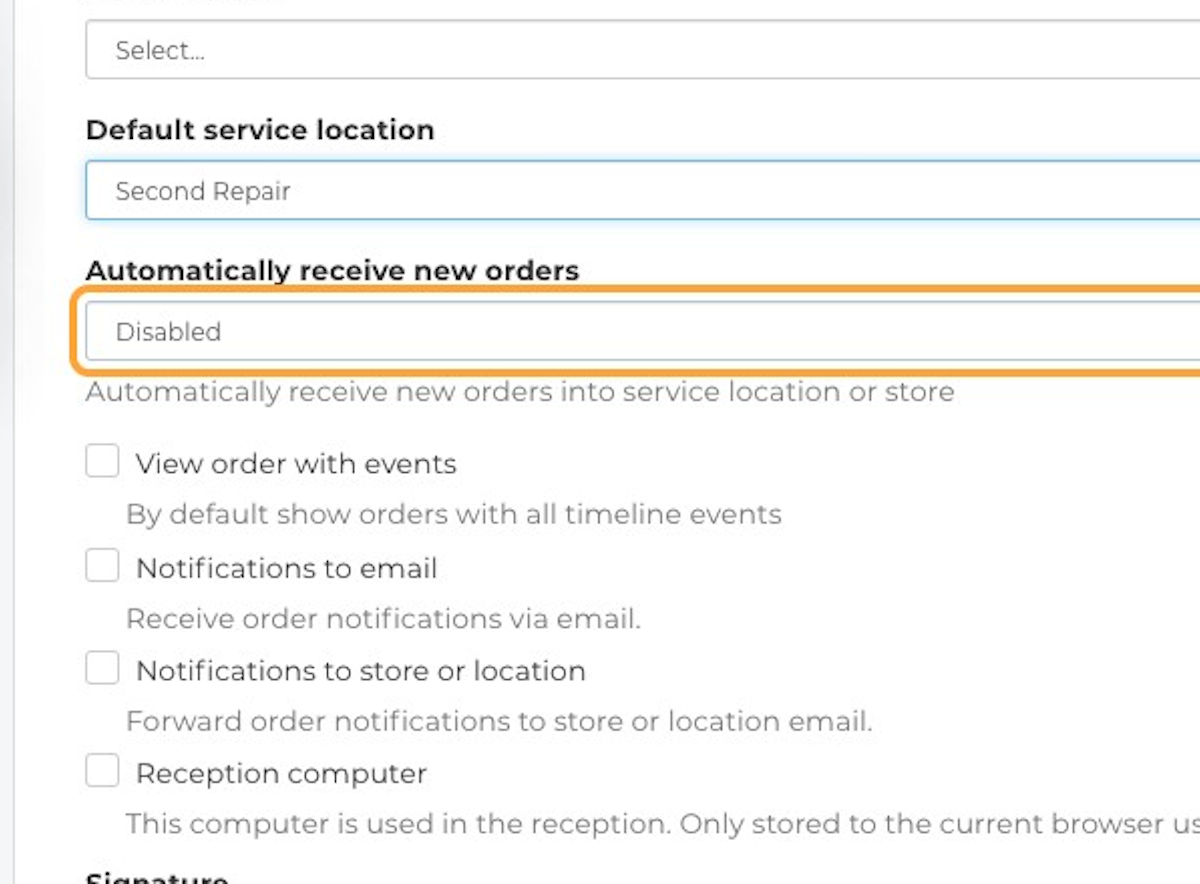
- If required, add your Signature.
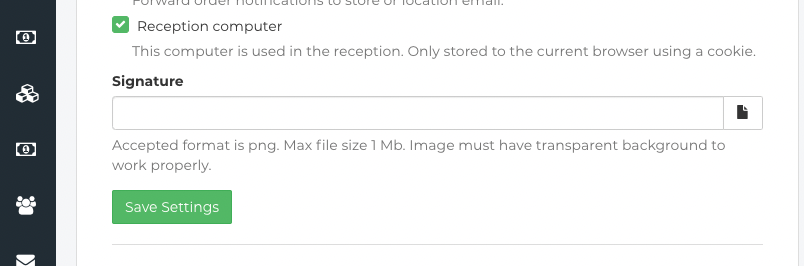
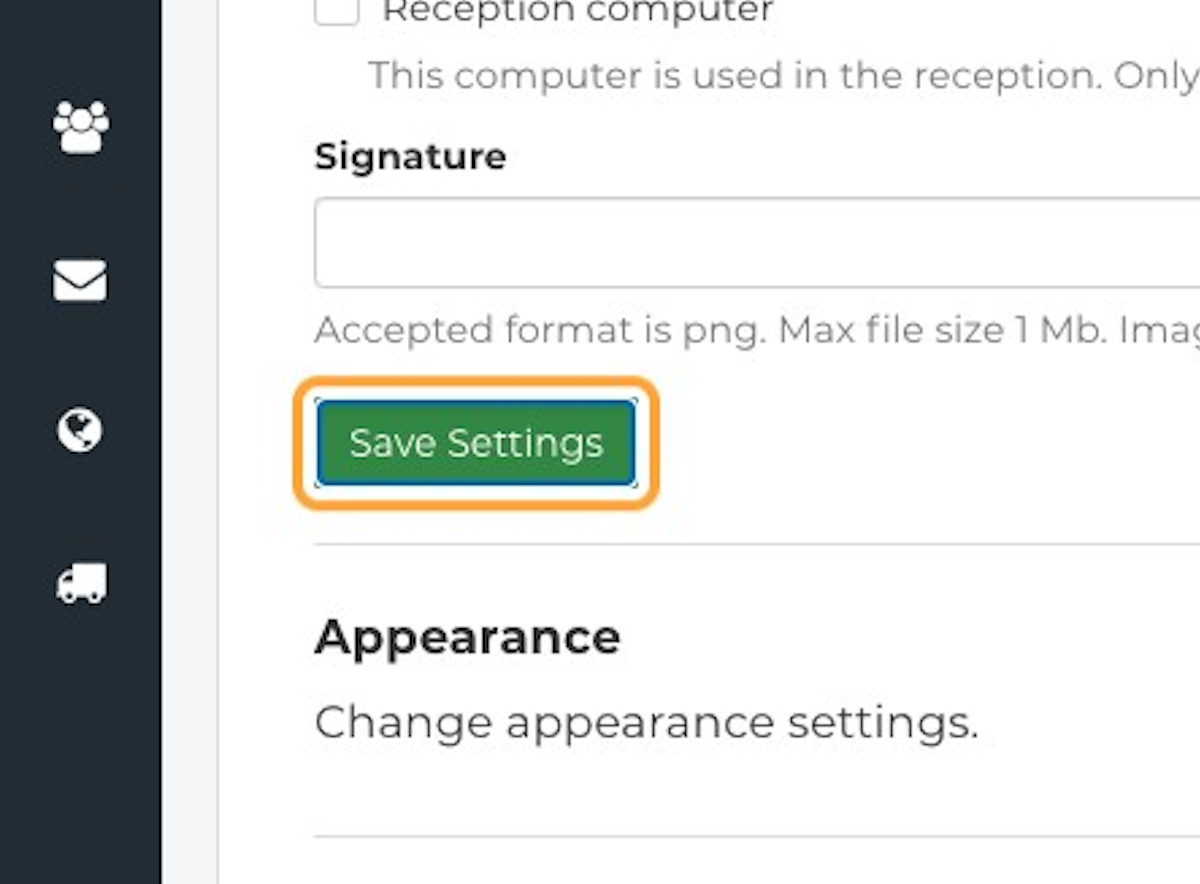
- Once you have finished entering your settings, remember to click Save Settings.
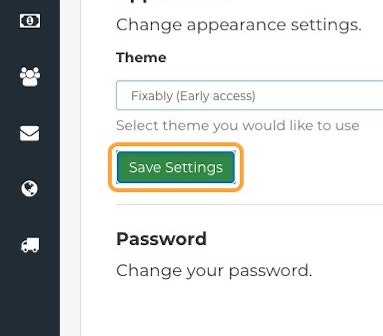
Appearance
- In User Settings, click on the Expand button next to Appearance.

- Select one of the available Fixably Themes: Default, Light, Dark (Early access), Fixably (Early access).

- Once you have selected your theme, click on the Save Settings button.
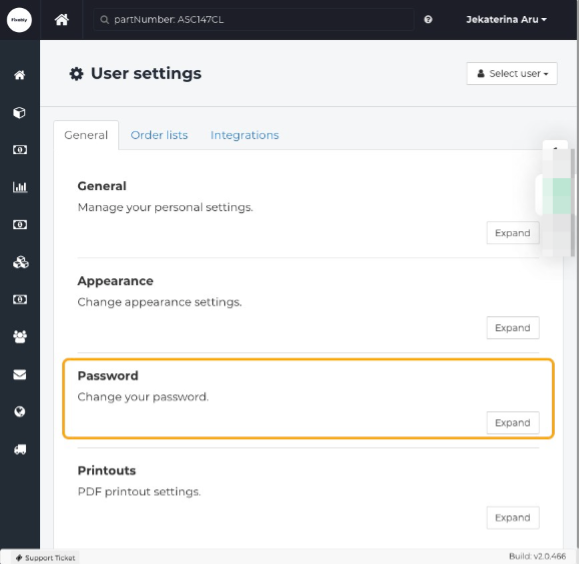
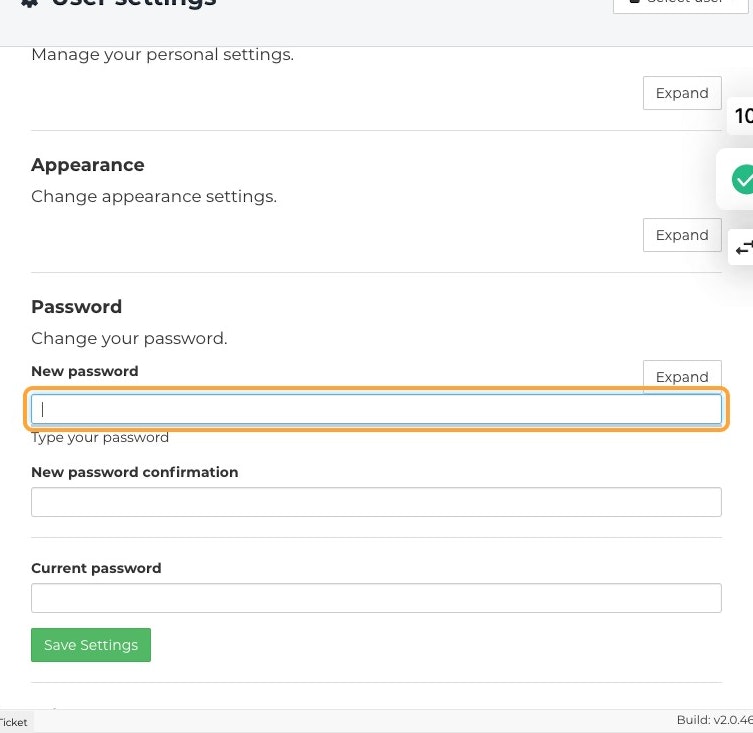
Password
- In User Settings, click on the Expand button next to Password.
- To change your user password, enter and confirm your New Password. To complete the reset, enter your Current password. Please note that you must enter your current password to change your password.
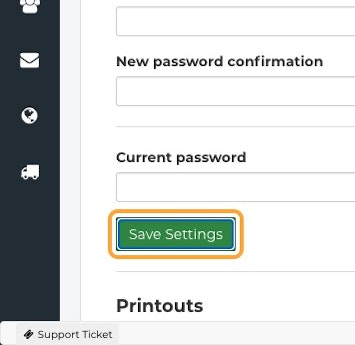
- Click on the Save Settings button.
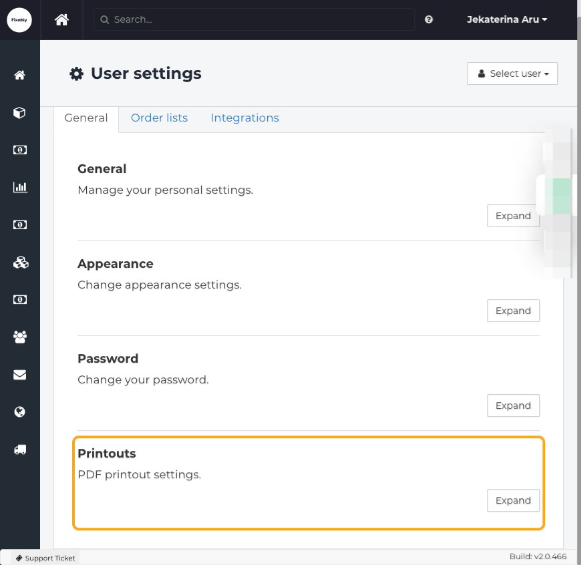
Printouts
- In User Settings, click on the Expand button next to Printouts.
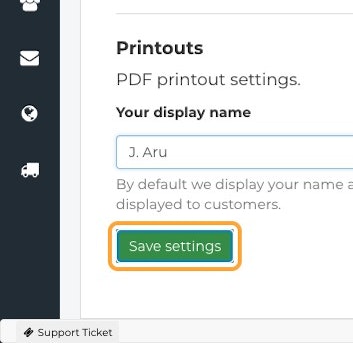
- Enter your display name.
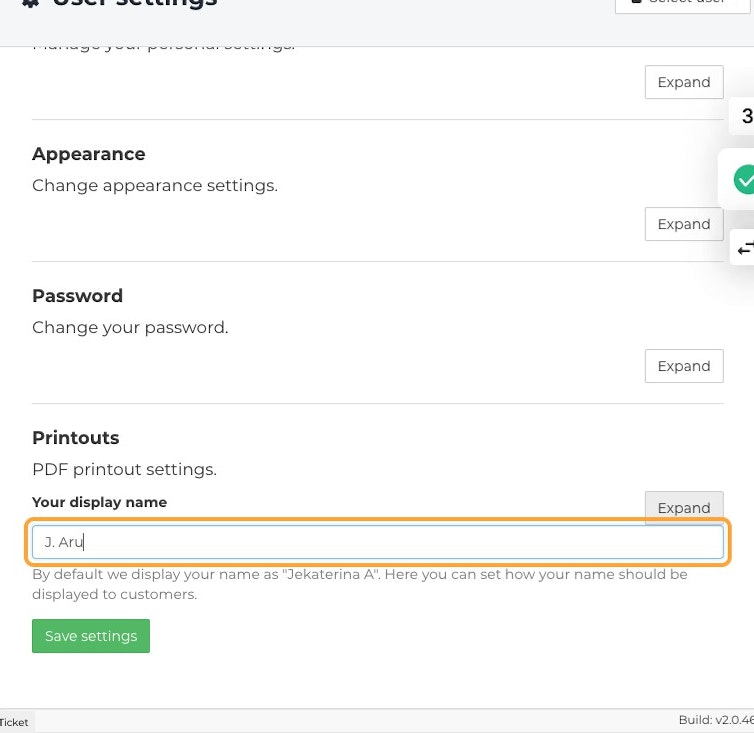
- Click on the Save settings button.
Order Lists
- From the Home Screen, click on your name.
- Click on User Settings.

- Go to the Order lists tab.
- Click on the Expand button.
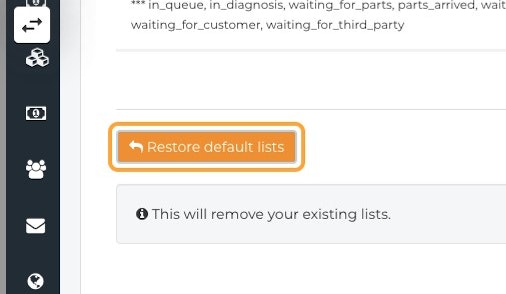
- Prior to creating your first New Order list, scroll down and click on the Restore default lists button to restore the most commonly used Order lists in Fixably.
-
Warning! The Restore Default lists button will remove your existing lists! If you have previously created any Order Lists, DO NOT press this button.
-
Warning! The Restore Default lists button will remove your existing lists! If you have previously created any Order Lists, DO NOT press this button.
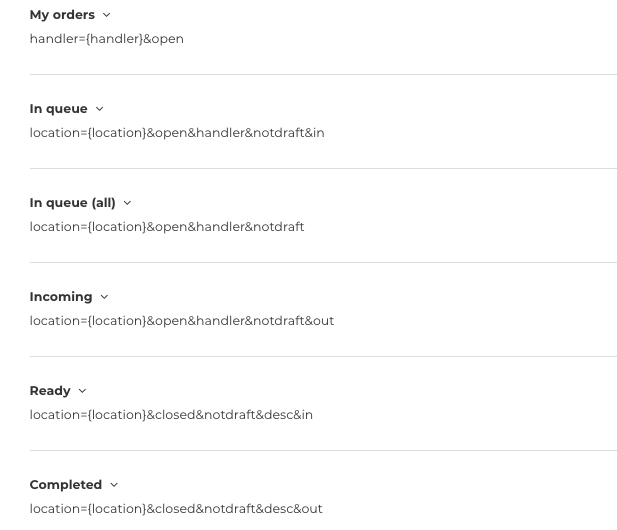
- A list will appear showing the Default Order Lists as well as their associated parameters.
- To create a New Order List, enter the name for your Order List in the name field, and specify any required Parameters in the Parameters field. Once complete, click on Create order list button.
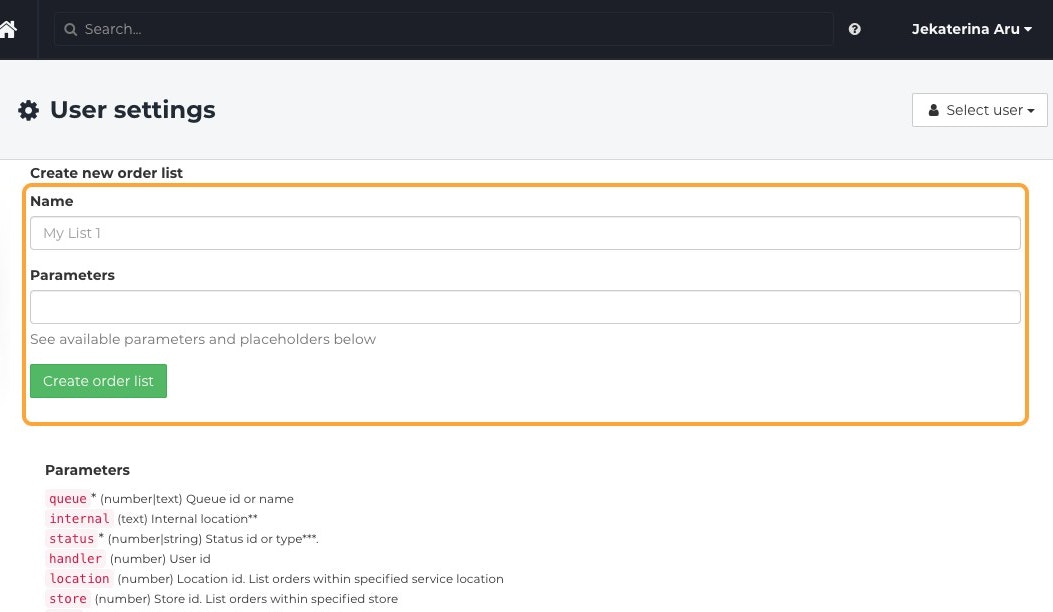
- Scroll down to see the available list of Parameters and Placeholders.
Parameter Name |
Explanation |
ORDER DETAILS |
|
| queue | List orders associated with a specific queue(s). |
| status | List orders associated with specific Repair Statuses. |
| location | List orders associated with a specific location(s). |
| internal | List orders associated with a specific Internal Location. |
| handler | List orders associated with a specific employee(s). |
| Store | List orders associated with a specific store(s). |
| device | Lists orders with a specific device ID(s). |
| reference | Lists orders associated with a specific string of text in the Customer Reference field |
| provider | Lists orders associated with a specific order provider. For example, DST (Telia). |
| identifier | Lists orders associated with a specific identifier from a order provider's external system. |
| tags | Lists orders that contain specific order or customer Tags. |
SHIPMENT DETAILS |
|
| delivery | List orders associated with a specific delivery method(s). |
| delivery_type | List orders associated with a delivery type(s). |
| delivery_carrier | List orders associated with a delivery carrier(s). |
| transit_origin | Lists orders depending on their transit status. |
CUSTOMER DETAILS |
|
| user | List orders associated with a specific customer(s). |
| contactName | List orders associated with a specific End User's Name. |
| contactPhone | List orders associated with a specific End User's Phone number. |
| contactEmail | List orders associated with a specific End User's Email Address. |
OTHER OPTIONS |
|
| asc | Reverses sorting order of the Order List. |
| open | Lists any orders that are currently open. |
| closed | Lists any orders that are currently closed. |
| in | Lists orders where the Internal Location is set to in-service or in-transit. |
| out | Lists orders where the Internal Location is set to with-customer. |
| draft | Lists orders that have not been received into the service queue. |
| notdraft | Lists orders that have been fully-added to the service queue. |
| repair | Lists orders that have an associated Repair. |
| open_repair | Lists orders that have an associated Open Repair. |
For a more detailed explanation of Order Lists, click here.
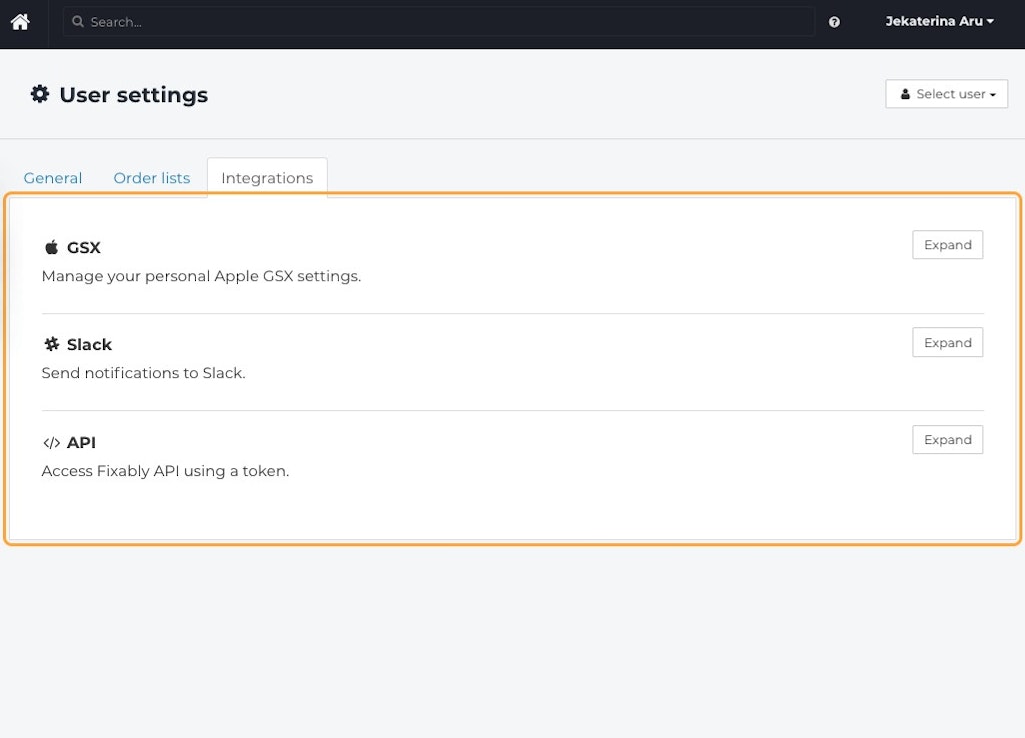
Integrations
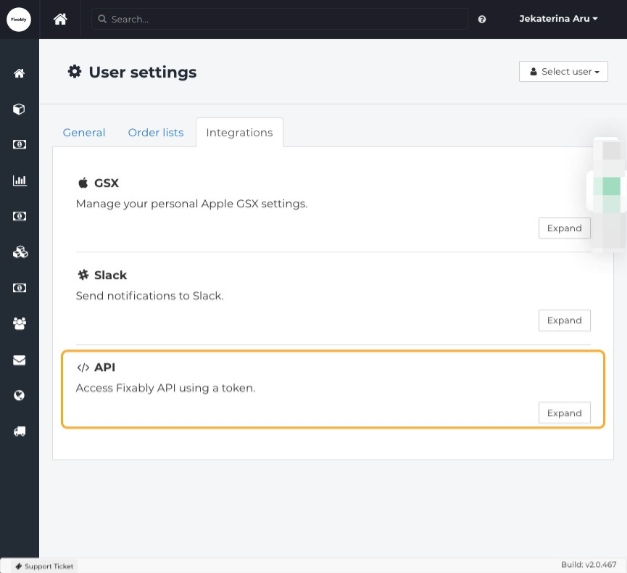
- From the Fixably Home Screen, click on your User Name Menu.
- Click on User Settings.
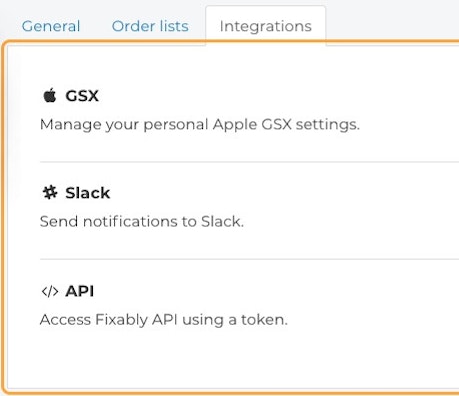
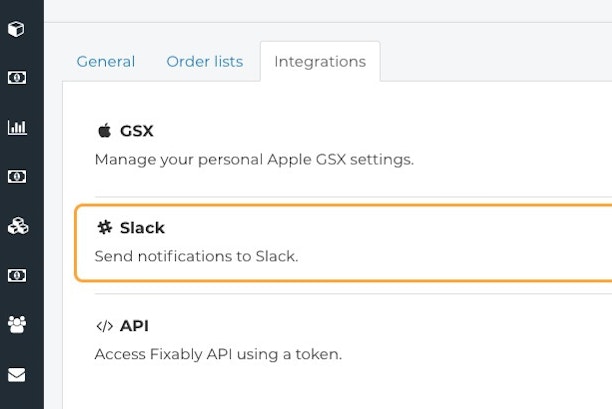
- Go to the Integrations tab.
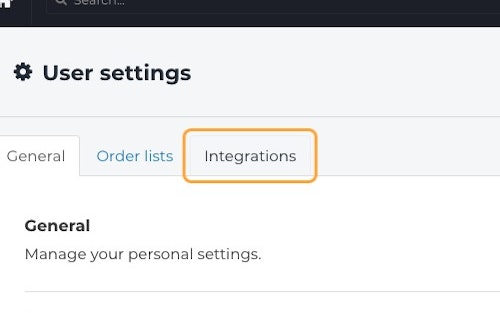
- You will see the Integrations available to you personally. The three default ones are GSX, Slack, and API.
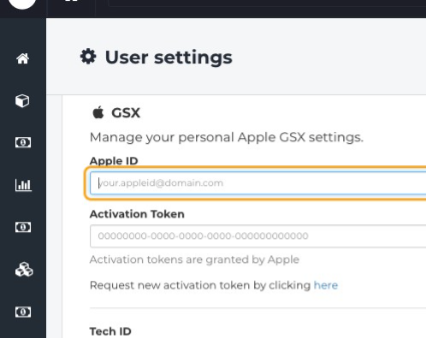
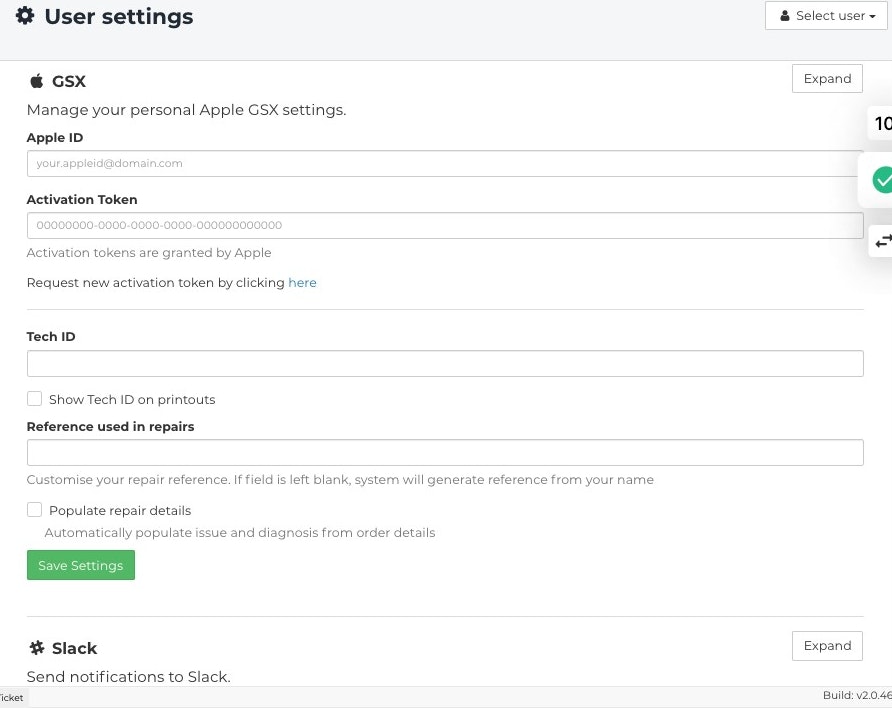
GSX
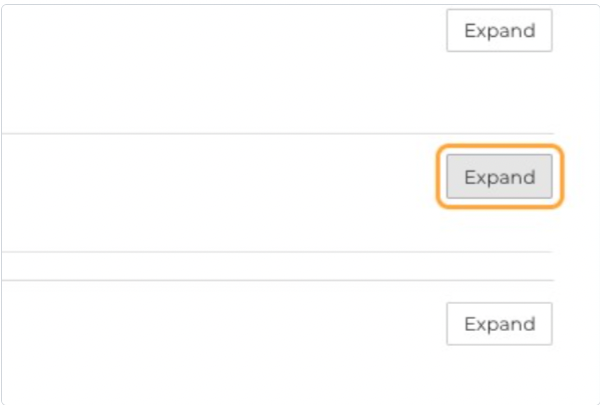
- To open your GSX settings, click on the Expand button.
- In the Apple ID field, enter the email address you registered with your GSX account.
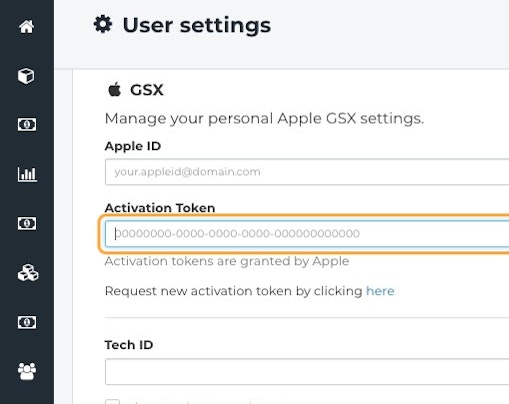
- In the Activation Token field, enter your token. Apple grants activation tokens.
- If your token has expired, or you don't have one as of yet, click Request a new activation token by clicking here.
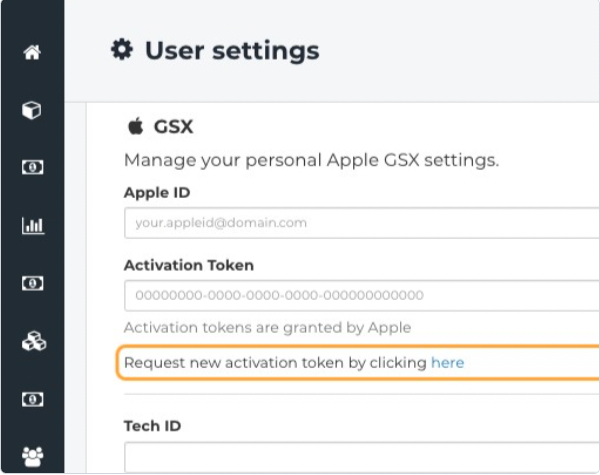
- You will be redirected to Apple API Token Portal, where you would need to log in with your credentials and follow instructions on the website.

- In the Tech ID field, enter your Name/ID.
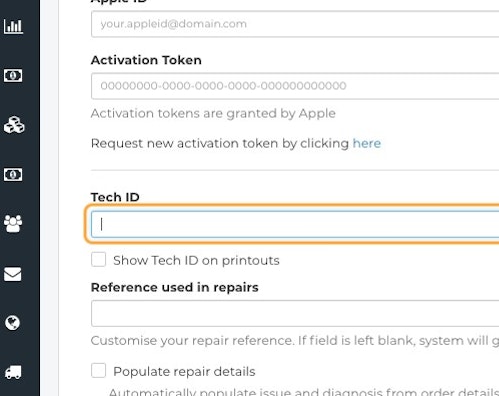
- Check Show Tech ID on printouts If you want the Tech ID visible on the printouts.

- In Reference used in repairs field, enter the reference you prefer to be visible on repairs.
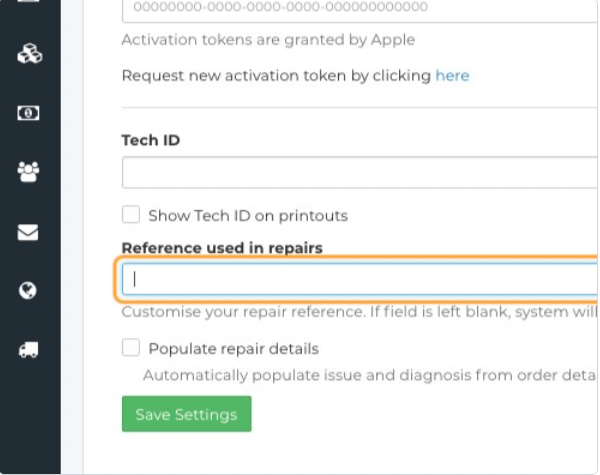
- Select the check-box Populate repair details if you want automatically populate issue and diagnosis from order details.
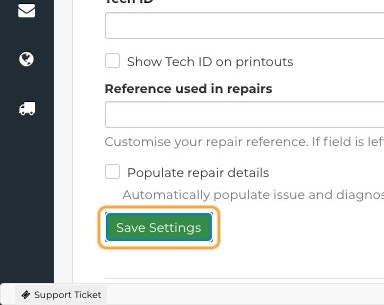
- When complete, click Save Settings.
Slack
- To open settings for Slack integration.
- Click on Expand button.
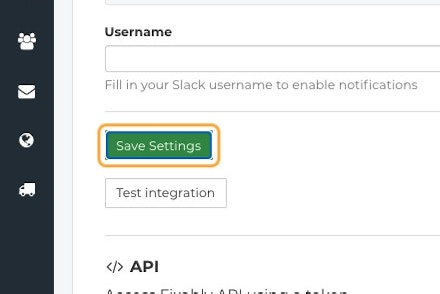
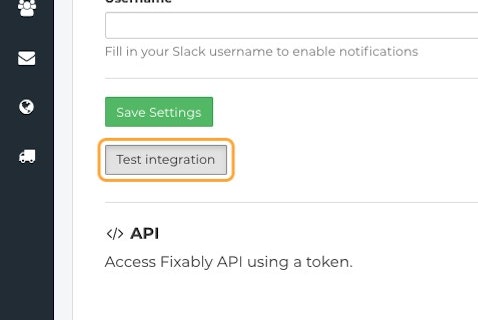
- Enter your Slack Username to enable notifications.
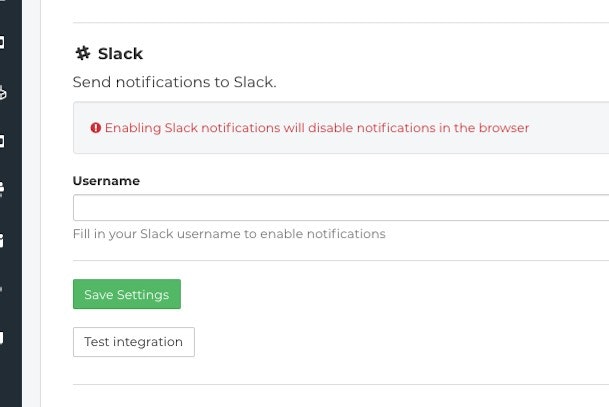
- Once done, click on the Save Settings button.
- You can also test the integration by clicking on the Test integration button.
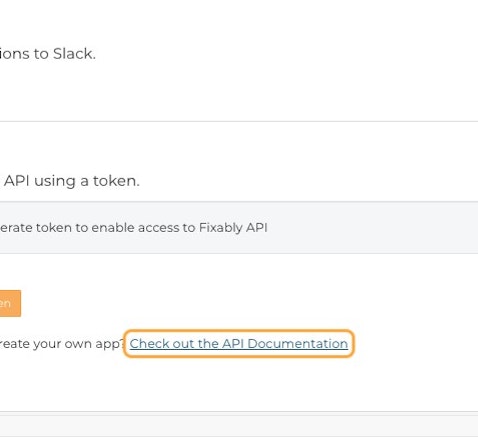
API
- To access API token settings on Expand button.
- Click the Regenerate token button to enable access to Fixably API.
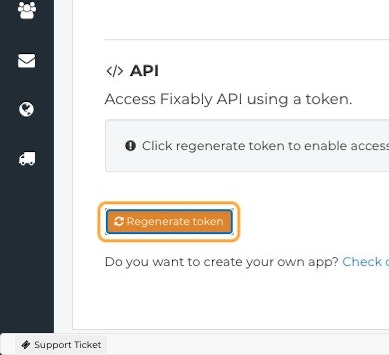
- For additional information, click on Check out the API Documentation link.