Setting up your Products and Services
The Stocks feature in Fixably provides valuable tools to manage, control, and track different types of inventory items.

Written by Support
Updated at May 19th, 2026
- Release Notes
- Newly Released Features
- Getting Started
- Roles & Permissions
- Manifests
- Order Management
- Automations
- Employee Management
- Customer Management
- Customer Portal
- Stock Management
- Part Requests
- Price Lists
- Invoicing
- Reporting
- Custom Fields
- Integrations
- GSX
- Shipments
- Service Contracts
- Configuring Your Environment
- Incoming Part Allocation
- Appointment Booking
Table of Contents
Fixably provides a robust inventory management system that enables customers to manage all aspects of your products and services. This includes purchasing, stock tracking, fulfillment, and more. Before creating your first stocks and products, it is important to understand the differences between some of the terminology you may see in Fixably.
What are the differences between Products, Parts, Devices and Stocks?
Products
Products are physical items, services or administrative parts available in Orders.
They can be created using the Create New Product button from the Fixably Home Screen. In the New product panel, enter the Product code, name, selling prices, and any other required information. Click Save to create the product.
Products can be managed or edited by searching for the Product code, clicking on the part number if used in an order, or using the Stocks module if it's enabled in your Subscription Plan.

Parts
Parts are Products that are fetched using an OEM integration such as GSX.
Parts are automatically created in the Product database when the information is fetched from the OEM system. Product types are assigned automatically, usually module/replacement. If the Stocks module is enabled in your subscription, parts will be listed in the appropriate stock.
Parts can be managed or edited by searching for the Part, clicking on the part number if used in an order, or using the Stocks module if it's enabled in your Subscription Plan.
Devices
Devices are the physical items being repaired on an Order in Fixably.
Searching for a serial or IMEI number will search for applicable devices. If an OEM Integration (for example, GSX or GSPN) is enabled, essential device information is retrieved. Information can also be edited or added manually.

Stocks
If the Stocks module is enabled, Fixably can manage your inventory.
Administrators can add multiple stocks in different locations. Stock and inventory can be edited and managed through the Stocks module. Use automatons such as Import and Purchase Orders to make your workflow more efficient.
Creating your service products
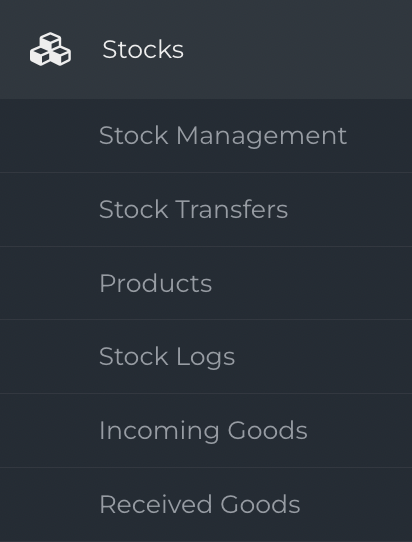
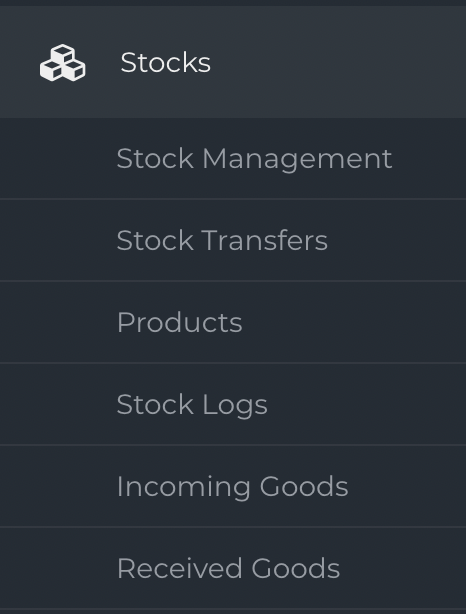
Navigate to Stocks, then Products. Click New product to open the product creation window.

Enter a unique Product code and Name

Next enter the Stock price of the service and select the correct Sales tax from the drop-down list

Confirm that the product's Type is set to Service. Then click Save at the bottom of the window. Repeat these steps for any other products you need to create.

Batch importing products
Products can also be imported in batches using CSV or Excel files. Please see the article How do I import new Products in Fixably?
Creating your stocks
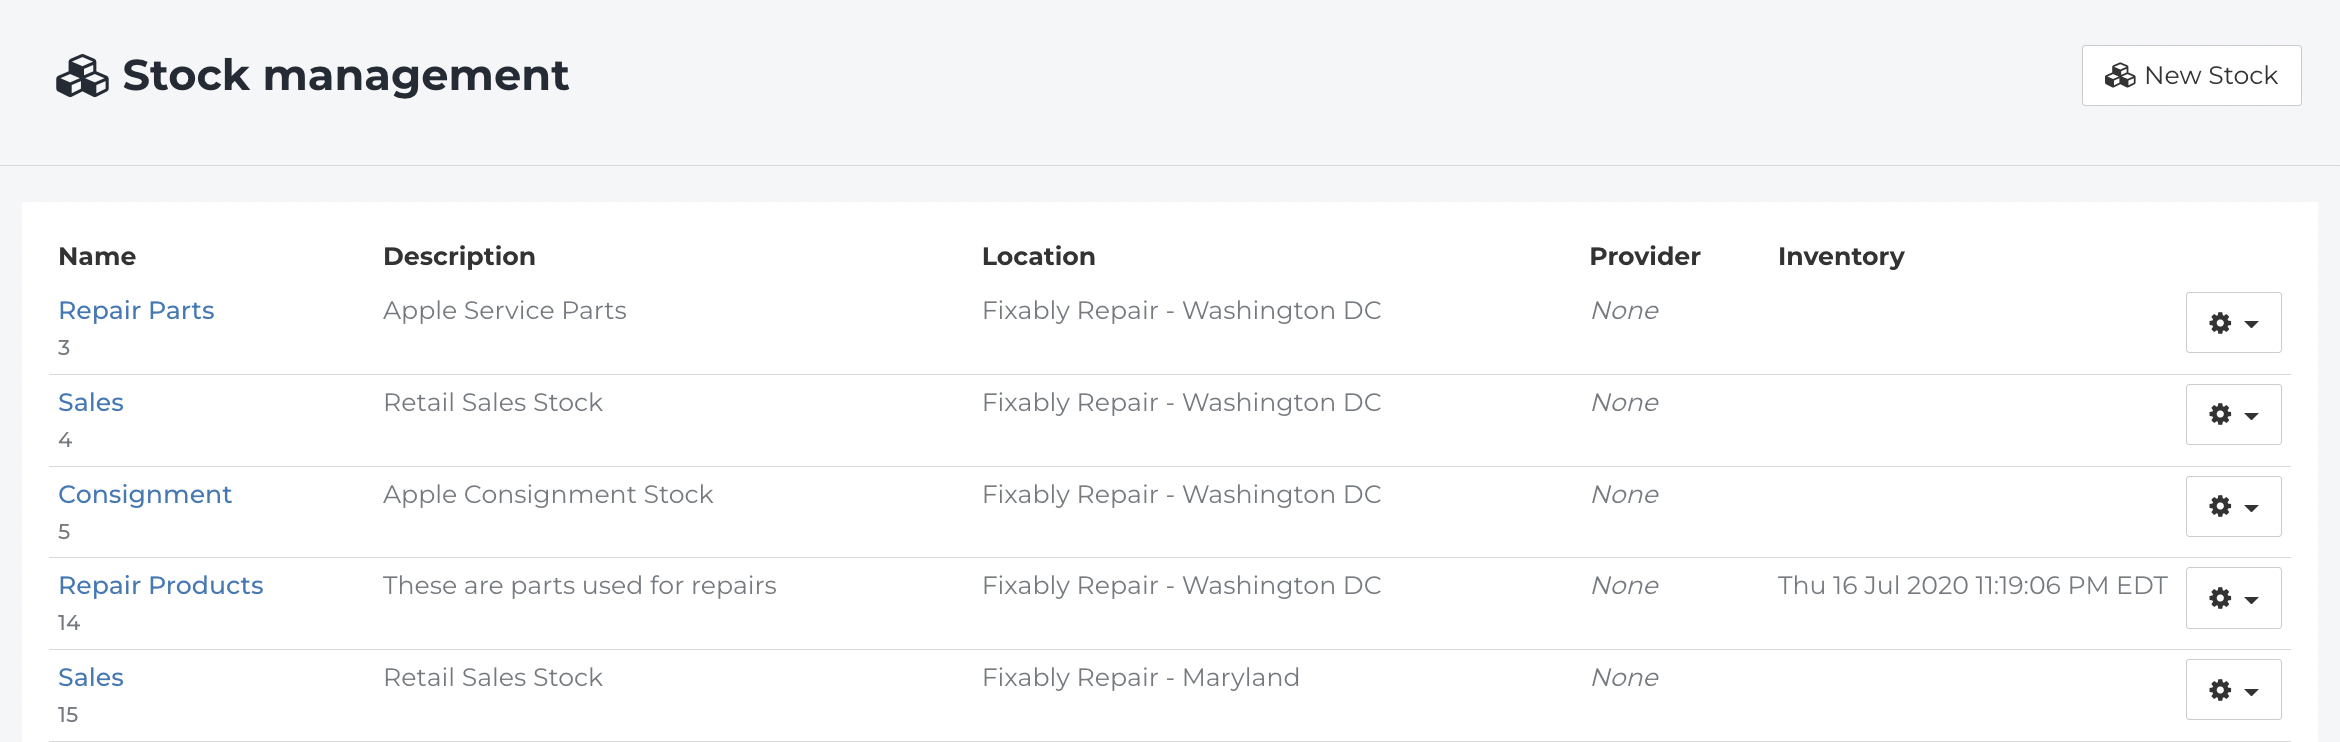
Navigate to Stocks, then Stock Management. Click New Stock.
Enter a Name for the stock and select the location or store the stock should be assigned to.

If this should be the default stock for the location, select Default stock

Select the type of stock based on how the items are used and tracked.
Regular stock – Standard inventory used for repairs and sales.
Stock for DOA Parts – Inventory reserved for replacing defective parts (Dead on Arrival).
Consignment – Stock owned by a third party and used as needed.
Buyback – Devices purchased from customers for resale or reuse.
Harvest – Devices or parts used for extracting components to be reused in repairs.
Some stock types may require additional features to be enabled in your system configuration.

Then click Save to create the new stock.
Creating non-Service products
Navigate to Stocks, then Products. Click New product to open the product creation window.
Enter the Product code, Manufacturer Part Number (if applicable) and Name.

Next enter the Stock price of the product and select the correct Sales tax from the drop-down list
If serial numbers should be tracked for this product, check Serial number tracking.

Nex, select the appropriate product Type. The Product types are separated into the following uses.
Service – Labor or service work provided to the customer.
Product – Physical items sold or used in repairs.
Replacement – Items provided as a replacement under warranty or agreement.
Module – Internal components or sub-parts used within a larger repair.
Transport – Charges related to shipping or logistics.
Excess – Additional charges outside standard pricing.
Other – Items that do not fall into a defined category.
Loaner – Temporary devices provided to customers during service.
Harvested – Parts sourced from harvested devices for reuse.
Buyback – Items purchased from customers.
Service Contract – Charges related to service agreements or contracts.

Then click Save at the bottom of the window. The product will save and change to the product edit pane. Click the Prices tab.

Enter the Purchase price of the product.

Next, click the Stocks tab

Enter the name of the stock to add this product.

Select the stock to add the product into the stock with 0 quantity. You will receive a notification confirming the product was added to stock.


Importing inventory quantities
Navigate to Stocks, then Stock Management. Find the appropriate Stock. Under the Gear menu select Import.

The Stock Import pane will appear. For a successful import, we recommend downloading the Example CSV template as a starting point.
List the Product Code, Quantity and any other relevant information for the parts you're looking to receive. If a part is serialized, each part and serial number should be listed on its own line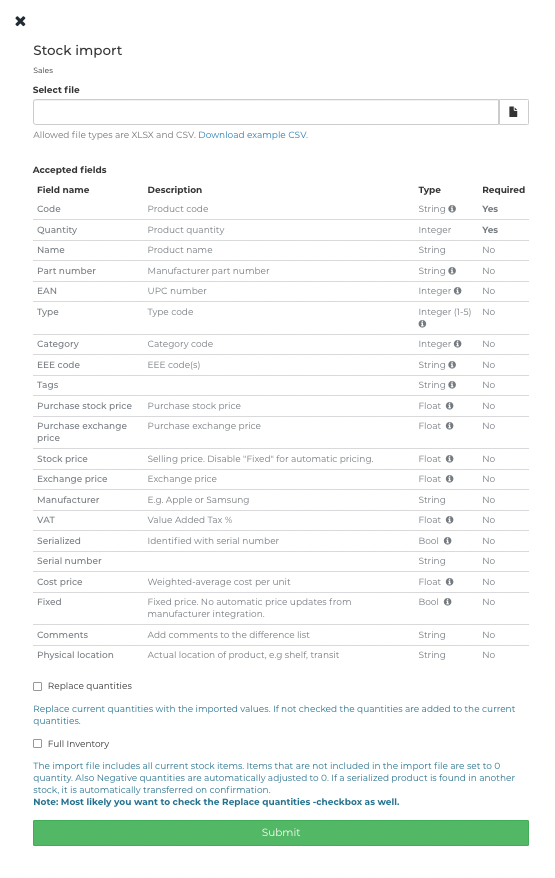
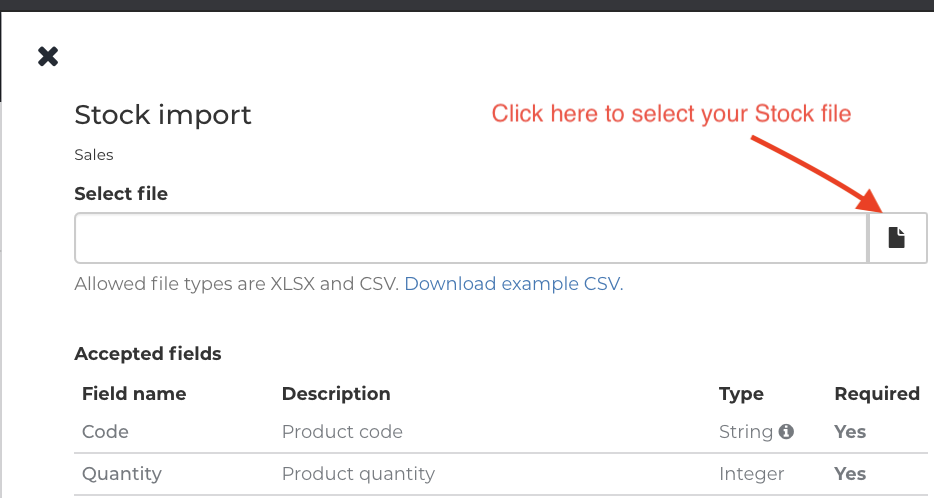
When you have finished adding products to your import file, click the File icon to upload it.
If you are importing Products for the first time, select Replace Quantities and Full Inventory then click Submit.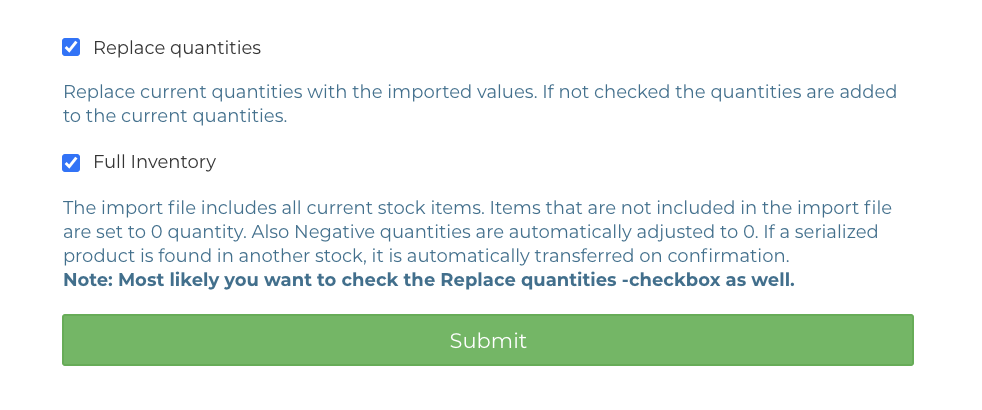
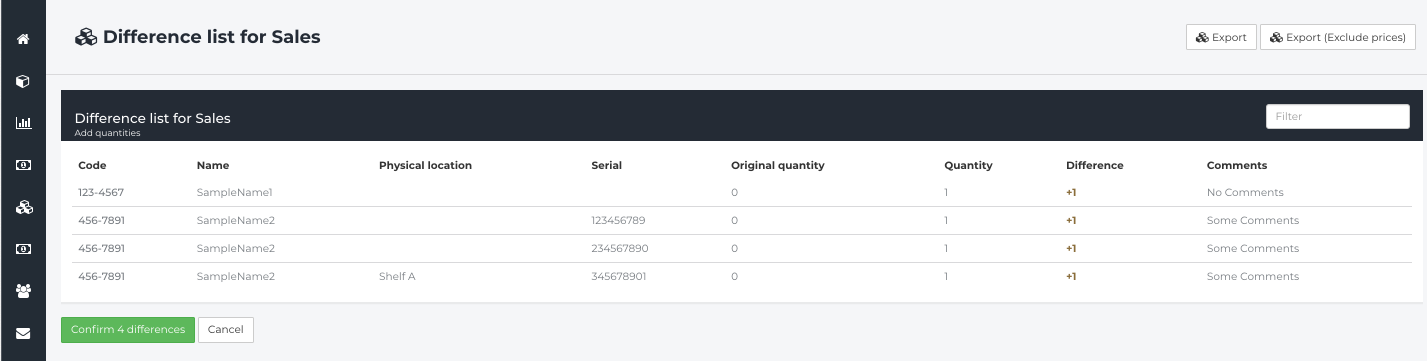
If the upload is successful, a difference list will appear. If the information is accurate, click Confirm to finalize the import.