How do I set up Order Statuses?
This article is a step-by-step guide to help Administrators configure and customize Order Statuses.

Written by Annukka Matilainen
Updated at May 19th, 2026
- Release Notes
- Newly Released Features
- Getting Started
- Roles & Permissions
- Manifests
- Order Management
- Automations
- Employee Management
- Customer Management
- Customer Portal
- Stock Management
- Part Requests
- Price Lists
- Invoicing
- Reporting
- Custom Fields
- Integrations
- GSX
- Shipments
- Service Contracts
- Configuring Your Environment
- Incoming Part Allocation
- Appointment Booking
Table of Contents
Creating a New Order Status
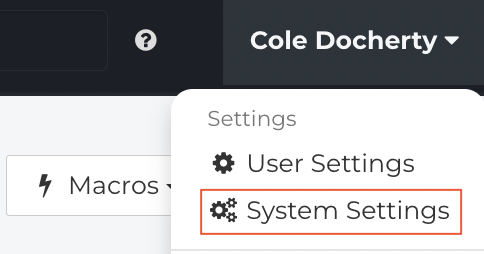
- Using an Administrator account, from the Fixably Home Screen, select your User Name menu and then click System Settings.

- From the Settings Menu, click Order Statuses.

- Click New Status.
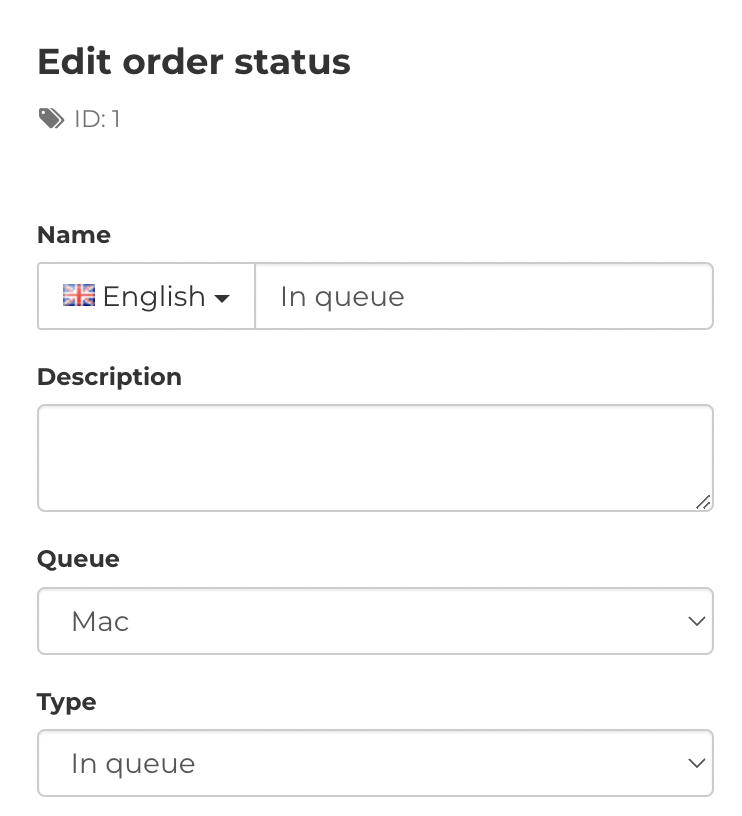
- Enter the Name for your Order Status.

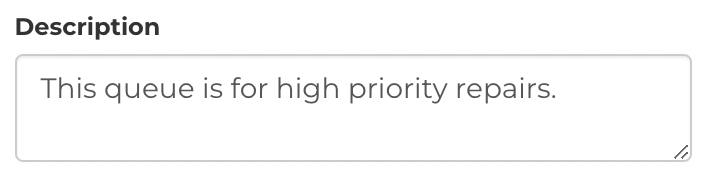
- Enter a Description.
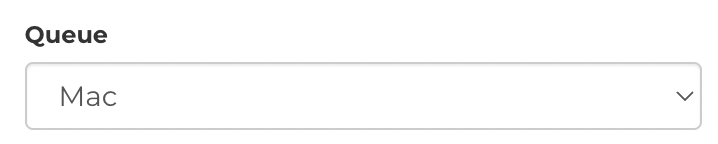
- Assign the new Order Status to a Queue.
- Select the Type of Order Status.

- Select the Time Type. This field indicates where the following expected action will come from when an Order enters this status.

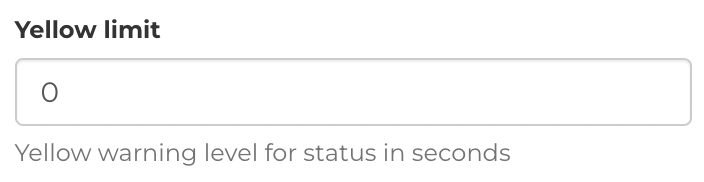
- The Yellow Limit will highlight the Order Status yellow in Order Lists after the defined seconds.
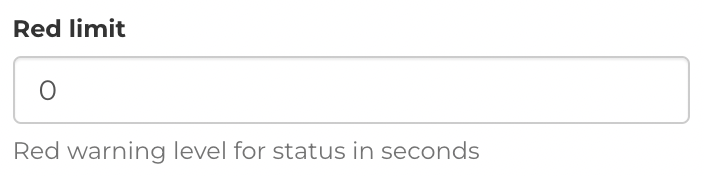
- The Red Limit will highlight the Order Status red in Order Lists after the defined seconds.
- When complete, click Save.

Editing Order Statuses
- Using an Administrator account, from the Fixably Home Screen, select your User Name menu and then click System Settings.
- From the Settings Menu, click Order Statuses.

- Order Statuses are assigned to Queues. Start by selecting the Queue from the drop-down menu.

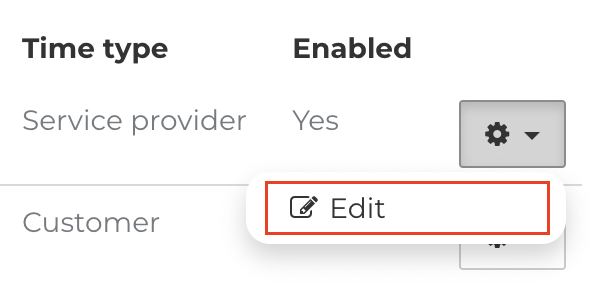
- Find the Order Status in the list and click the Gear menu.

- Click Edit.
- Edit any information as required.
- When complete, click Save.

- You can also delete an Order Status by clicking the Delete button.
