How do I set up Queues?
This article is a step-by-step guide to help Administrators configure and customize Queues in Fixably.

Written by Annukka Matilainen
Updated at May 19th, 2026
- Release Notes
- Newly Released Features
- Getting Started
- Roles & Permissions
- Manifests
- Order Management
- Automations
- Employee Management
- Customer Management
- Customer Portal
- Stock Management
- Part Requests
- Price Lists
- Invoicing
- Reporting
- Custom Fields
- Integrations
- GSX
- Shipments
- Service Contracts
- Configuring Your Environment
- Incoming Part Allocation
- Appointment Booking
Table of Contents
Queues are an essential feature in Fixably, allowing you to organize your Orders into separate, device-based repair lines. Assign Tasks to Queues to ensure you only gather information relevant to the repaired device.
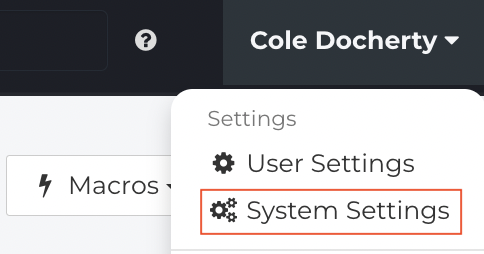
- Using an Administrator account, from the Fixably Home Screen, select your User Name menu and then click System Settings.
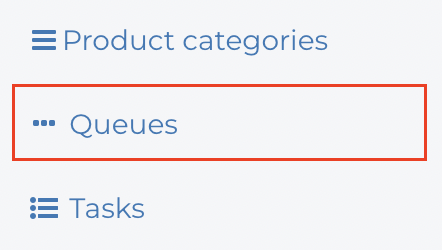
- From the Settings Menu, click Queues.
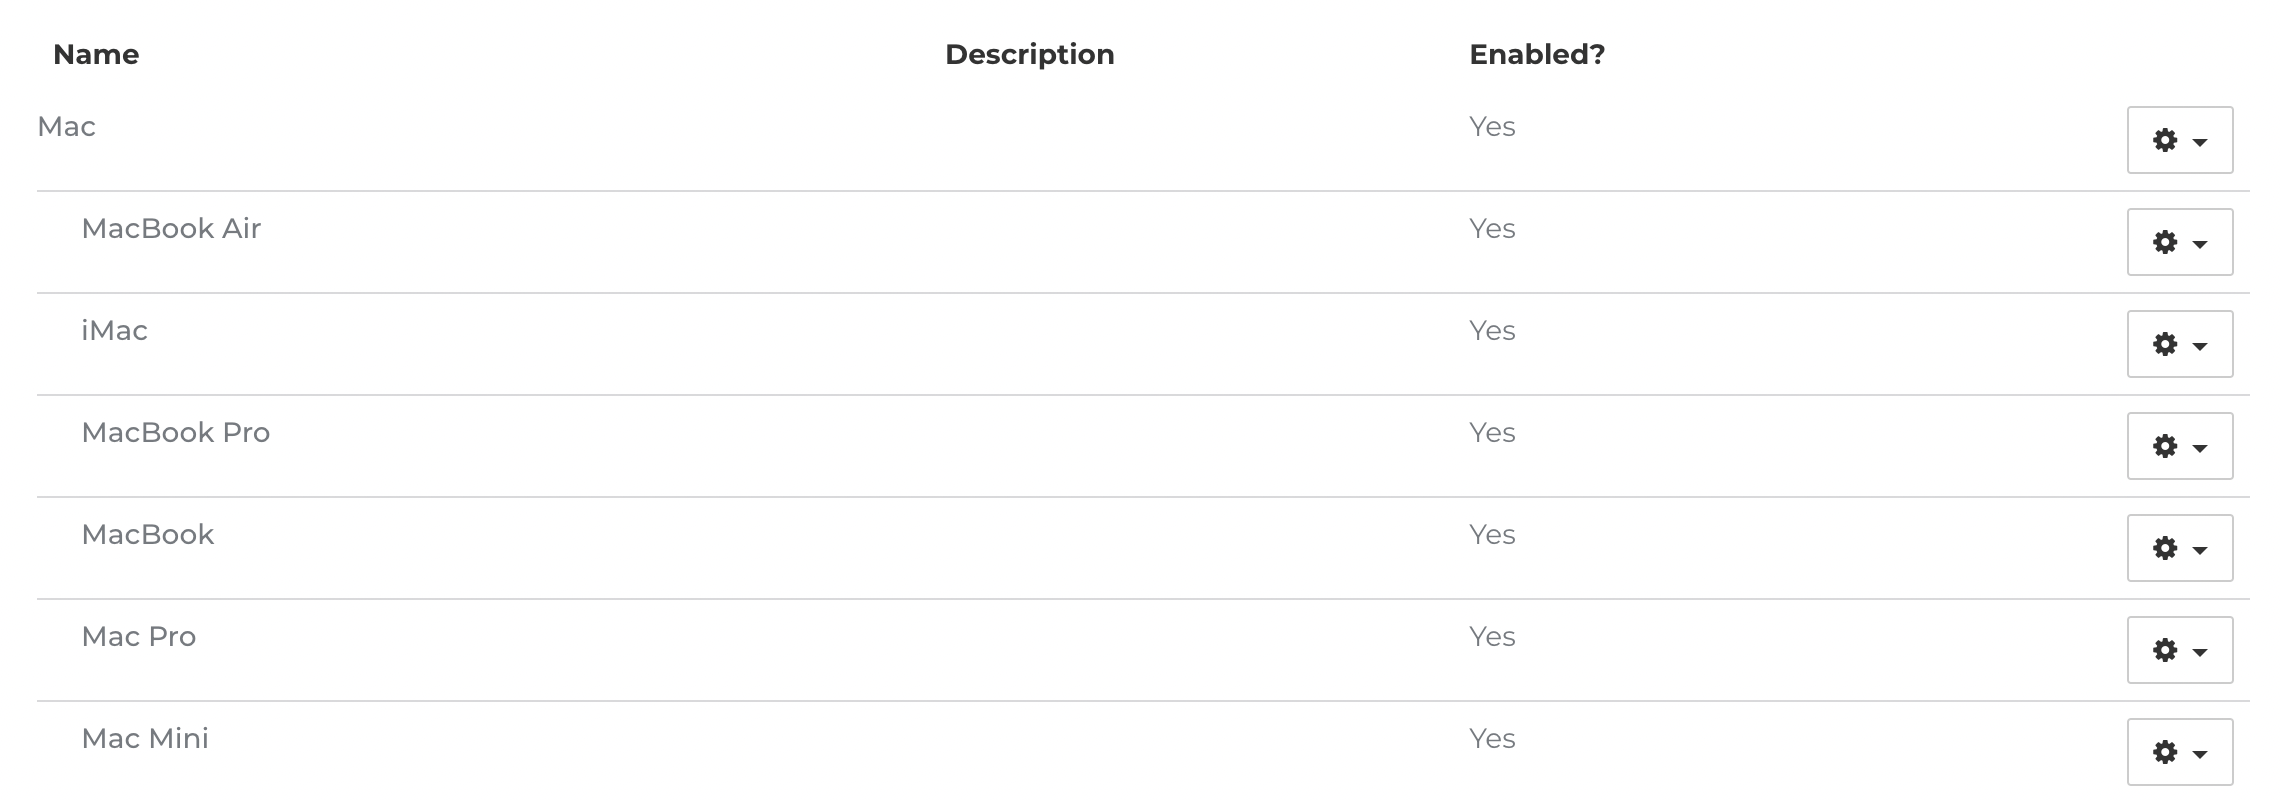
- A list of currently available Queues will appear.
Creating a New Queue
- In the upper right corner of your window, click New Queue.

- Enter a descriptive Name for your Queue.

- Enter a description that provides more information about the types of Orders that should be assigned to the Queue.

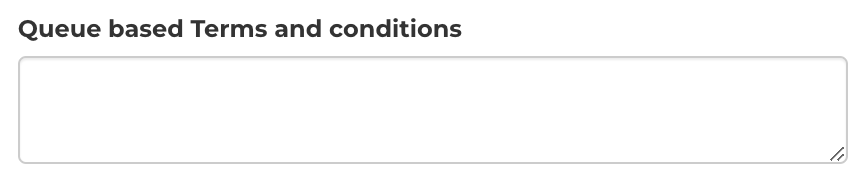
- If any specific Terms and Conditions should apply to this Queue and be included on Printouts, enter them.
- You can organize Queues into parent and child relationships, allowing you to create sub-queues if desired.

- Click the Enabled checkbox to make the new Queue available.

- When complete, click Save.

Modifying an Existing Queue
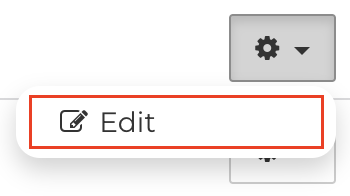
- From the list of Queues, click the Gear menu.

- Click Edit.
- Modify any information as required.
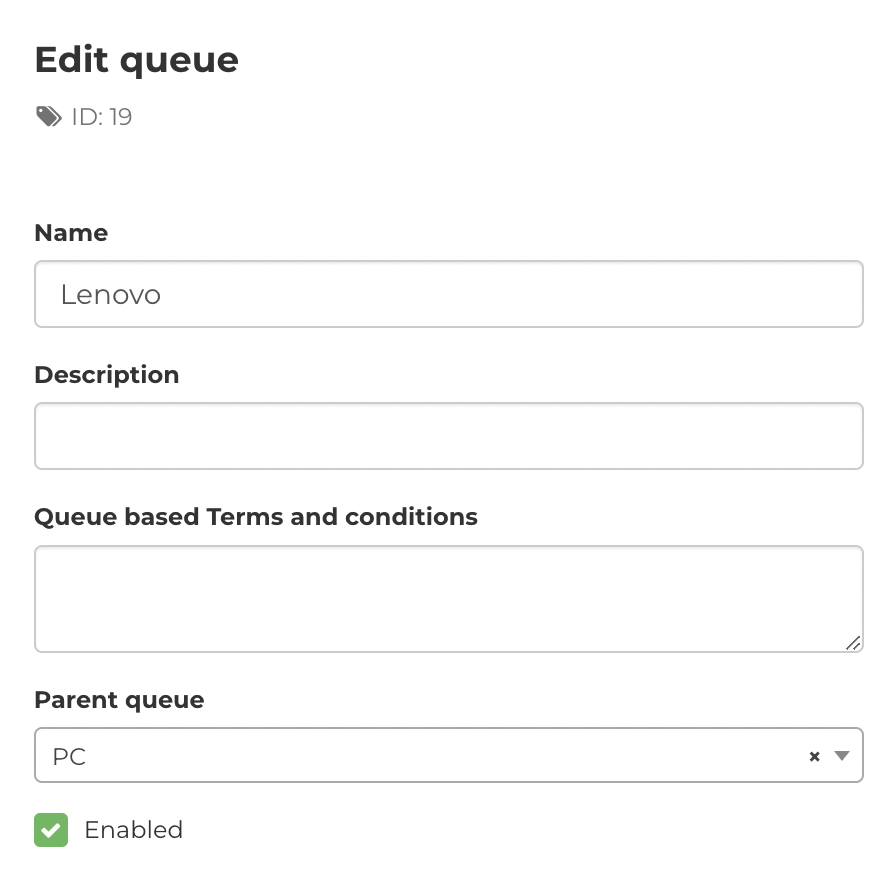
- When complete, click Save.

- You can also delete a Queue by clicking the Delete button.
