How can I use Service Contracts?
This article is a step-by-step walkthrough on how to use the Service Contracts feature in Fixably.

Written by Annukka Matilainen
Updated at May 19th, 2026
- Release Notes
- Newly Released Features
- Getting Started
- Roles & Permissions
- Manifests
- Order Management
- Automations
- Employee Management
- Customer Management
- Customer Portal
- Stock Management
- Part Requests
- Price Lists
- Invoicing
- Reporting
- Custom Fields
- Integrations
- GSX
- Shipments
- Service Contracts
- Configuring Your Environment
- Incoming Part Allocation
- Appointment Booking
Table of Contents
Enabling Service Contracts
To enable the Service Contracts feature, please reach out to Fixably Support.
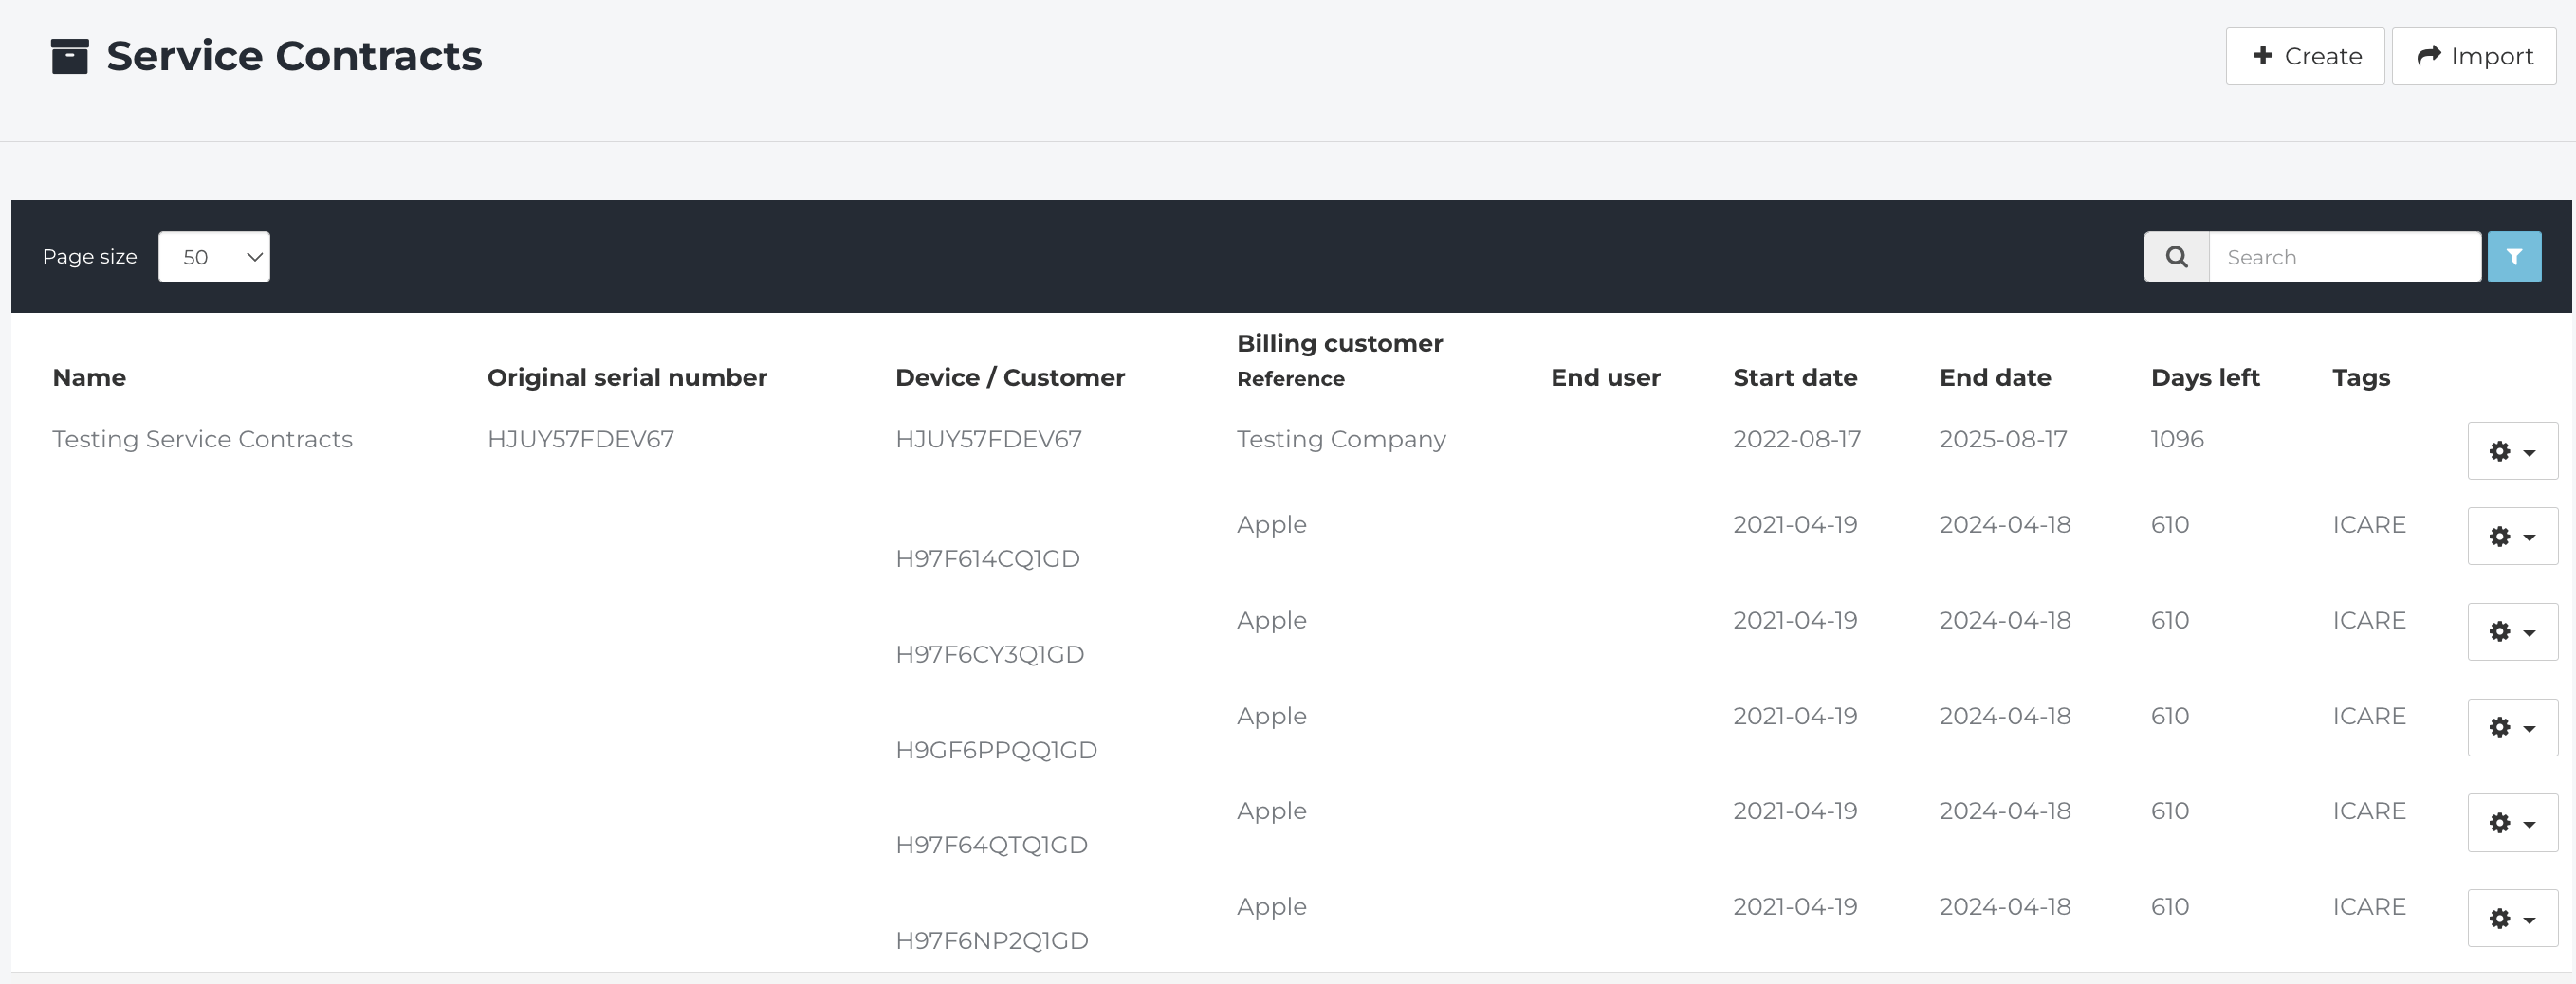
Creating Service Contacts
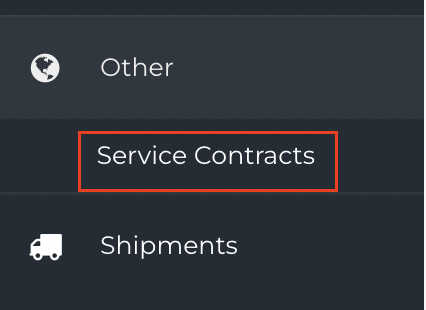
- From the Navigation Sidebar, click Other and then Service Contracts.
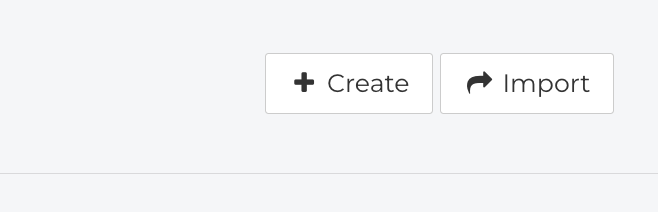
- Create a new Service Contract by clicking the Create button.
- Fill in the Name of your new Service Contract.

- If required, add a Description.
- Select the Service Contract Type. Use Device if you would like to tie the Service Contract to a specific Serial or IMEI, for example if you're offering an extended warranty. Use Customer if you would like to tie it to a Customer, for example in the case of a managed services agreement.

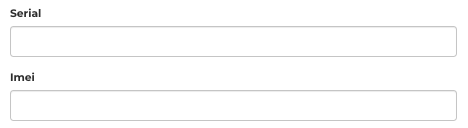
- If you have selected the Device Service Contract Type, add the Serial or IMEI.
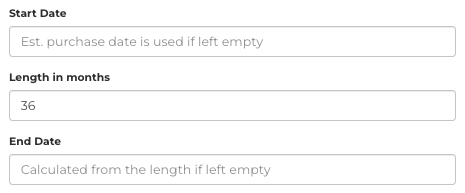
- Fill in the Start Date, Length and End Date.
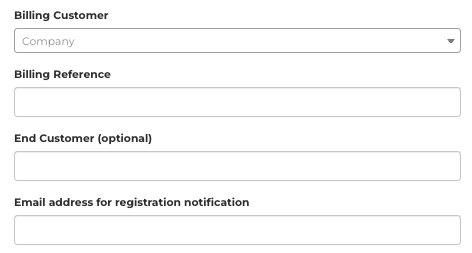
- If required, fill in the Billing Customer details. You can also specify an email address to receive notifications about the Service Contract.
- Select what Notifications should be enabled for the Service Contract.

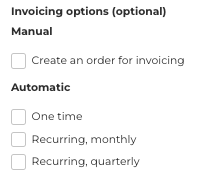
- If required, select the Invoicing Options for the Service Contract.
- When complete, click Save.

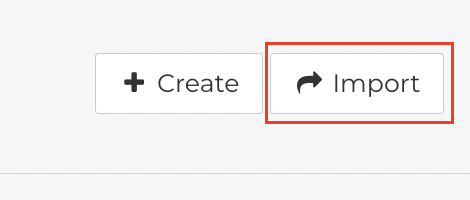
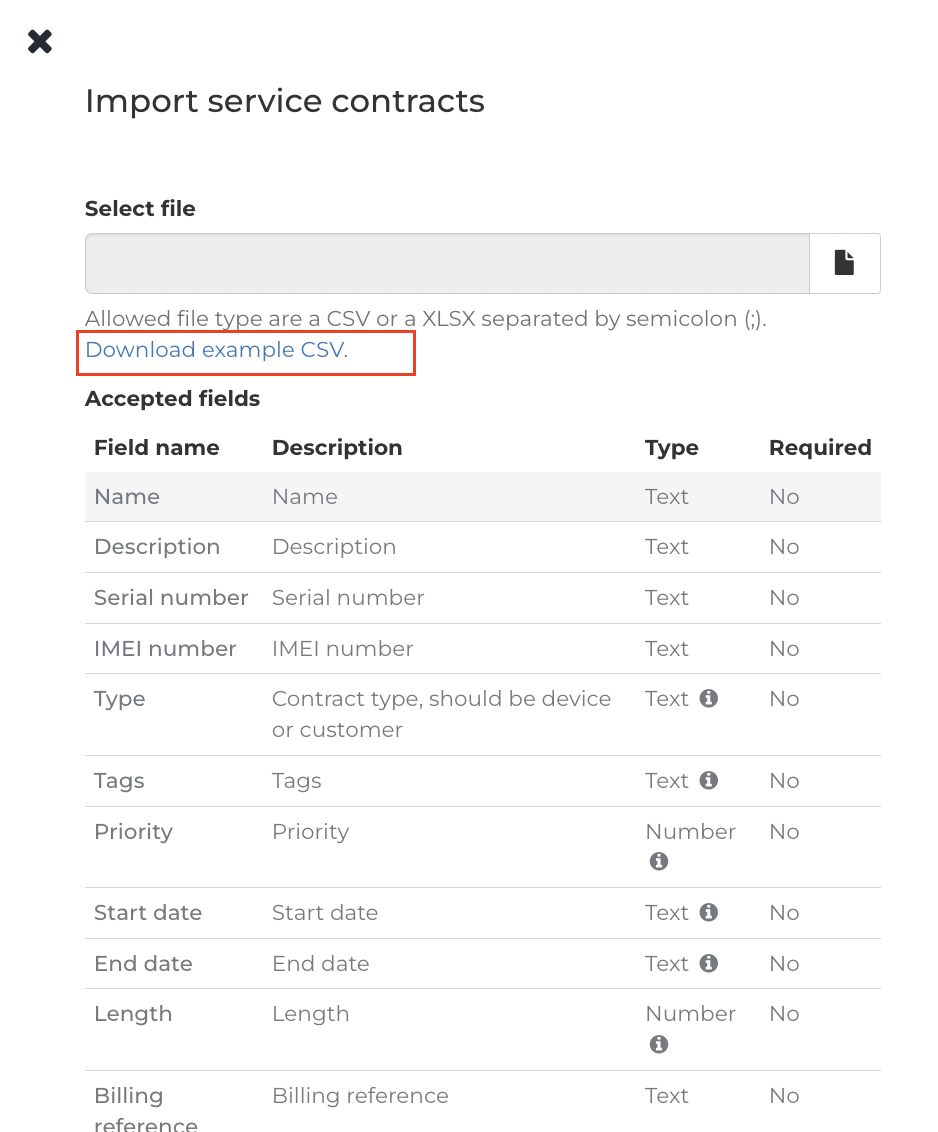
Importing Service Contracts
- To create multiple Service Contracts at once, click the Import button.
- Download the example CSV and fill in the correct information. There needs to be either a Serial Number or IME Number for each Service Contract.
- All created Service Contracts will show up as a list.