How do I create Shipments in Fixably?
This article is a step-by-step guide to creating Shipments from an Order in Fixably.

Written by Annukka Matilainen
Updated at May 19th, 2026
- Release Notes
- Newly Released Features
- Getting Started
- Roles & Permissions
- Manifests
- Order Management
- Automations
- Employee Management
- Customer Management
- Customer Portal
- Stock Management
- Part Requests
- Price Lists
- Invoicing
- Reporting
- Custom Fields
- Integrations
- GSX
- Shipments
- Service Contracts
- Configuring Your Environment
- Incoming Part Allocation
- Appointment Booking
Table of Contents
Creating a Shipment from an Order
If you are using a Shipping Integration, you can quickly create a Shipment directly from an Order.
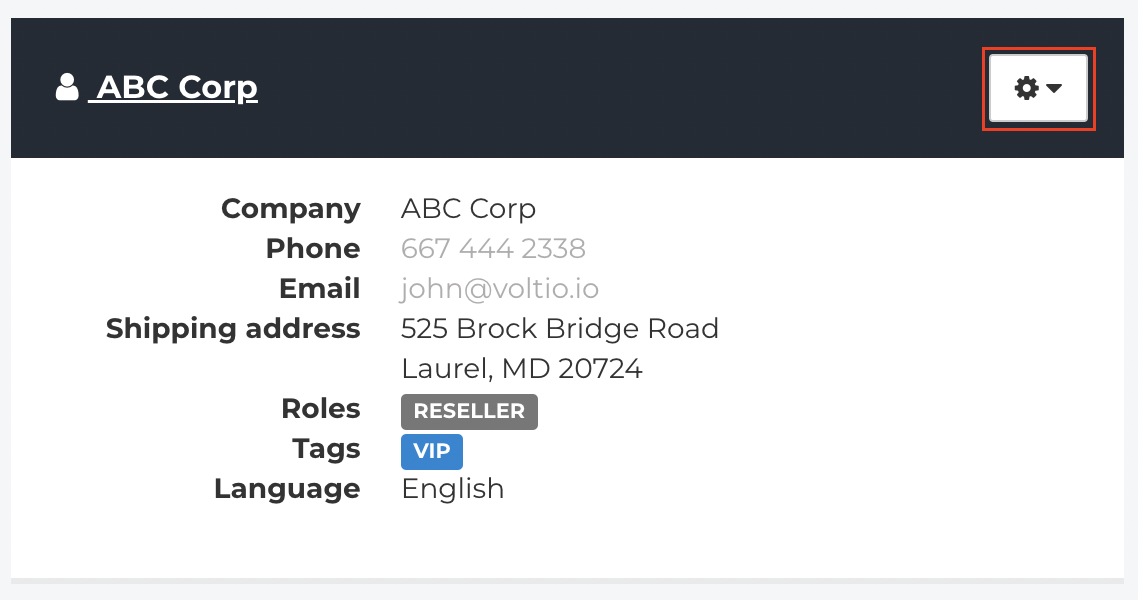
- From the Customer section of an Order, click the Gear menu.
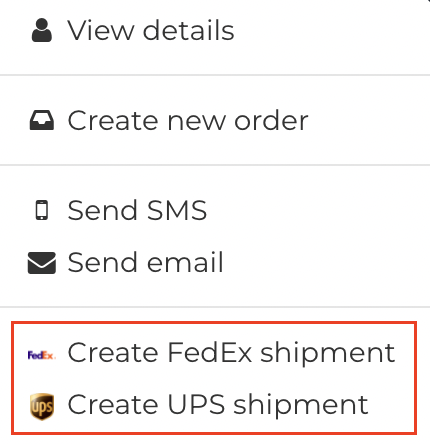
- Depending on the Integrations you have set up, click on any available Create Shipment options.
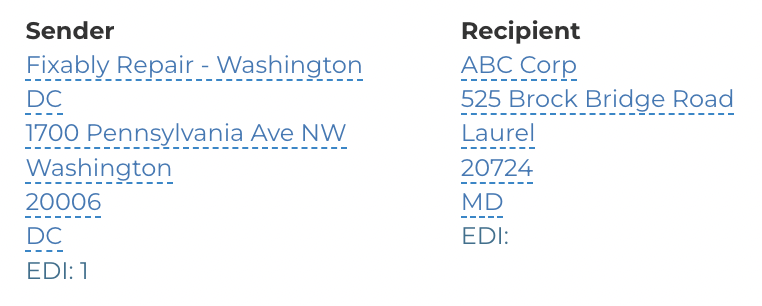
- Confirm that the Sender and Recipient addresses are correct.
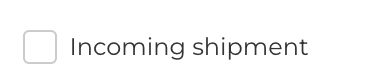
- If this is an incoming item, click Incoming Shipment.
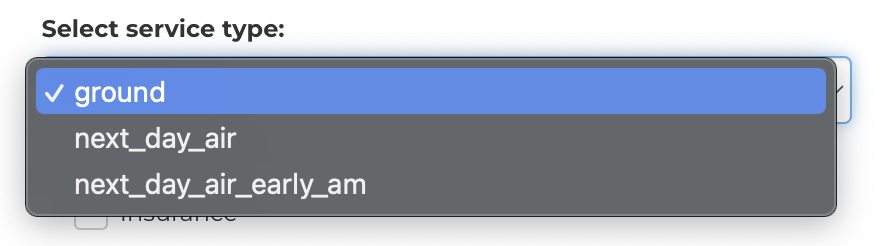
- Select the Service Type for your Shipment. Different options will be visible depending on the shipping carrier.
- Select whether your Shipment should have Insurance.

- When complete, click Create Shipment.

- Click Print Packing List to create a packing list for the Shipment.

- Click Print Waybill to print the shipping labels.

- If required, you can quickly send a shipping label to the customer by clicking Send Waybill to Customer.

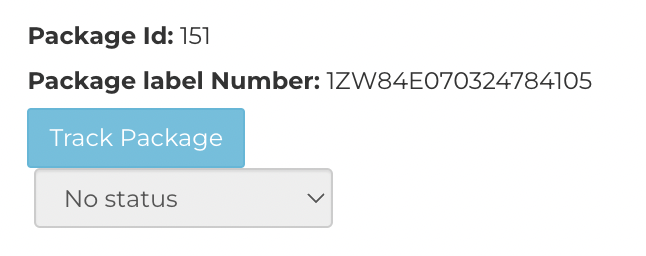
- You can quickly track a shipment using the Track Package button.
Creating a Shipment Request
Shipment Requests are a helpful feature that allows you to ship multiple Orders at once efficiently.
- From the Shipment Information section of an Order, click the Gear menu.
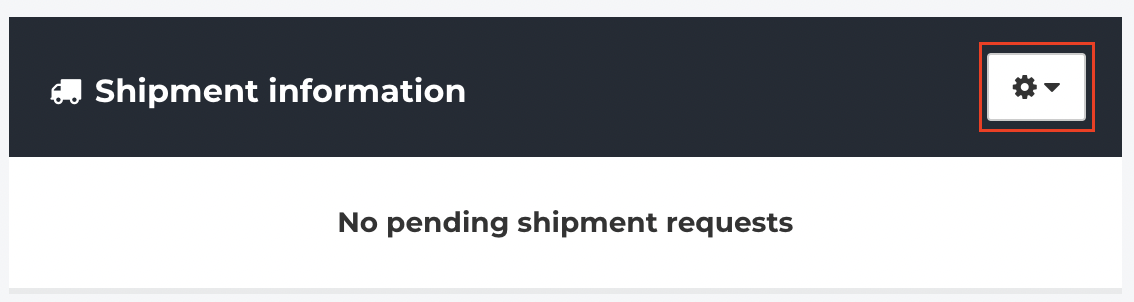
- Click Request Delivery to Customer.

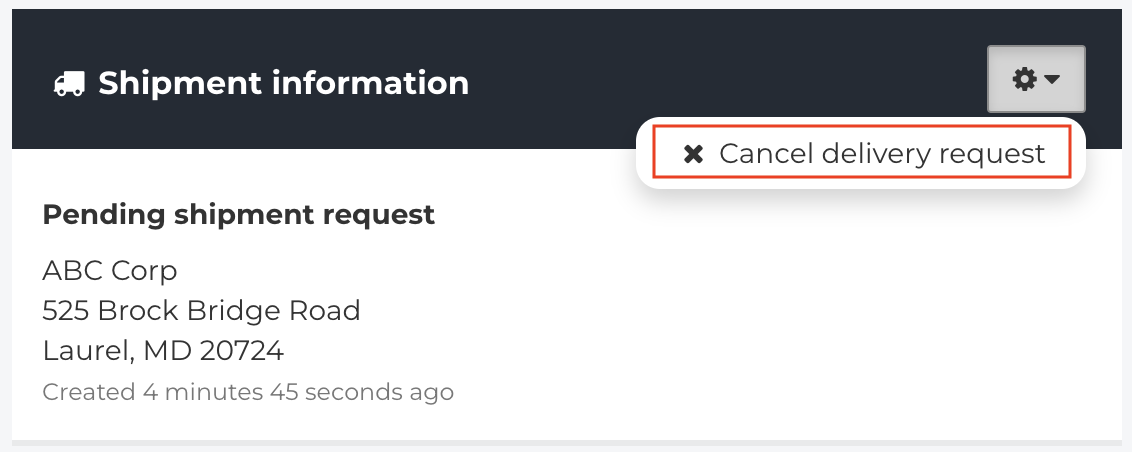
- A notification will appear indicating Fixably created the shipment request.

- You can cancel the Delivery Request by clicking on the Gear menu and selecting Cancel Delivery Request.
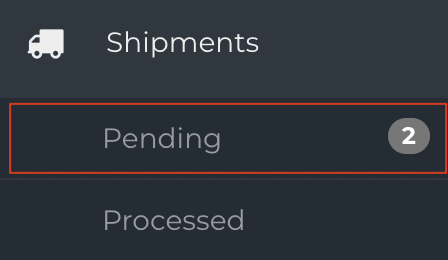
- From the Navigation Sidebar, click Shipments and then Pending.
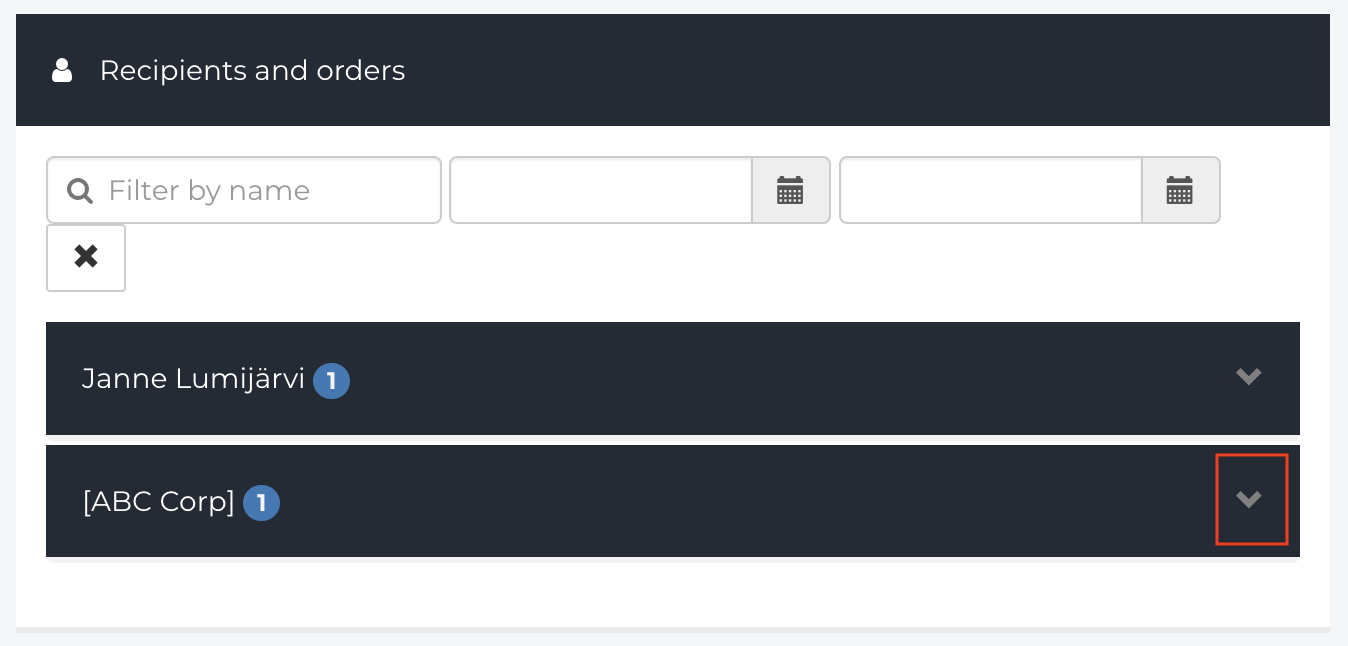
- From the Recipients and Orders list, click the Customer Name on the Orders.
- A list of all Orders pending Shipment will appear. Select any Orders you would like to include with the Shipment.
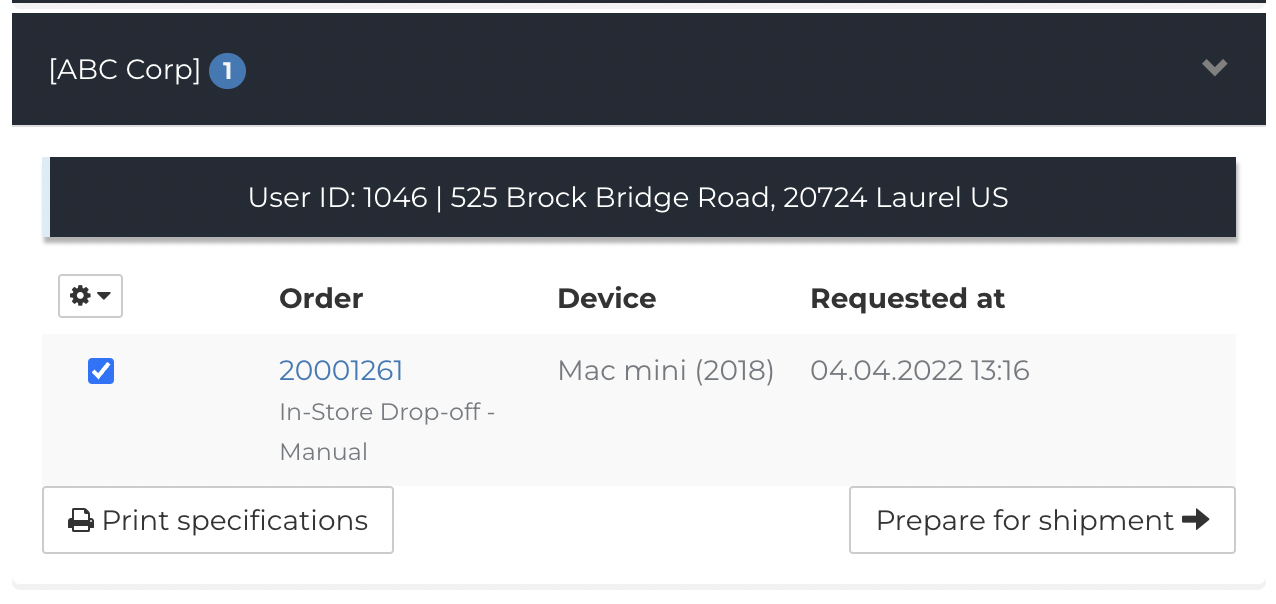
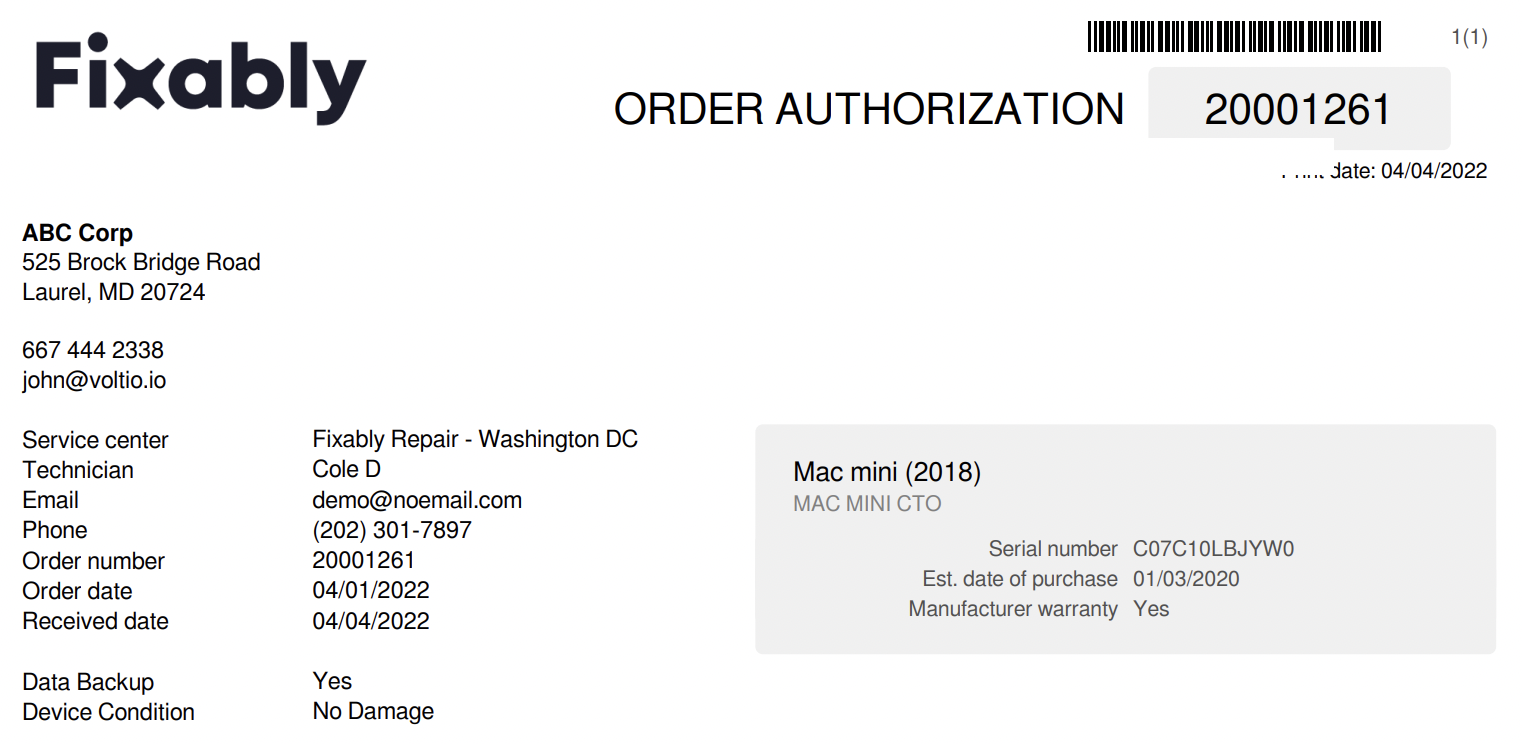
- Use the Print Specifications button to print an Order Authorization quickly.
- Click the Prepare for Shipment button.
- The Order will transfer to the Shipment Workbench.

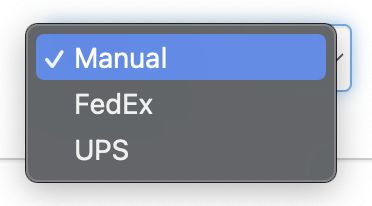
- If you are not using Integrations, you can manually enter the tracking number. If you have Integrations enabled, select it from the drop-down menu.
- Select the Service Type.

- When complete, click Confirm & Process.

- You can cancel the Shipment using the Discard button.

- A notification will appear indicating Fixably created the Shipment.

- Click Print Packing List to create a packing list for the Shipment.

- Click Print Waybill to print the shipping labels.
