How do I create a Carry-in Repair?
This article is a step-by-step walk-through to help Technicians efficiently use Fixably to create Carry-in Repairs in GSX.
- Release Notes
- Newly Released Features
- Getting Started
- Roles & Permissions
- Manifests
- Order Management
- Automations
- Employee Management
- Customer Management
- Customer Portal
- Stock Management
- Part Requests
- Price Lists
- Invoicing
- Reporting
- Custom Fields
- Integrations
- GSX
- Shipments
- Service Contracts
- Configuring Your Environment
- Incoming Part Allocation
- Appointment Booking
Table of Contents
Adding Parts to the Order
- From the Device section of the Order, click the View Parts button.
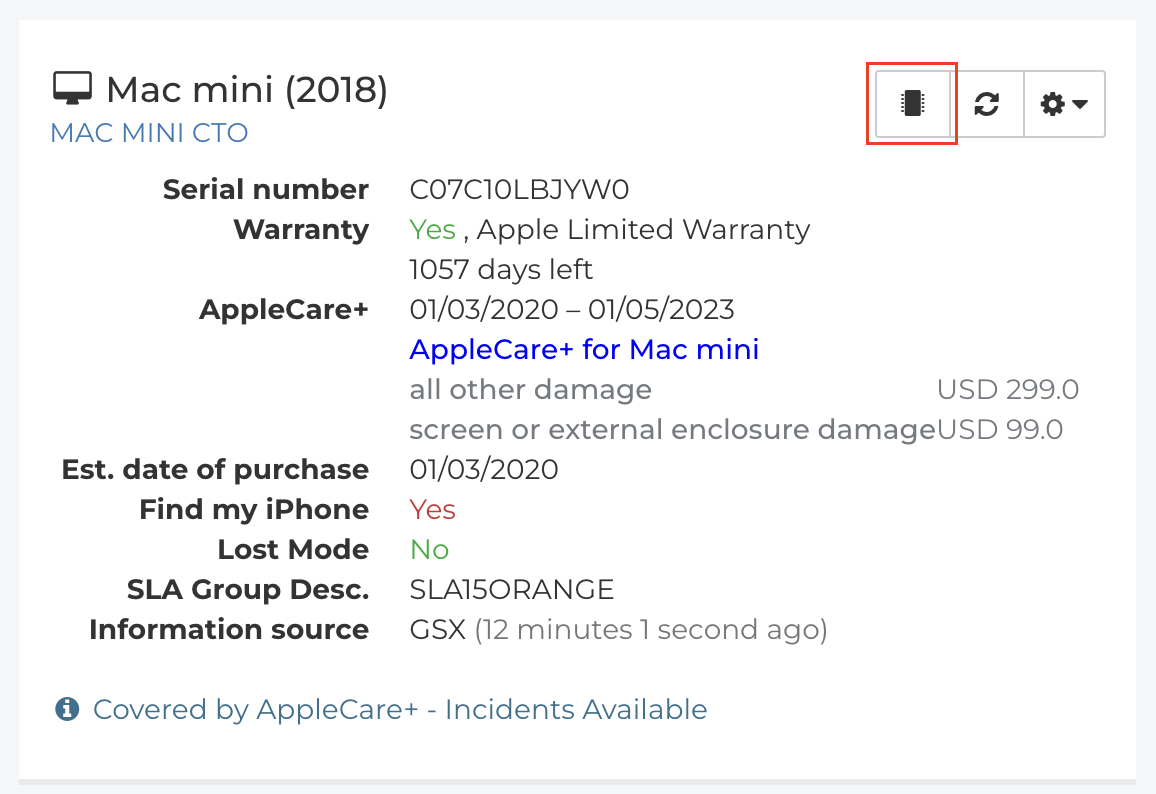
- GSX will fetch a list of Parts associated with the Device attached to the Order.
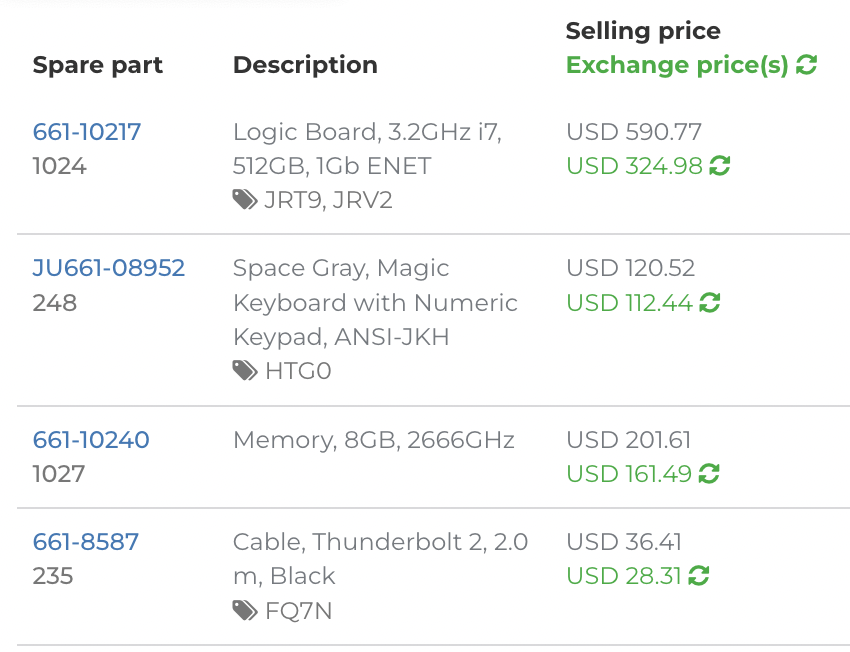
- Search using the Filter Results field.

- Fixably will sort the list based on your criteria. Add the Part to the Order by clicking on the Part Number.
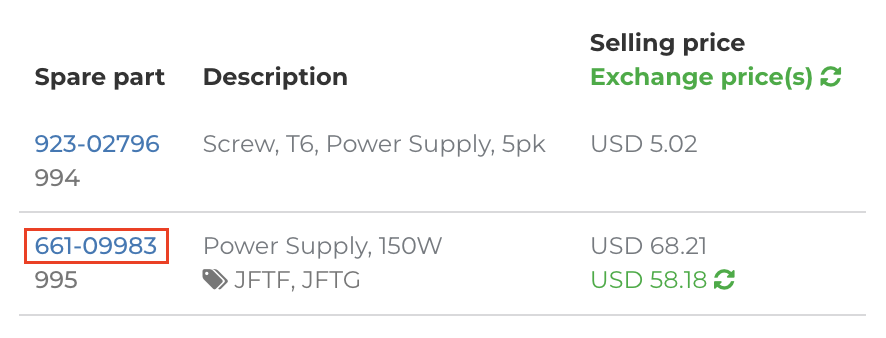
- Click Bring to Order.
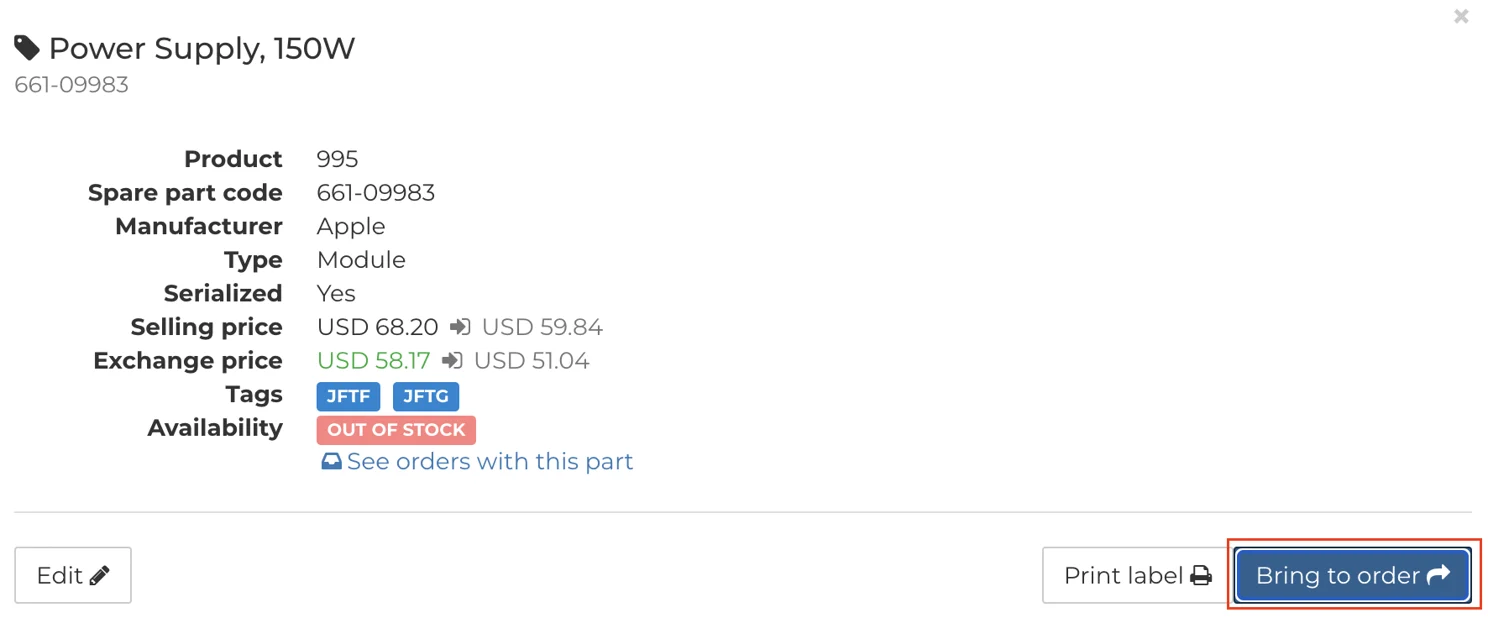
- Select the appropriate Stock.

- Select the appropriate Price Type for the Part you are adding to the Order.

- Select the Symptom for the Part you are adding to the Order.
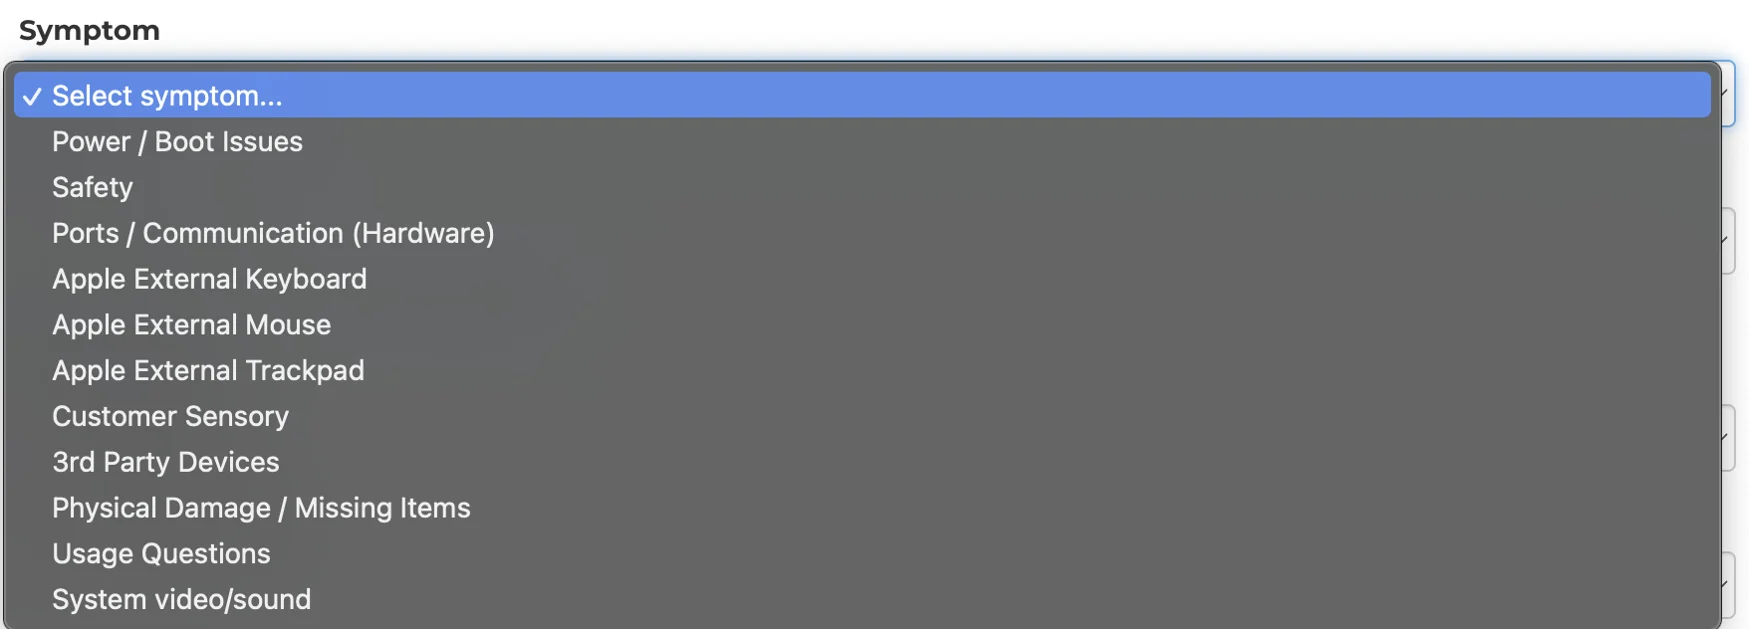
- Based on the Symptom you select, Fixably will fetch a list of Issues. Select the most appropriate option from the list.

- Select the Reproducibility of the Issue.

- Select whether the Part being used comes from Consignment Stock.

- Select the appropriate Coverage for the Part you are adding to the Order.

- If applicable, specify a KGB Mismatch Reason Code.

- If Applicable, you can mark a Part as DOA or Stock DOA using the Return Status Code field.

- When complete, click Bring to Order.

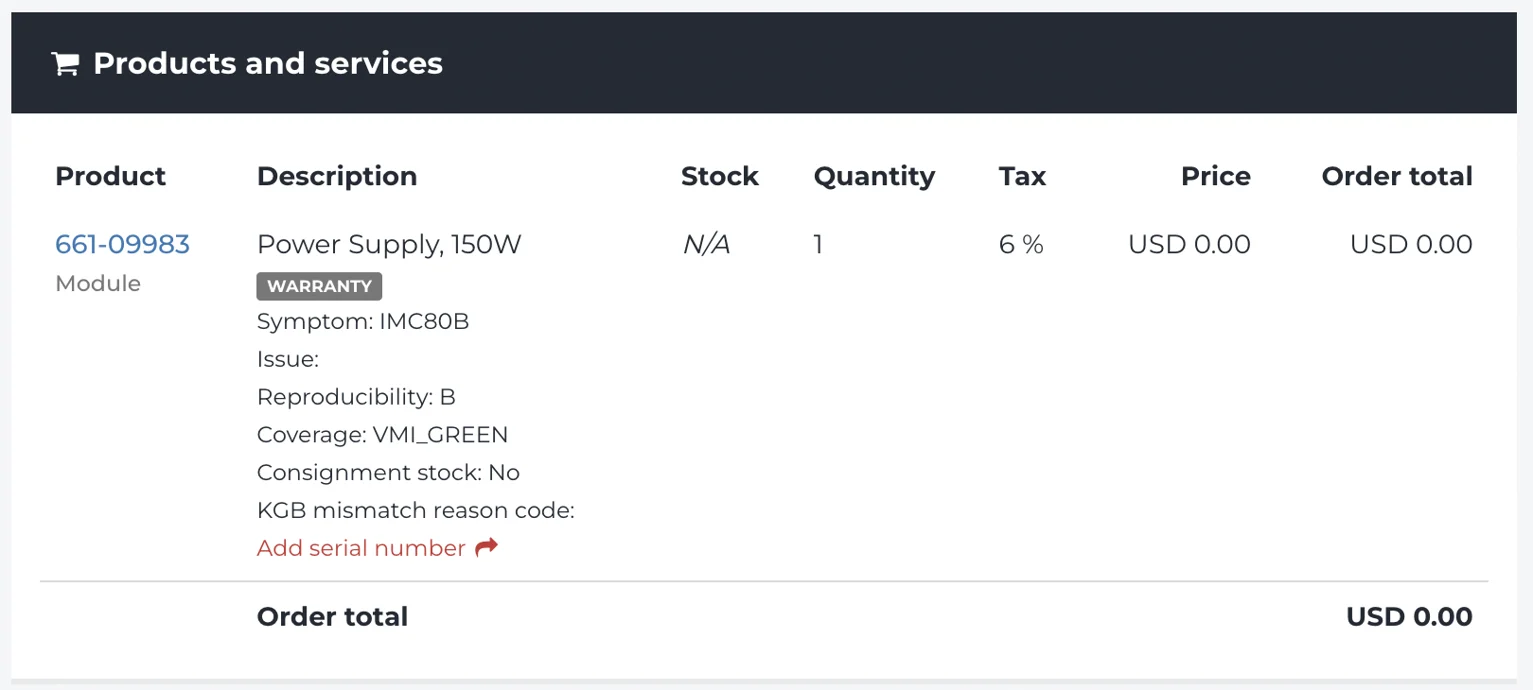
- The Part will be visible under Products and Services with the Price, Coverage and Symptom Codes you entered earlier.
Creating a Carry-in Repair
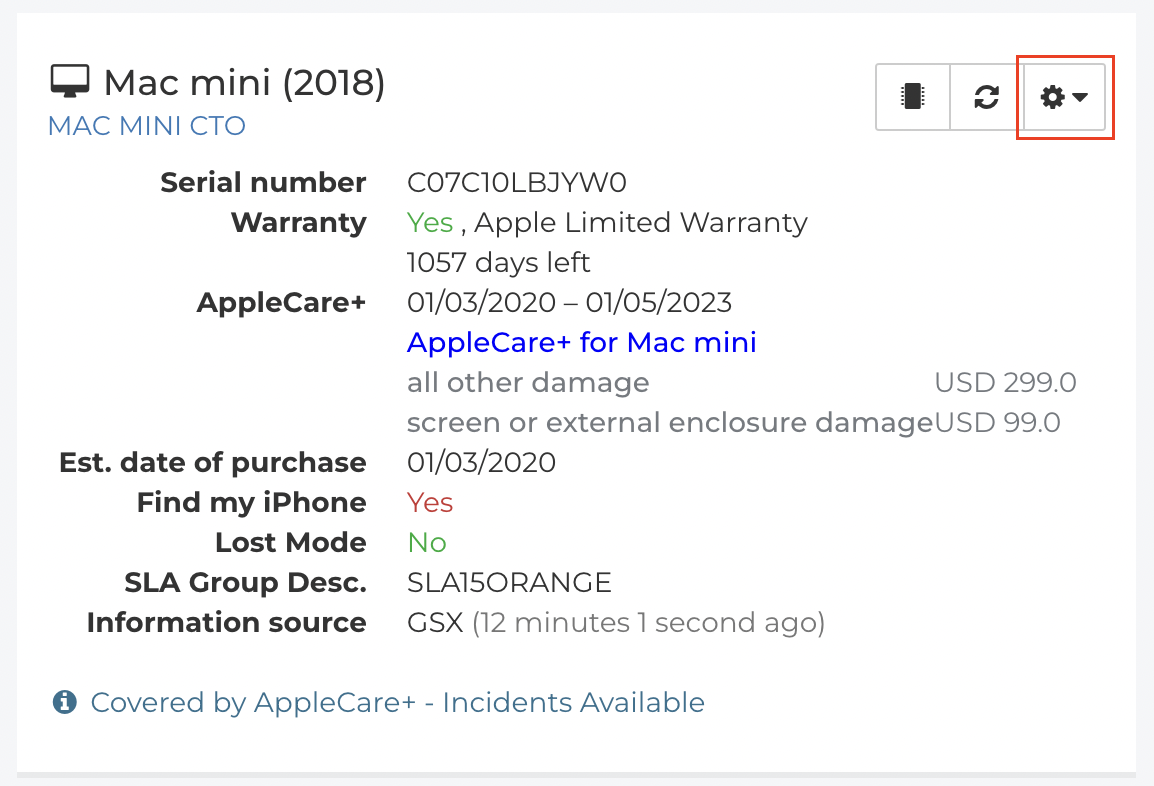
- From the Device section of the Order, click the Gear menu.
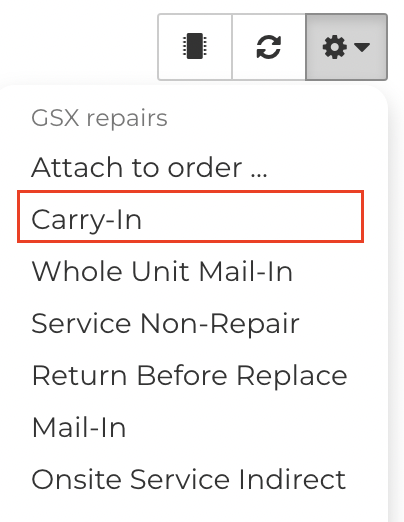
- From the list, select Carry-In.
- Under the Summary tab, the Coverage, Symptom, Issue and Reproducibility you selected when adding the Part to the Order will be automatically entered for you.
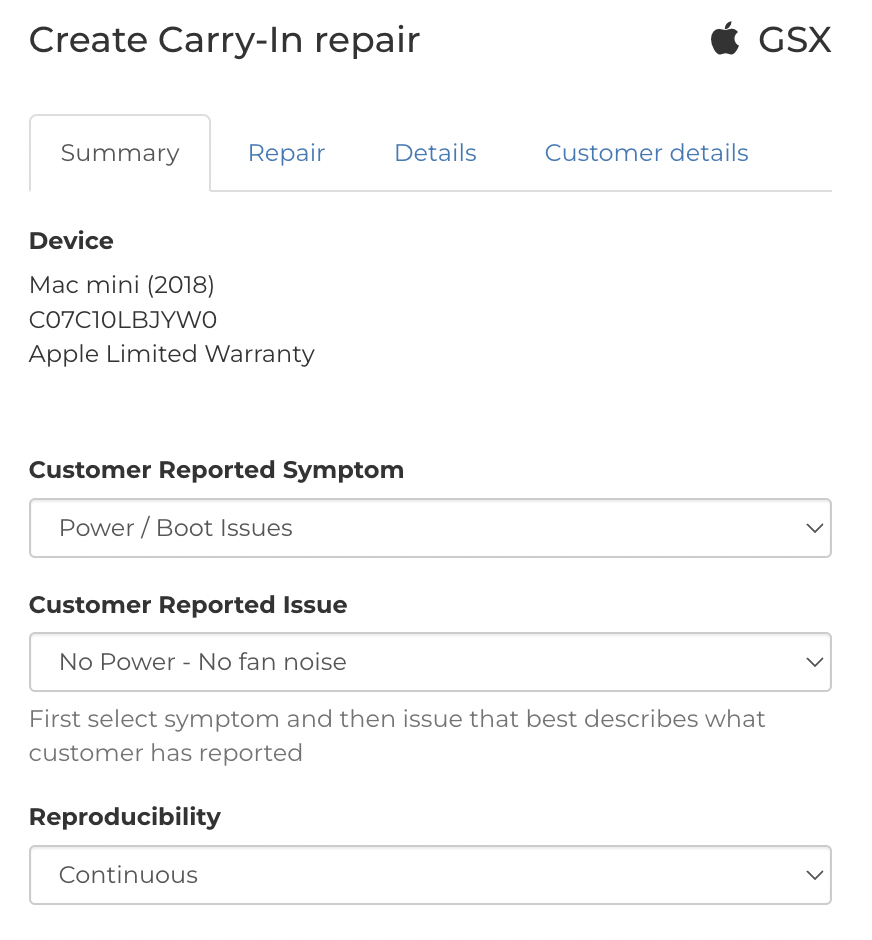
- Select the Repair Classification.

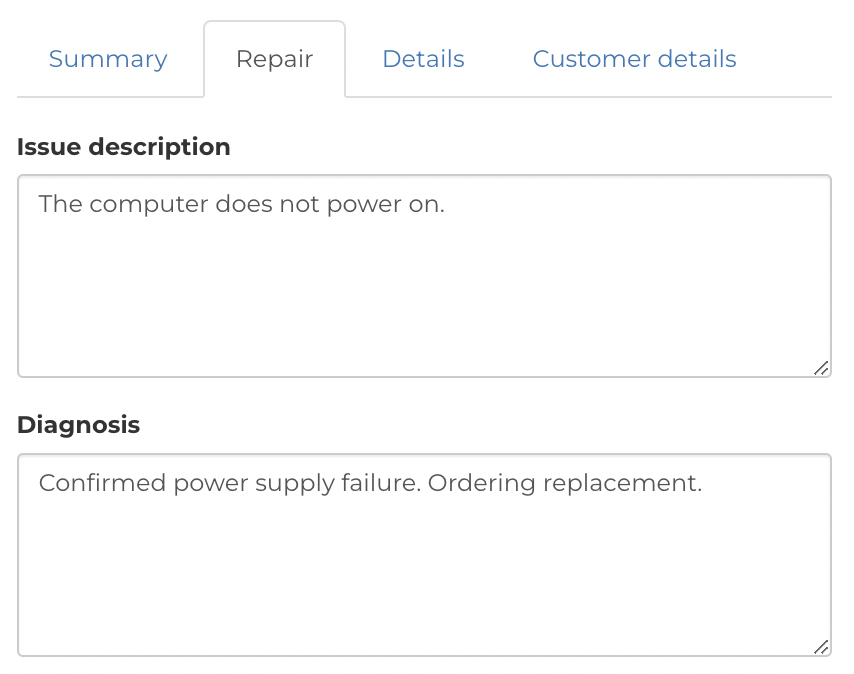
- Under the Repair tab, any Issue or Diagnosis type Notes will be filled out automatically.
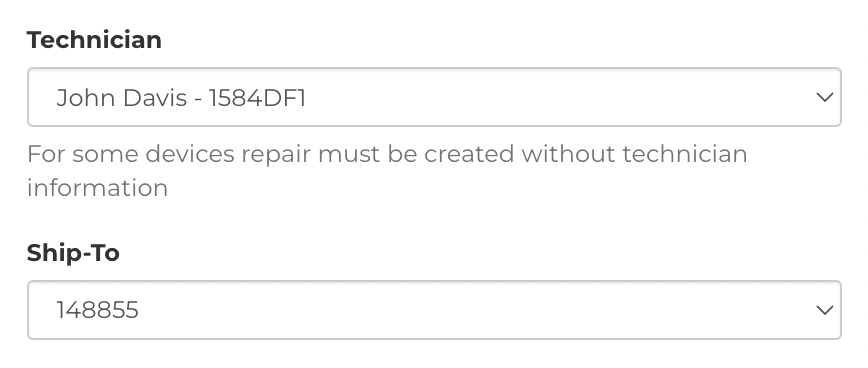
- Confirm the Technician and Ship-To are correct.
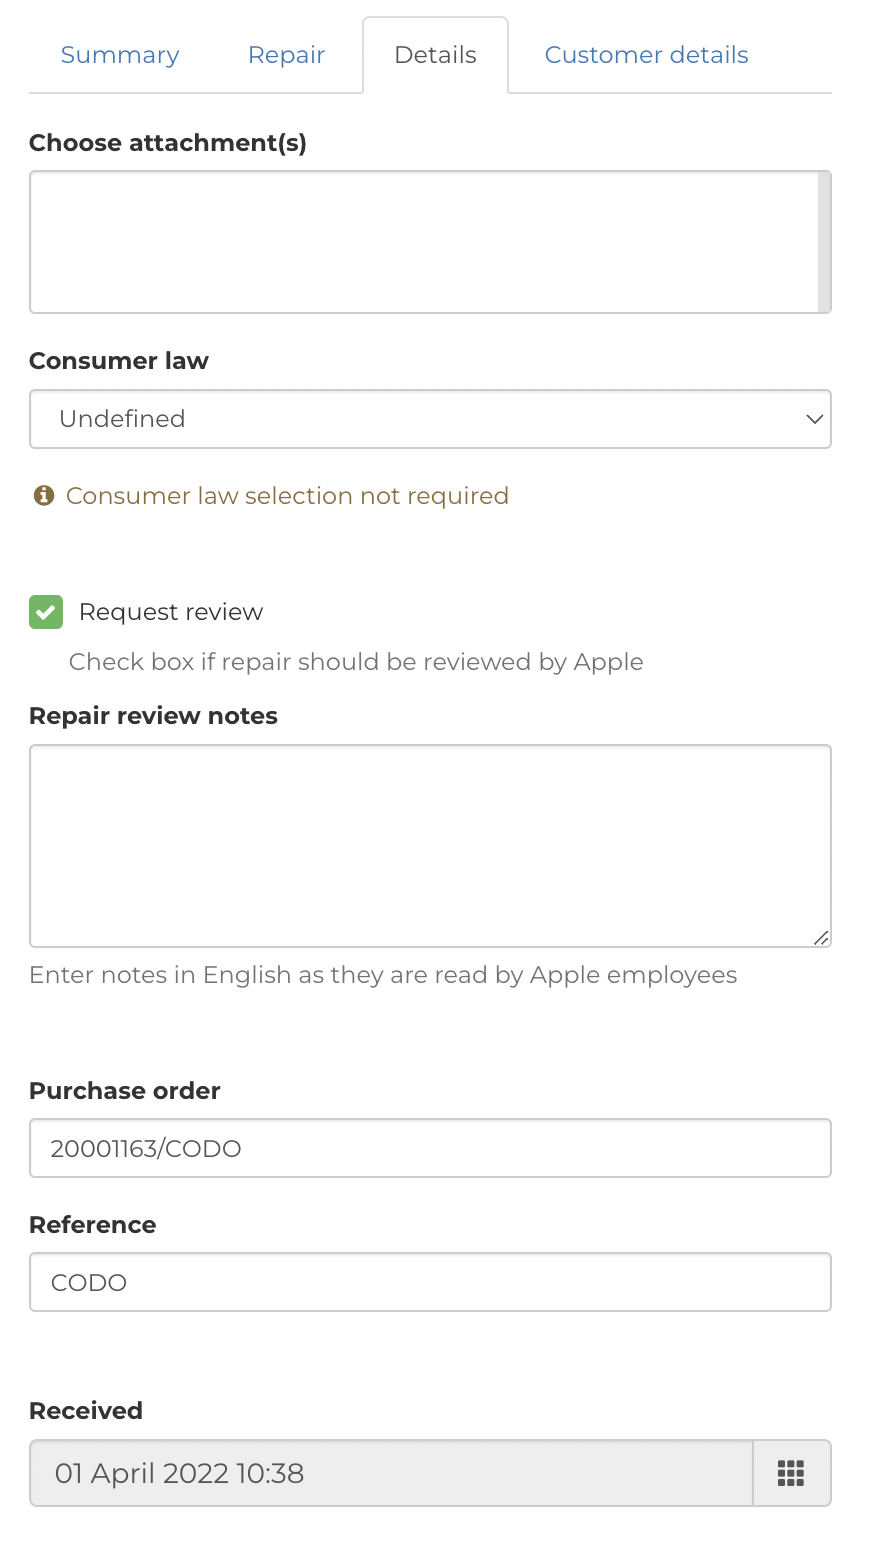
- Under the Details tab, you can add Attachments, Consumer Law Documents, Request Review, and adjust your Unit Received Date/Time.
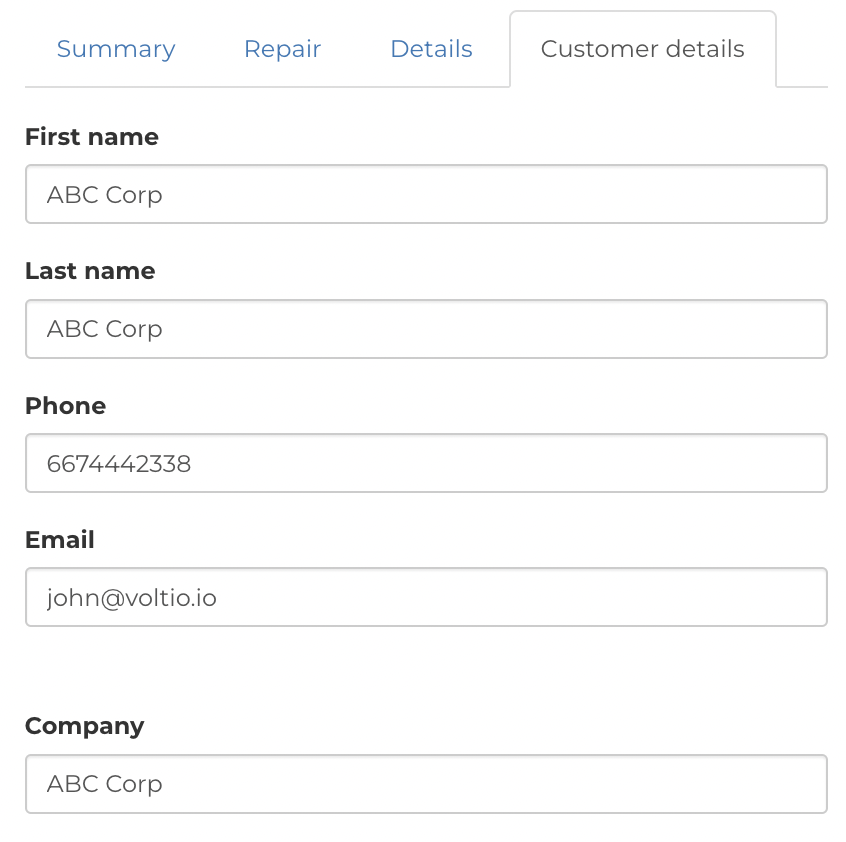
- Under the Customer Details tab, the Customer Name, Phone Number, Email, Address and other information will be automatically filled out using the information on the Order.
- When you are ready to create the repair, click Create Carry-In Repair.

- A dialogue will appear indicating Fixably created the GSX Repair successfully.

- The GSX Dispatch ID will be listed in the Repair Number field.
