
Stripe customers can configure their payment terminals for payment processing with Fixably.
To set up the Stripe Terminal Integration, you will need the following items: Verifone P400 Terminal and your Stripe Secret Key.
Click the links below to jump to the sections indicated:
- Configure Stripe Settings
- Configure Terminal
- Test Stripe Credit Card Processing
- Test Stripe Refund
- Remove Stripe Terminal
Configure Stripe Settings
- Navigate to System Settings/Integrations/Stripe.

- Enter the Secret Key provided by Stripe into the API key field. You can find your unique key by clicking Reveal Live Key in your Stripe dashboard under Developers/API keys.

- Ensure that the Integration is Enabled and Active.

- When complete, click Save Settings.
Configure Terminal
To use your Stripe Terminal with Fixably, it must be initialized.
- To begin this process, navigate to System Settings/Locations.
- If it does not exist, a location in your Stripe dashboard will be created that matches the Location's name.
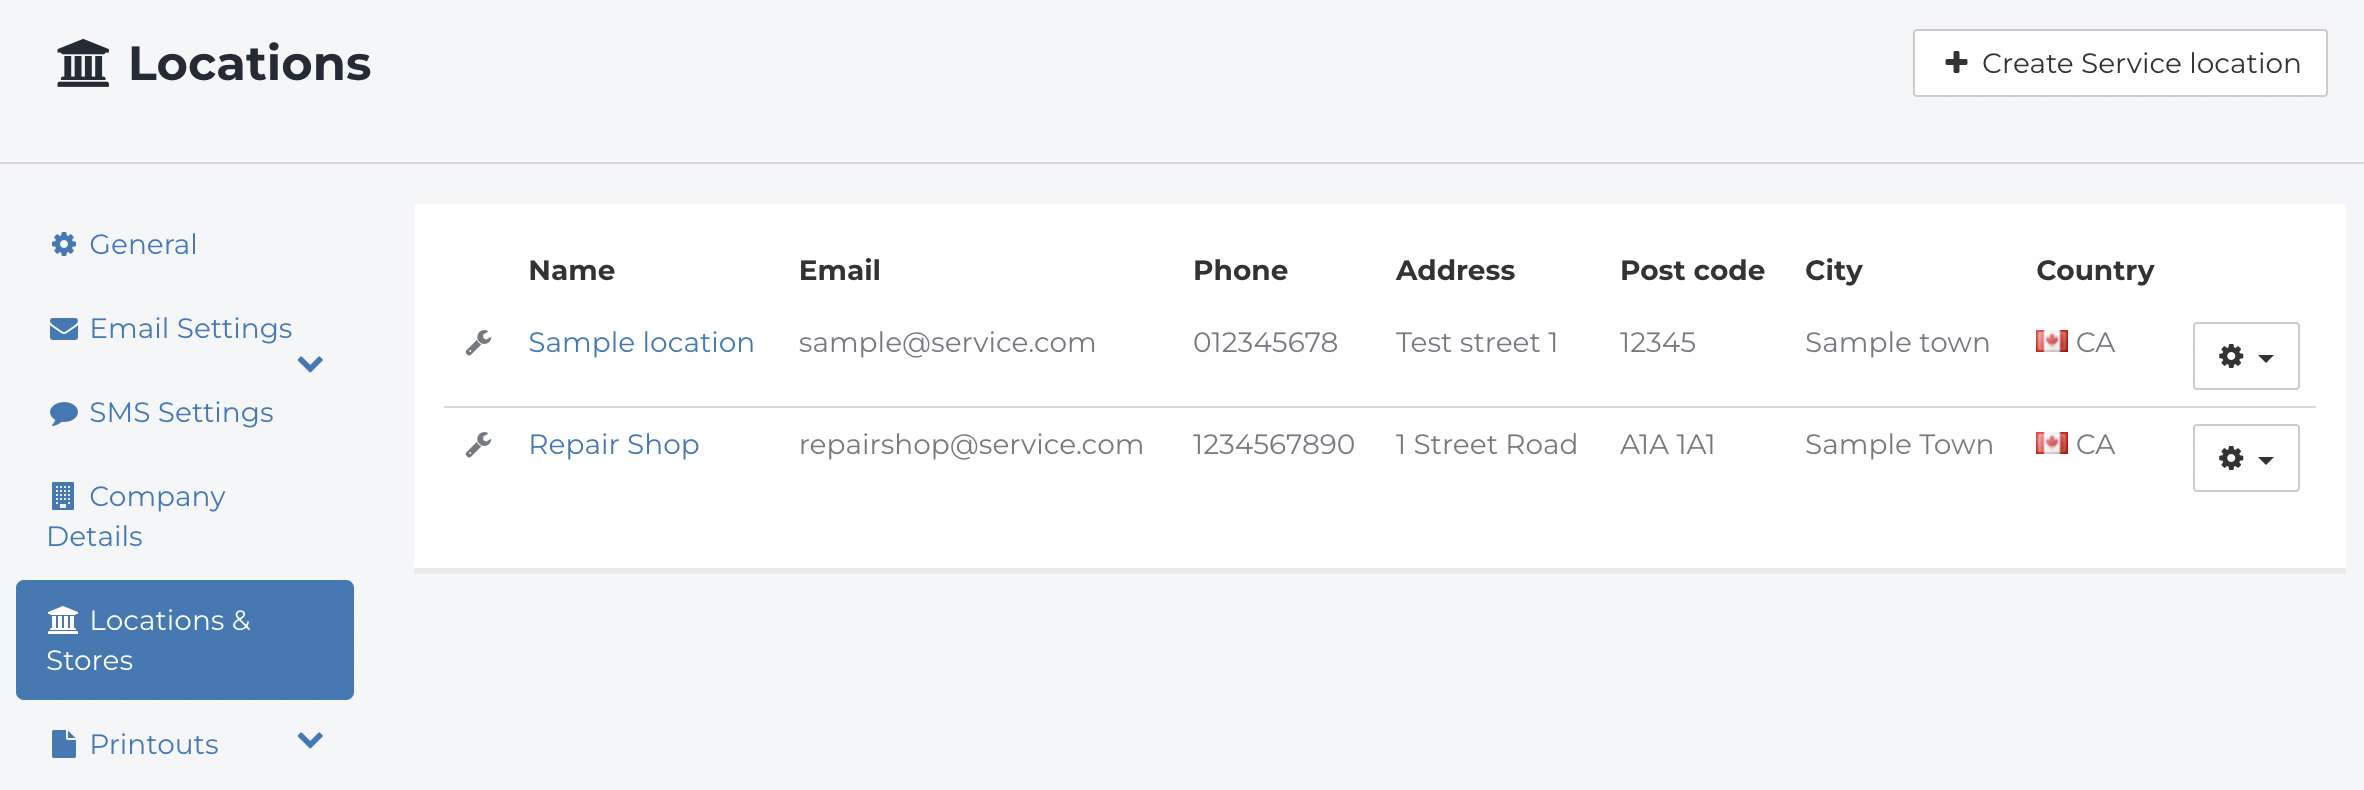
- Select the Location where your team will use the terminal.
- Click on the Location Name to edit the details and add the terminal.

- Scroll down to Card readers and click Add reader.

- Enter a descriptive name for the terminal. This name will be used to set the terminal name in your Stripe Dashboard. On the terminal, enter the key sequence 0-7-1-3-9 to display a unique registration code.

- Enter this code into the Registration code field and click Save.
- If the terminal is already registered in the Stripe Dashboard, you will skip the Registration code and enter the Identifier from the dashboard.
- The terminal will begin to download the configuration from Stripe and may take a few minutes to complete.

- When complete, click Save to close the sidebar and save all changes.
Test Stripe Credit Card Processing
For the terminal to activate, the Stripe terminal must be on the same network as the computer requesting the payment via Fixably.
- Create a new Order and add a Product with a minimum value of $0.50.
- From the Charge Menu, click Charge.

- Select the terminal you want to test and click Accept

- Fixably will display a message indicating the payment is processing while waiting for the terminal to activate and process the payment. Once the payment has been successfully processed, the following message will disappear.

-
The Receipt generated by Stripe will be accessible in the Printouts menu.

-
Click Cardholder Receipt to view the Receipt generated by Stripe.

Test Stripe Refund
When using the Stripe integration, refunds are processed without requiring the customer to present the payment card used.
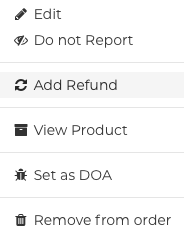
- To test the refund process, open a repair where you used the Stripe integration to take payment. Select a Product and click Add Refund.
- From the Charge Menu, click Charge.

- Confirm that the Refund amount is correct. Select the terminal and click Accept.

- Stripe will refund the payment back to the payment card used for the original transaction.
Remove Stripe Terminal
- To remove a terminal, navigate to System Settings/Locations.
- If it does not exist, a location in your Stripe dashboard will be created that matches the Location's name.
- Select the Location where the terminal is used.
- Click on the Location Name to edit the details and remove the terminal.
- Scroll down to Card Readers. Click Remove to remove the terminal.

- If the Remove button does not remove the terminal, click the disclosure triangle and select Force Remove.

- When prompted, click Ok to confirm the removal of the terminal.

- Click Save to close the sidebar and save all changes.
