How do I use the Apple Appointment Scheduler?
This guide explains how to use the Apple Appointment Scheduler Integration to manage incoming Orders.

Written by Annukka Matilainen
Updated at June 19th, 2026
- Release Notes
- Newly Released Features
- Getting Started
- Roles & Permissions
- Manifests
- Order Management
- Automations
- Employee Management
- Customer Management
- Customer Portal
- Stock Management
- Part Requests
- Price Lists
- Invoicing
- Reporting
- Custom Fields
- Integrations
- GSX
- Shipments
- Service Contracts
- Configuring Your Environment
- Incoming Part Allocation
- Appointment Booking
Table of Contents
This guide explains how to use the Apple Appointment Scheduler Integration to manage incoming Orders.
The Apple Appointment Scheduler is a feature provided by Apple to enable end-customers to schedule appointments with Apple Authorized Service Providers. Users with appropriate permissions use Schedule Manager in GSX to manage appointments.
The Apple Appointment Scheduler Integration in Fixably allows your business to have Orders created automatically for each appointment, reducing the check-in process time and increasing end-customer satisfaction.
Please Note:
The GSX API only returns appointments when the appointment date is within the next 3 days. All appointments booked via the Apple Appointment Scheduler that are more than 3 days away from the current date will not be visible due API limitations.
Enable the Appointment Scheduler
The Apple Appointment Scheduler requires a REST API certificate configured in the GSX Integration settings. Admins can generate this certificate by following the steps in the article:
How Do I Configure the Apple GSX Integration?
Please ensure you have completed setting up your GSX Integration before proceeding.
- Navigate to System Settings and then select Locations & Stores.
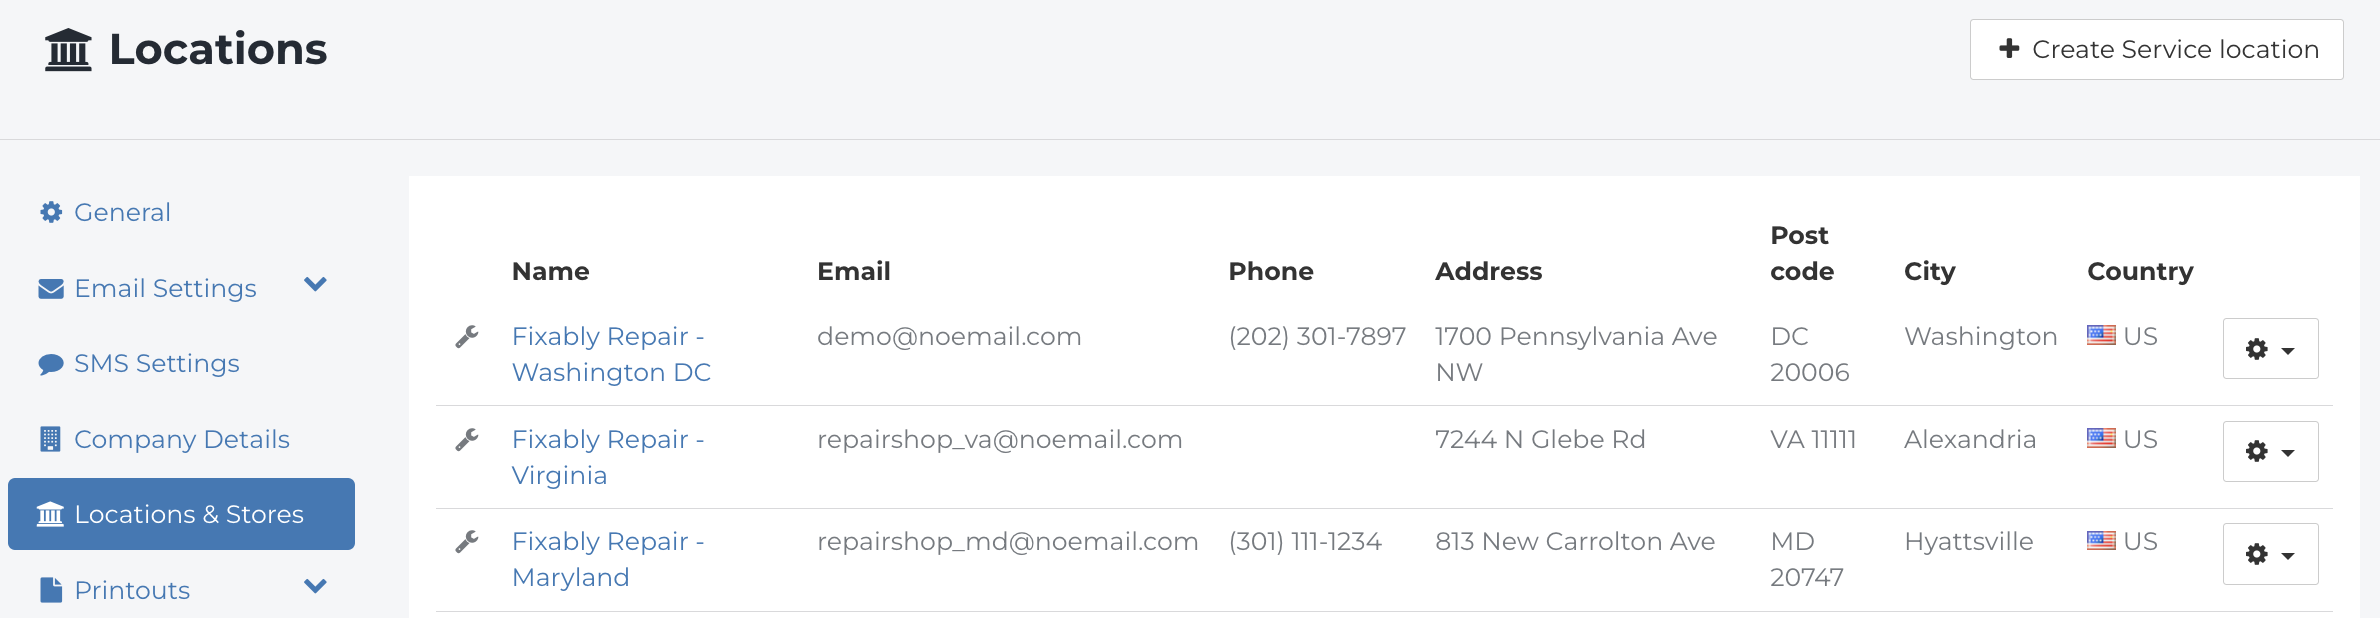
- Click on the Location that you want to enable the Apple Appointment Scheduler for.

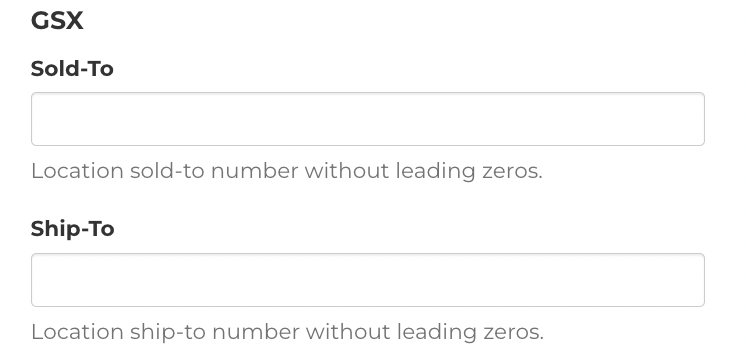
- In the Location Pane, confirm that the Sold-to and Ship-to accounts are correct for your Location.
- Click the checkbox next to Appointment Scheduler.

- Repeat these steps for any additional locations for which the Apple Appointment Scheduler should be enabled.
Viewing Reservations
- Once a location has been enabled, the Appointment Scheduler Module will be visible in the Navigation Sidebar.

- You can find a list of currently scheduled reservations via the AASP Appointment Scheduler section of the Fixably Home Screen.
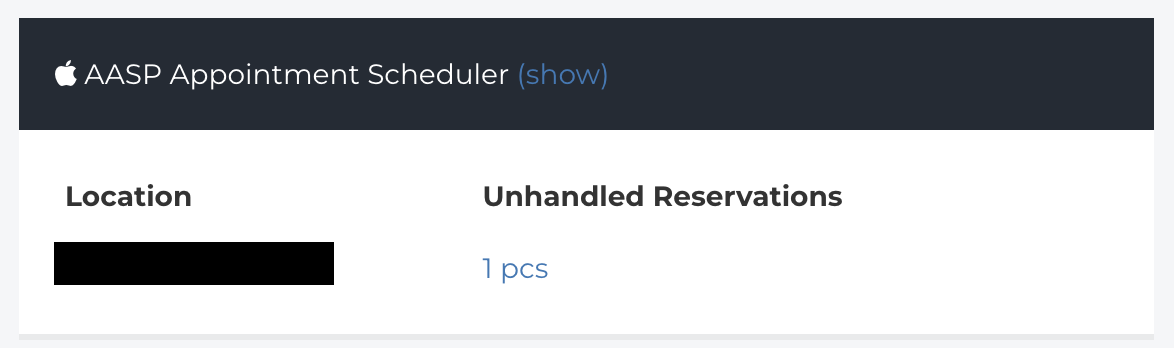
- To view the list, click the link under Unhandled Reservations.

- To refresh the list of reservations, click on the Navigation Sidebar and then select the Appointment Scheduler Module.
- Click Reservations.

- Click the button below to refresh the list of available reservations.

- If you have multiple locations, you can refresh all locations using the Check for Updatesbutton.

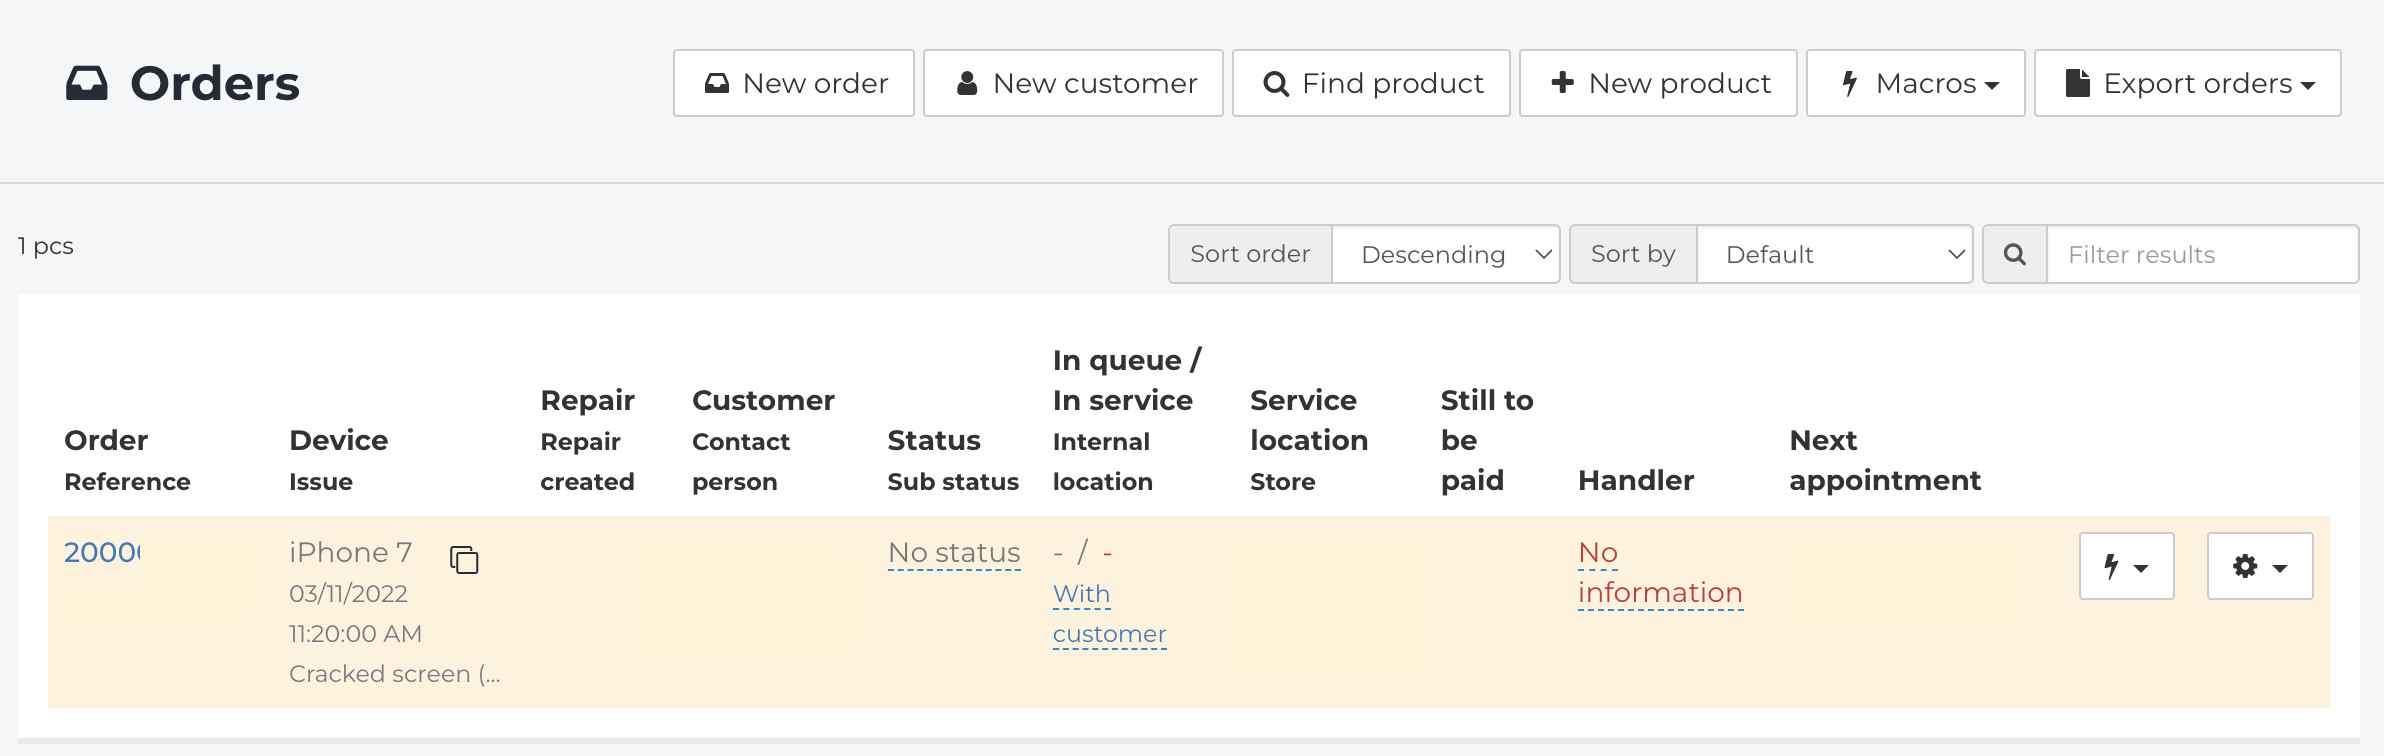
Managing Orders from an Apple Appointment Scheduler Reservation
- Orders created from a reservation will retrieve some details about the Customer and device from GSX, including the Customer Name, Email Address, and Phone Number (if provided).
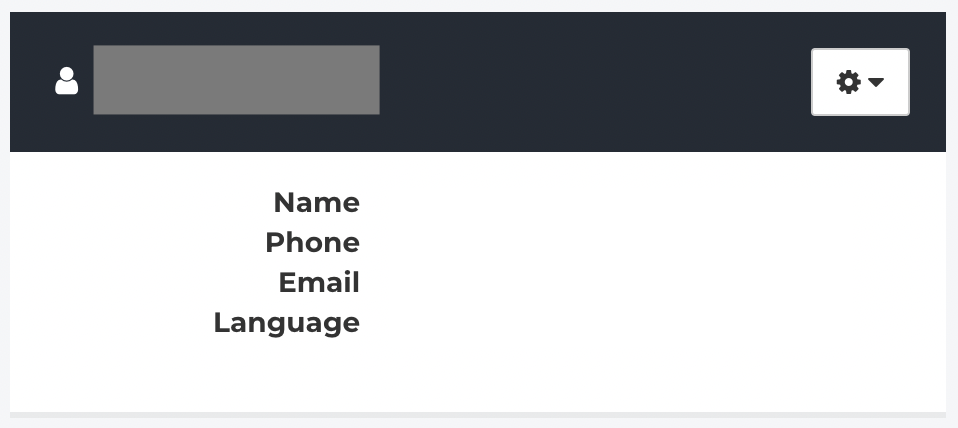
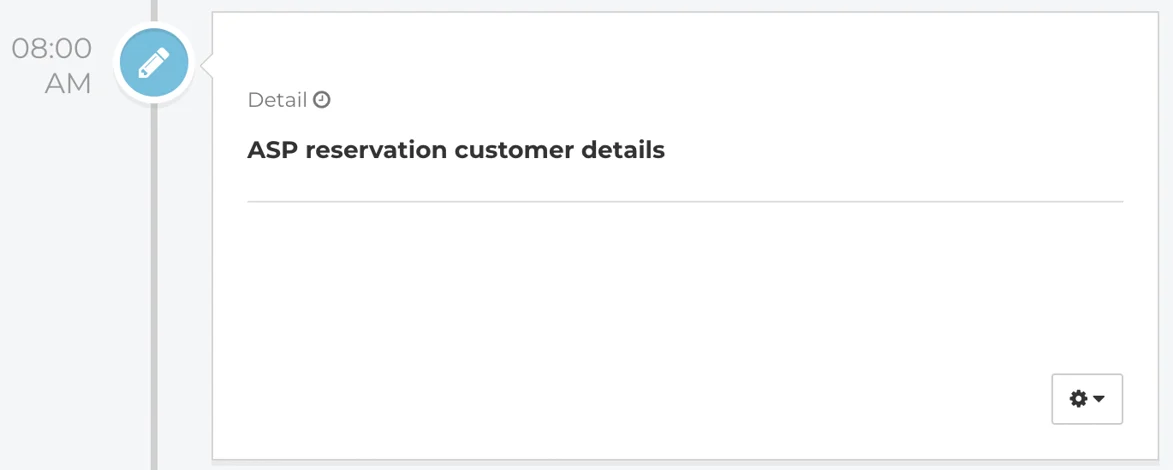
- The Customer details will also be listed as a detail note in the Order.
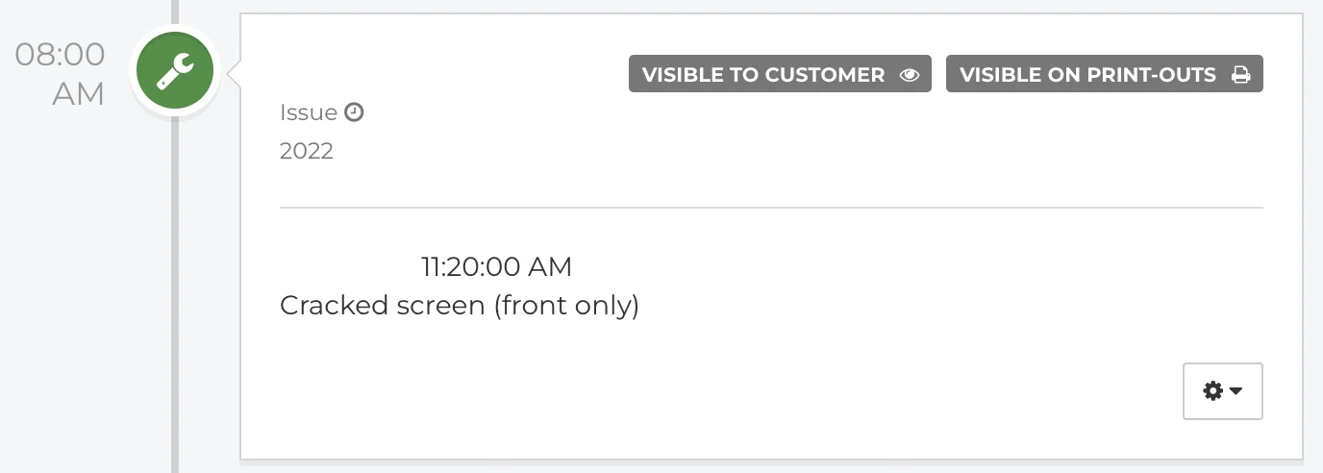
- Details about the Customer's issue and appointment time will also be listed in a note.
- The Appointment Scheduler menu allows users to manage the reservation from the Order.

- Users can manage appointments in a few different ways:
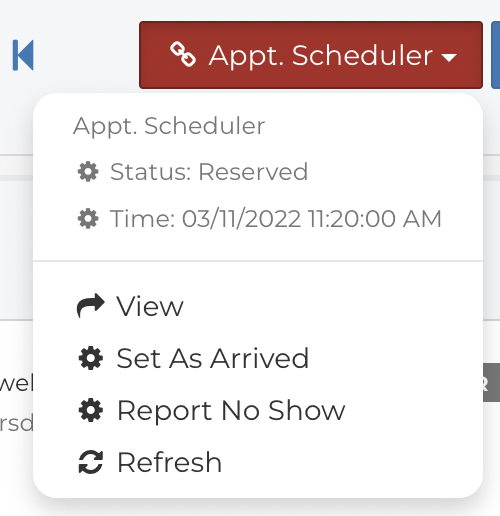
- Click View to open the Reservation panel.
- When the Customer arrives, use the Set as Arrived button to mark the reservation as arrived in GSX.
- If the Customer does not arrive, use the Report No Show button to immediately mark the reservation as a no show in GSX.
Cancelling a Reservation
-
Viewing the reservation reveals additional information.
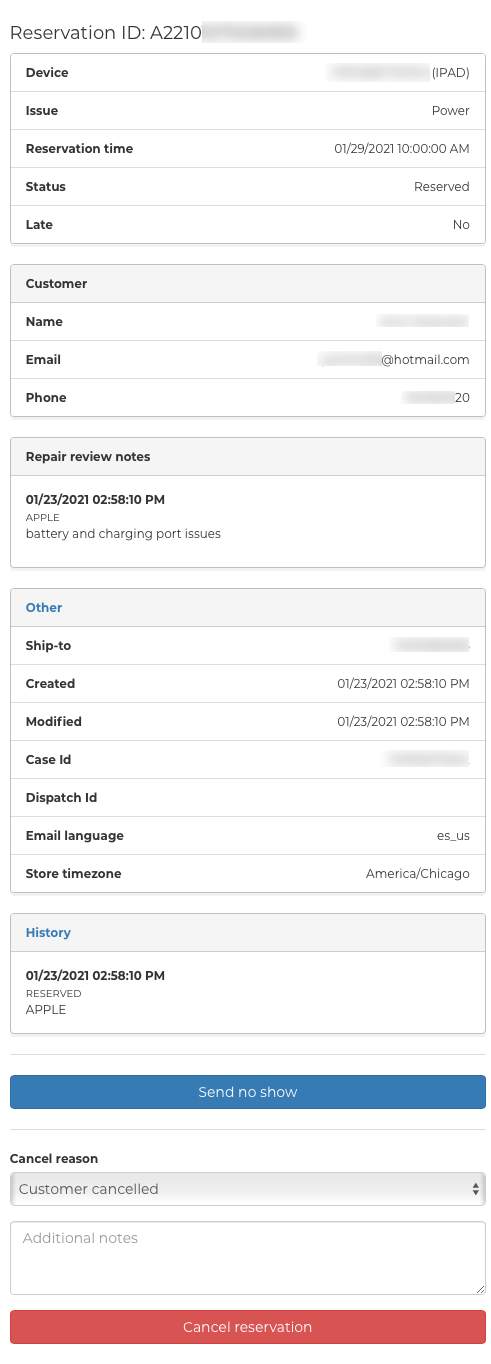
- To cancel the reservation, select the Cancel Reason from the drop-down menu.
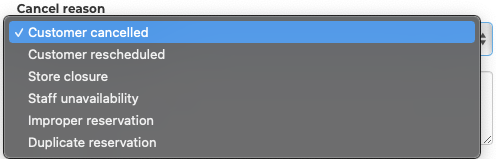
- When complete, click Cancel Reservation.
See Also: